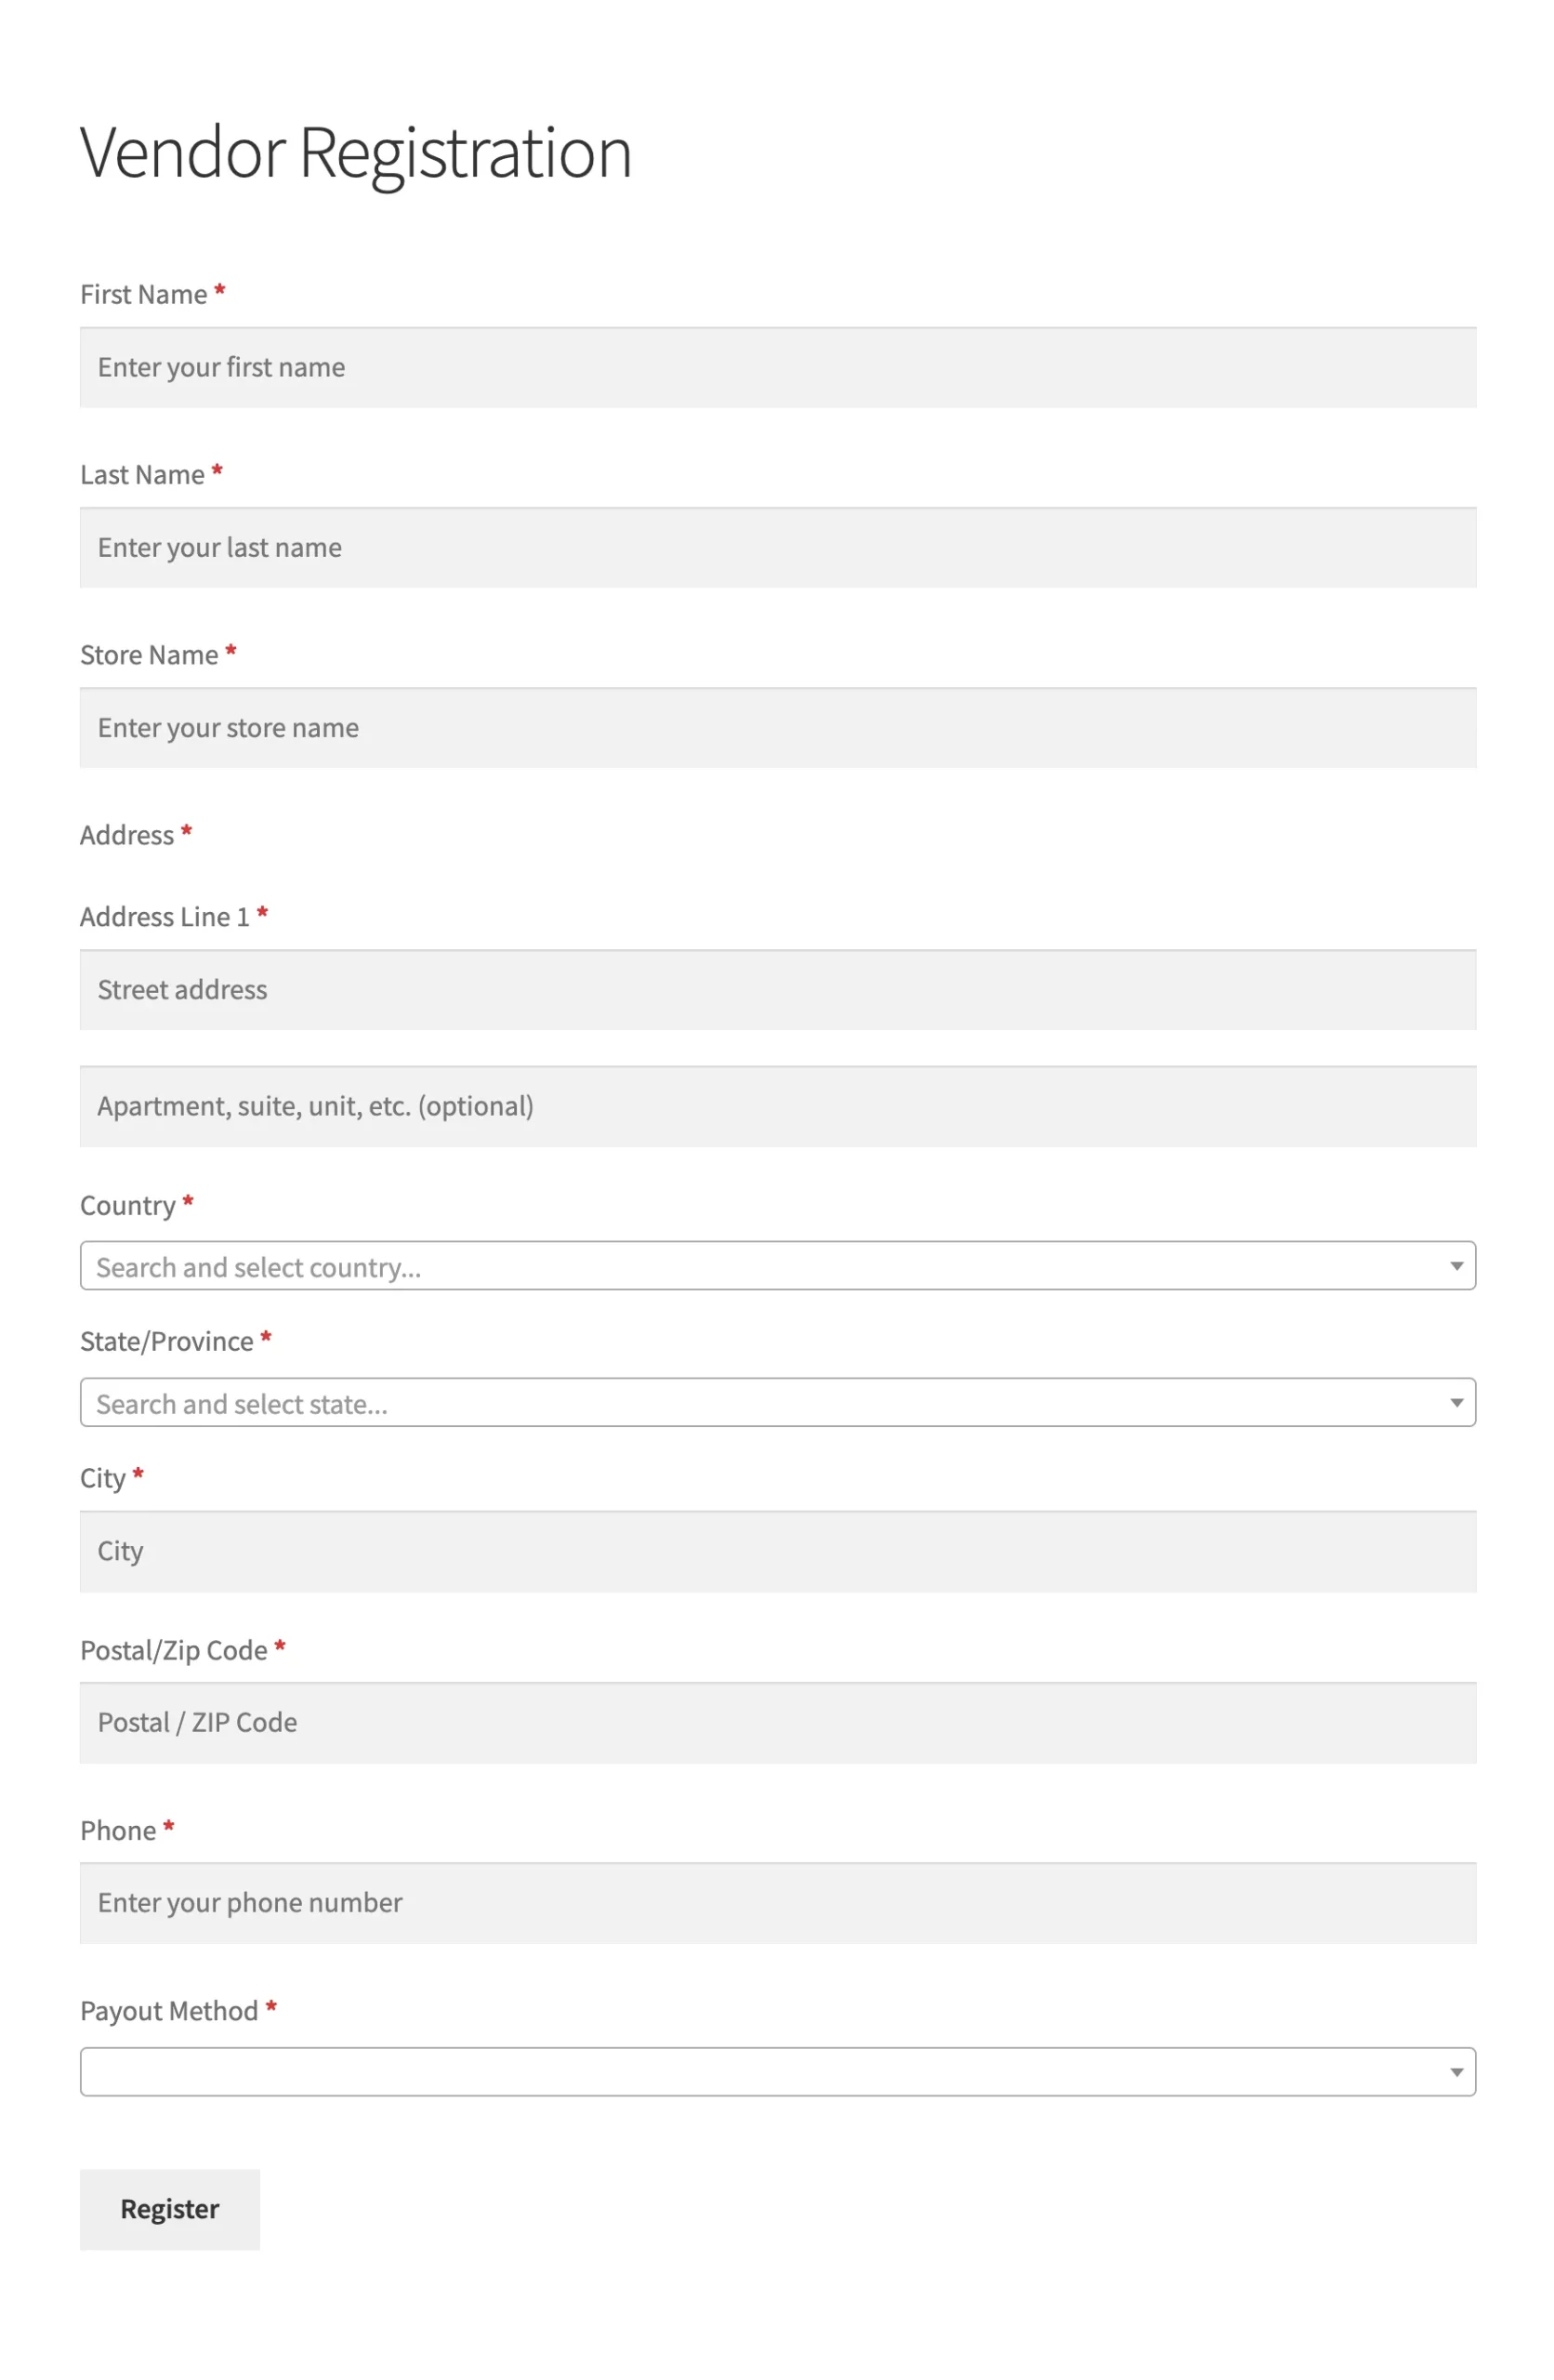
Signing up as a vendor should not feel confusing or time-consuming. Many vendors want to start selling immediately, but outdated registration forms often complicate the process more than necessary. The new custom registration form in WC Vendors gives vendors a faster and more precise way to sign up.
In this article, we will guide you through what makes the custom registration form beneficial for vendors and how this feature streamlines the vendor onboarding process, making it faster, easier, and more suitable for today’s work environment.
Ready? Let’s start!
Key Features
- Form builder in WordPress admin – Create custom vendor registration forms in your dashboard, add fields, and arrange them with drag-and-drop.
- Vendor registration page – A signup page is generated automatically, where vendors can register using your custom form.
- Vendor login page – Vendors get a ready-made login page with secure access to their accounts and dashboard.
- WC Vendors integration – New registrations connect directly with WC Vendors, so vendors can manage products and orders once approved.
How To Use The Custom Registration Form (Step-By-Step)
To help marketplace owners understand how it works, you can start using the new custom registration form by following these few simple steps:
Step 1: Install and activate the plugin
Go to Plugins → Add New in your WordPress admin. Upload and install the WC Vendors Signup plugin. After installation, activate it, then go to WC Vendors → License → WC Vendors Signup and fill in the license details.
Step 2: Build your vendor registration form
Open WC Vendors → Settings → Registration Forms. Use the form builder to add and arrange the fields you want vendors to fill out, such as Business Name or Store Address. You can also mark some fields as required if needed.
The WC Vendors Signup plugin comes with a set of default fields, essential items required for a vendor account, that are included in the WooCommerce vendor registration form:
- Email Address
- Password
- First Name
- Last Name
- Store Name
- Address
- Phone
- Payout Method
Custom fields
In addition to the default fields, you can add your own custom fields to collect more information during the signup process.
Here’s a breakdown of the available custom field types and how they can be used:
- Text
Collect short, single-line inputs, such as a business name or the contact person’s title. - Text Area
Useful for longer responses like business descriptions or special requirements. - Number
Accepts numeric input, e.g., tax ID number or years in operation. - Email
For capturing additional email addresses, such as a support contact. - Phone
Ideal for collecting a secondary or customer support phone number. - URL
Great for gathering links, such as vendor websites or social media profiles. - Select (Dropdown)
Vendors can choose from predefined options, such as product category (e.g., Clothing, Jewelry, Food). - Radio
Best for single-choice questions, such as Do you already sell online? (Yes/No). - Checkbox
Allows multiple selections, e.g., sales platforms (Amazon, Etsy, eBay). - Hidden
Records information behind the scenes without vendor input, such as referral source. - File Upload
Vendors can upload files, such as a business license or tax certificate. - Image Upload
Collect store logos or sample product images. - Content
Displays text or instructions within the form (not an input field). - Terms & Conditions
Adds a required checkbox for vendors to accept your marketplace policies before registering. - Payout Method
Let vendors select how they’ll receive payments (e.g., PayPal, Bank Transfer, Stripe).
When done, save your form.
Step 3: Configure the registration page and login page
A default Vendor Registration page is created automatically. If you prefer a different page, you can assign your own custom page as the Vendor Registration page in the settings.
A Vendor Login page is also created during setup. If you have a custom login page, you can set it here. Share the login page link with vendors so they can access their accounts after approval.
💡 Note: Go to Appearance → Menus in your WordPress admin. Add the Vendor Registration and Vendor Login pages to your site’s navigation menus so vendors can easily find where to sign up and log in.
Step 4: Test the full registration flow
Visit the registration page as a guest and submit a test signup. Then, log in using the test credentials to confirm that the custom registration form and login process work as expected.
💡 Note: Review application details under WC Vendors → All Vendors and approve them once everything looks correct. To enable auto-approval, disable the manual approval option under WC Vendors → General.
How To Add A Vendor Login Page
Here is a quick way to create a login page for vendors:
1. Find the vendor login page
When you install the plugin, a login page is created automatically. Check it under Pages → All Pages in your WordPress admin.
💡 Note: If you want to use a different page, navigate to WC Vendors → Settings → Registration Forms → Page Settings and select the desired page.
2. Add the login form anywhere
Use the shortcode [wcv_login_form] if you want the login form to appear on another page, post, or widget.
3. Add extra content (only if needed)
You can add welcome text, helpful links, or guidelines above or below the form using the WordPress editor.
4. Test the login page
Go to Appearance → Menus and add the Vendor Login page to your site’s menu so it’s easily accessible. Log out of WordPress and then try logging in as a vendor to ensure it works properly.
Benefits Of Using The Custom Registration Form
Signing up with the new custom registration form does more than give you a way to register. It also helps marketplace owners save time, stay organized, and get their marketplace up and running faster. Here are the main benefits you will experience after using the new system:
A clear approval process
Once you complete the custom registration form and your account is approved, vendors will be notified immediately that they can start setting up their store. There is no confusion about what to do next, as the approval message provides a clear signal that your account is ready.
Professional registration and login pages
The registration and login pages appear clean and function smoothly on any device. Whether you sign up using a phone, tablet, or computer, you will see a layout that is easy to read and simple to follow.
Faster review from store admins
The custom registration form collects all the necessary details up front. This helps store admins review your application more quickly because they do not need to send additional messages to request missing information.
Full access to your vendor dashboard
After the approval of your WooCommerce vendor registration, you can log in to your vendor dashboard at any time. This is where you can add products, update your store details, and track your orders. Everything you need to manage your store is in one place, and you can access it from any device at any time.
Conclusion
The new custom registration form in WC Vendors gives vendors a faster and more precise way to sign up. Once approved, vendors can log in to their dashboard and begin setting up their store immediately.
Here’s a quick recap of what we discussed about this new release:
- Key features
- How to use the custom registration form
- How to add a vendor login page
- Benefits of using the custom registration form
With this feature, marketplace owners can focus less on paperwork and more on building their store and serving customers. It is a change that makes getting started easier for everyone.

