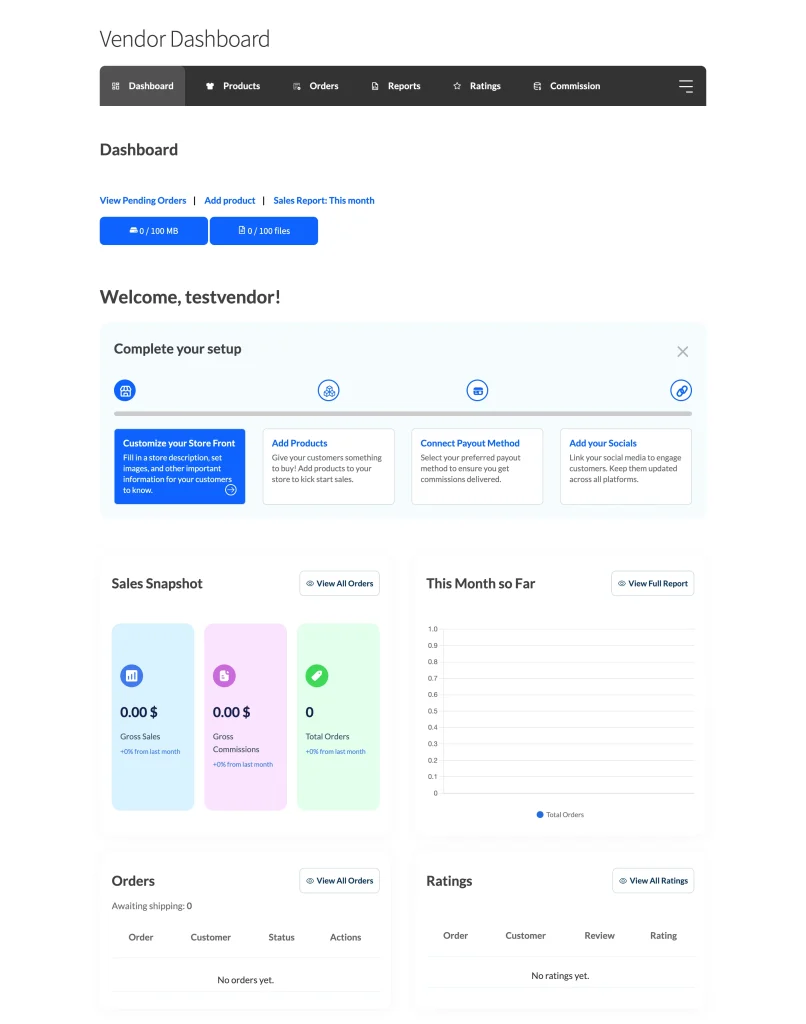
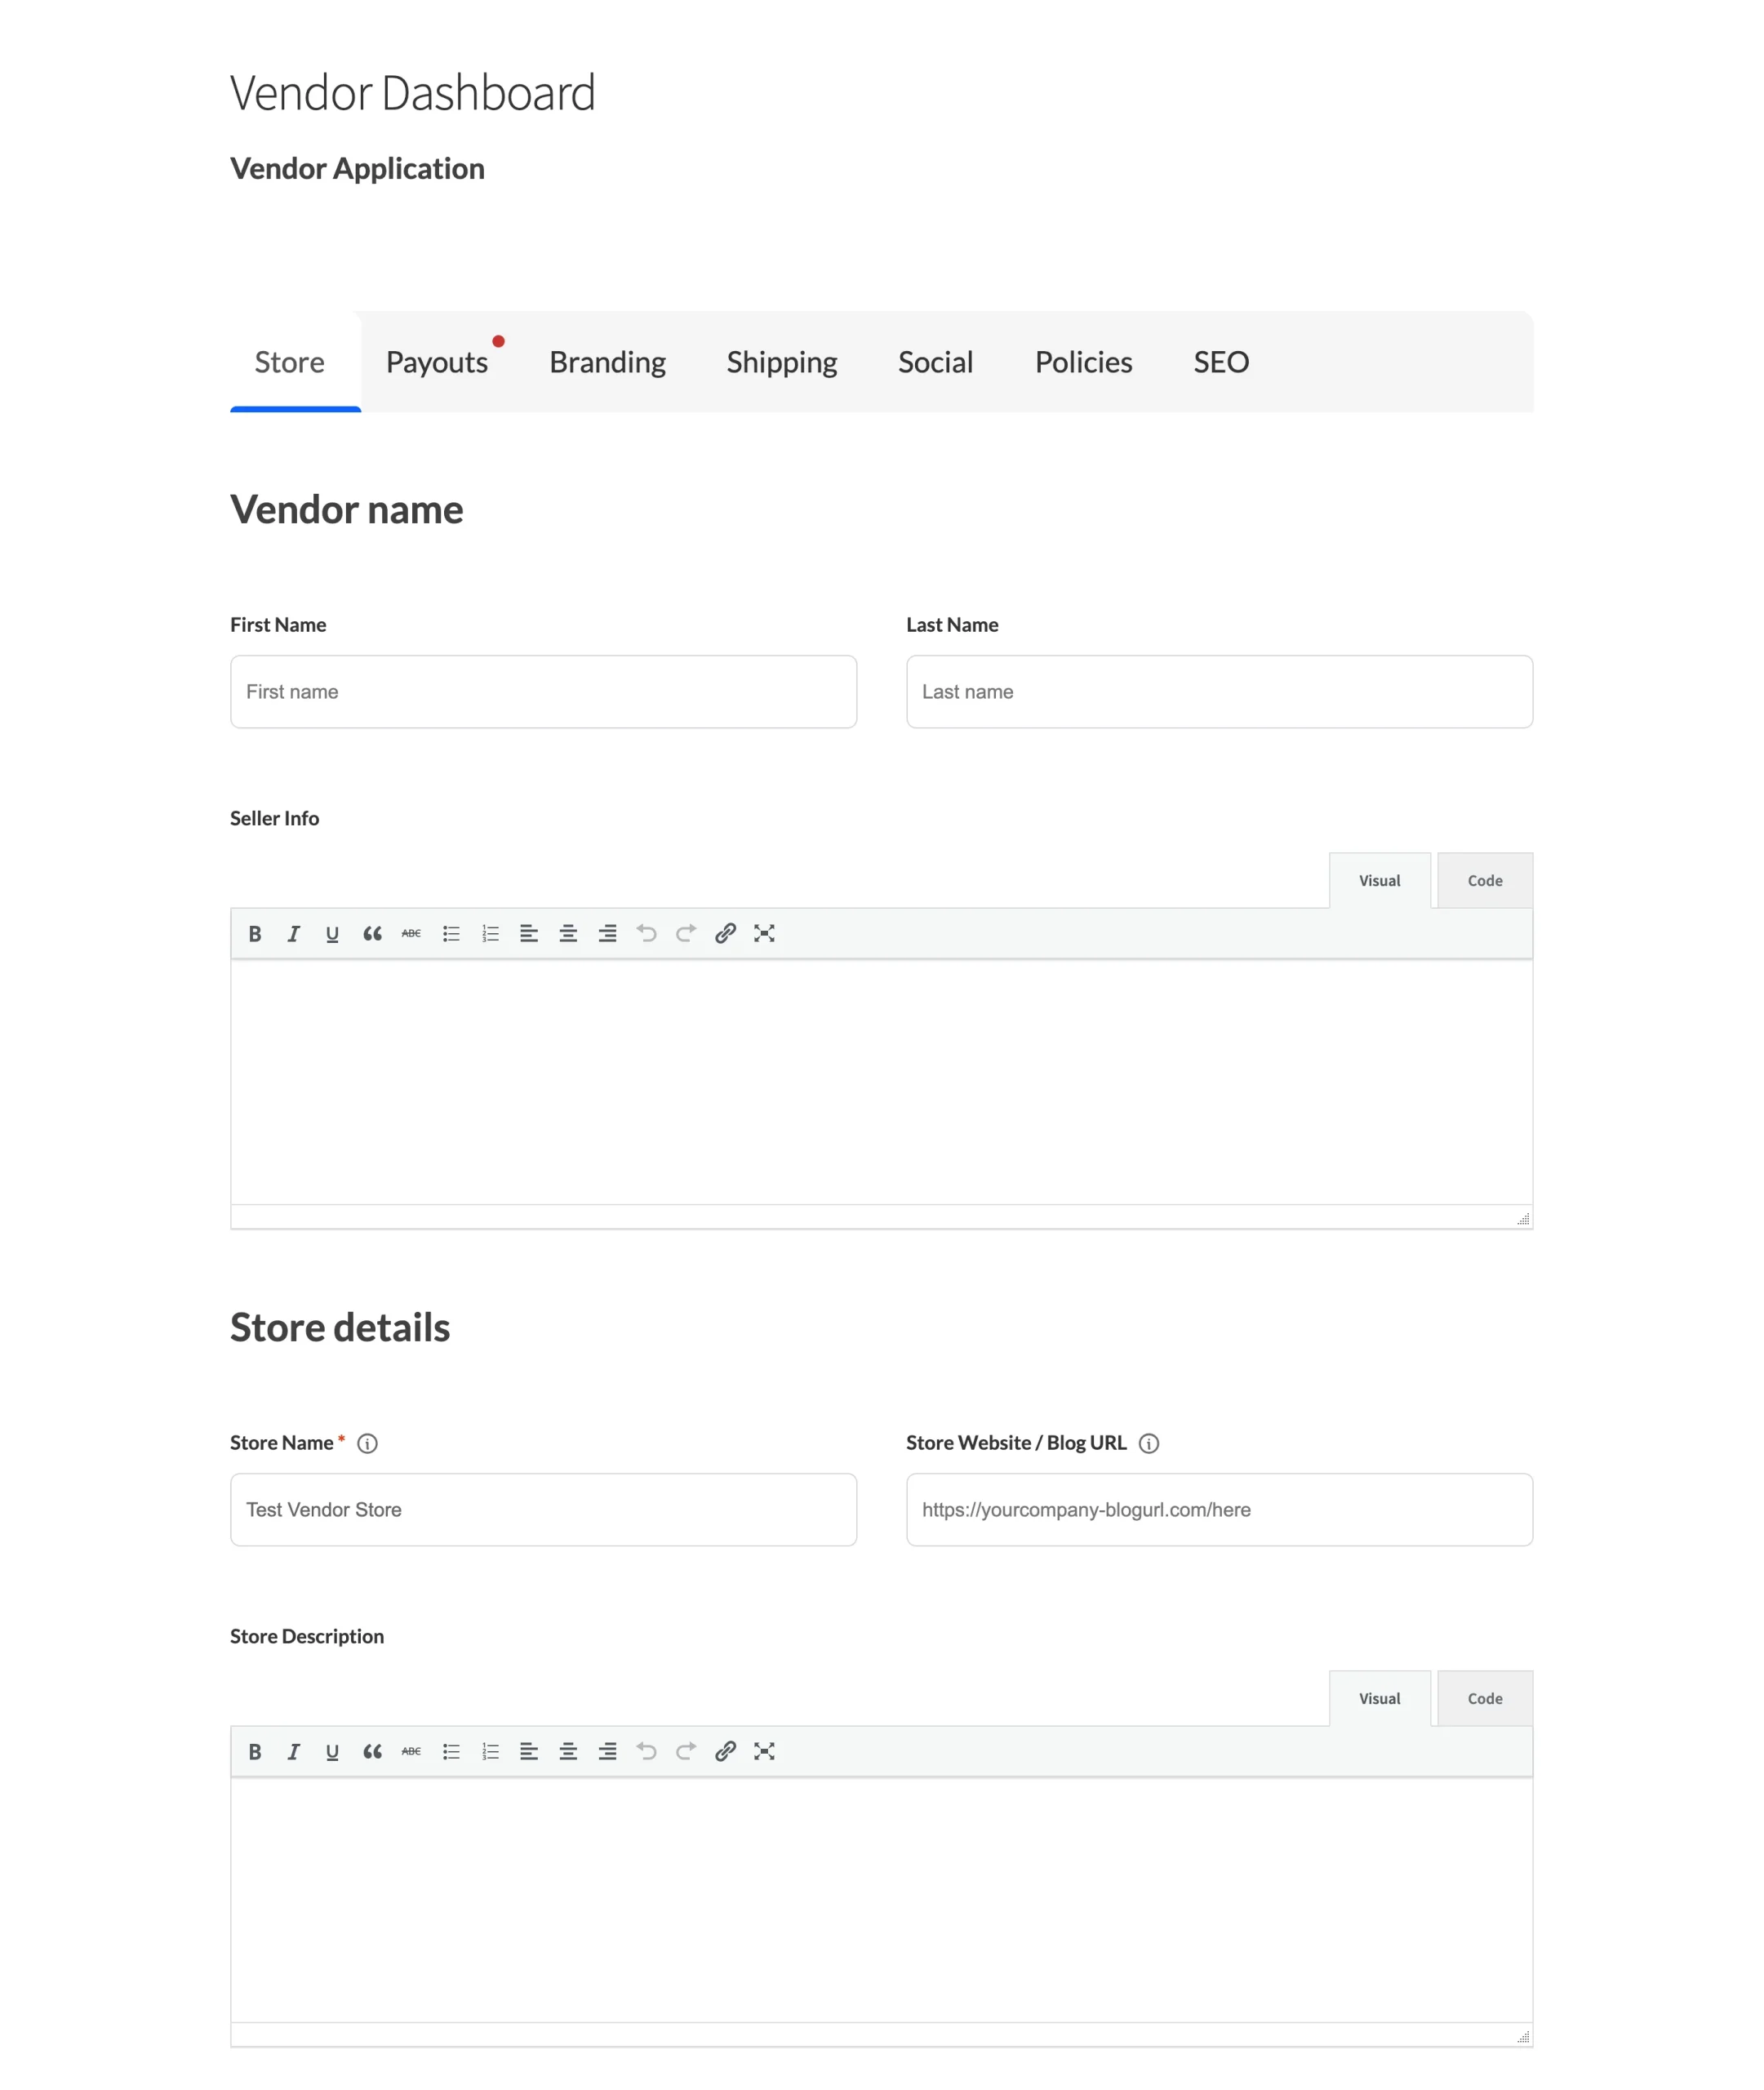
The following article will outline the various options on the General tab in WC Vendors Settings. These options are for both WC Vendors Marketplace and WC Vendors Pro. Pro options will be highlighted.
You can also check out our video regarding the various settings that you can configure for your marketplace:
Marketplace Options
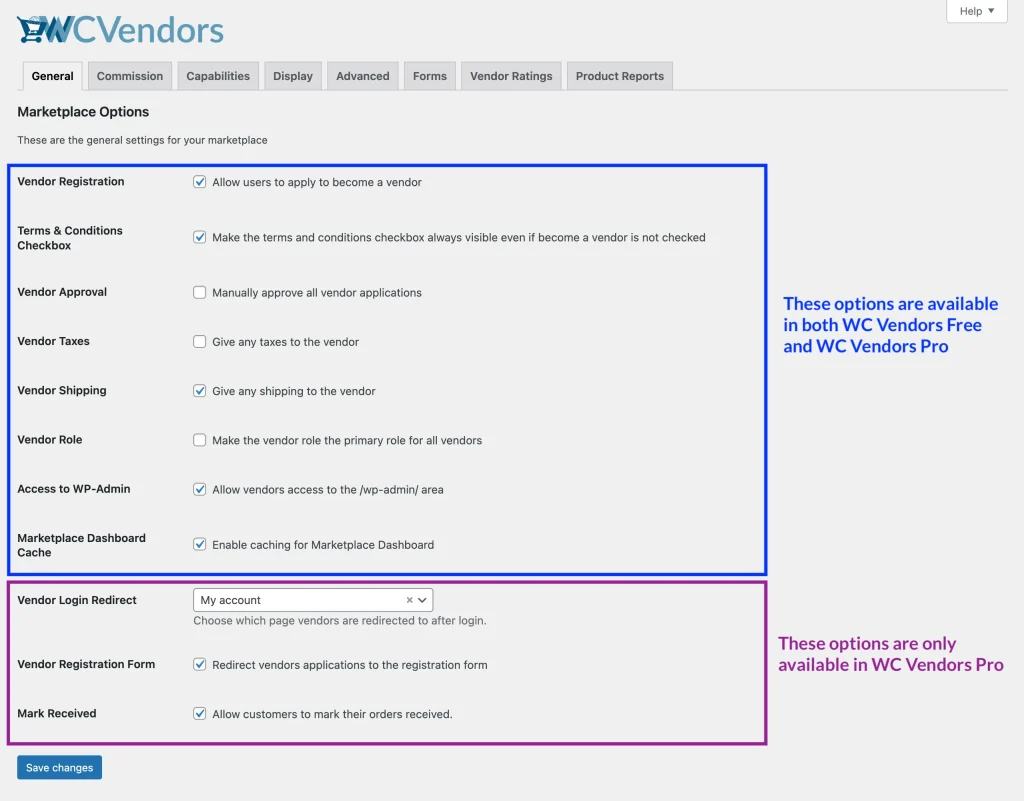
The first thing we’ll do now is set up the General Settings for your marketplace. From your admin screen, hover over the “WC Vendors” submenu, then click “Settings” and it’ll show you the “General” tab.
There are many options available, let’s go through each one of them!
- Vendor Registration
- Terms & Conditions Checkbox
- Vendor Approval
- Vendor Taxes
- Vendor Shipping
- Vendor Role
- Access to WP-Admin
- Marketplace Dashboard Cache
- Vendor Login Redirect (Pro)
- Vendor Registration Form (Pro)
- Mark Received (Pro)
1. Vendor Registration
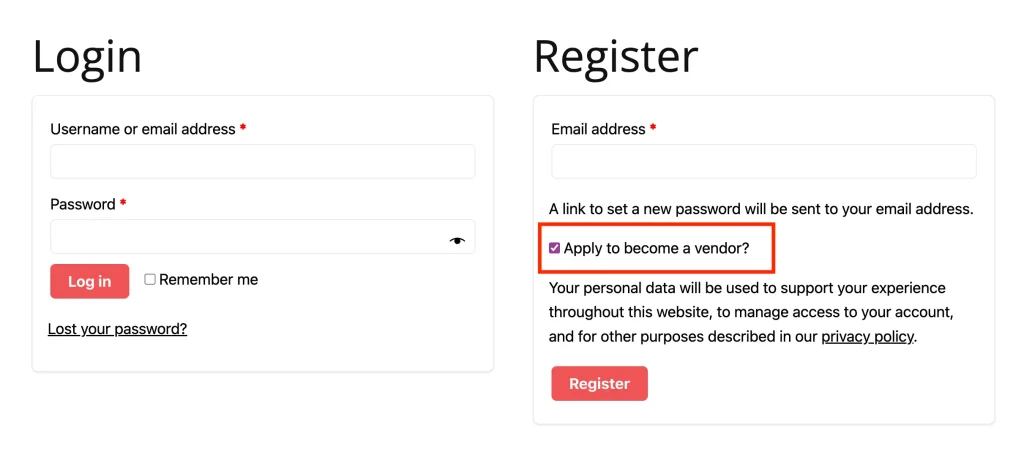
When you enable this feature, guests or visitors can apply to become a vendor when they register via the “My Account” page.
Meanwhile, logged-in users can also apply as vendors when they visit the Vendor Dashboard page.
2. Terms & Conditions Checkbox
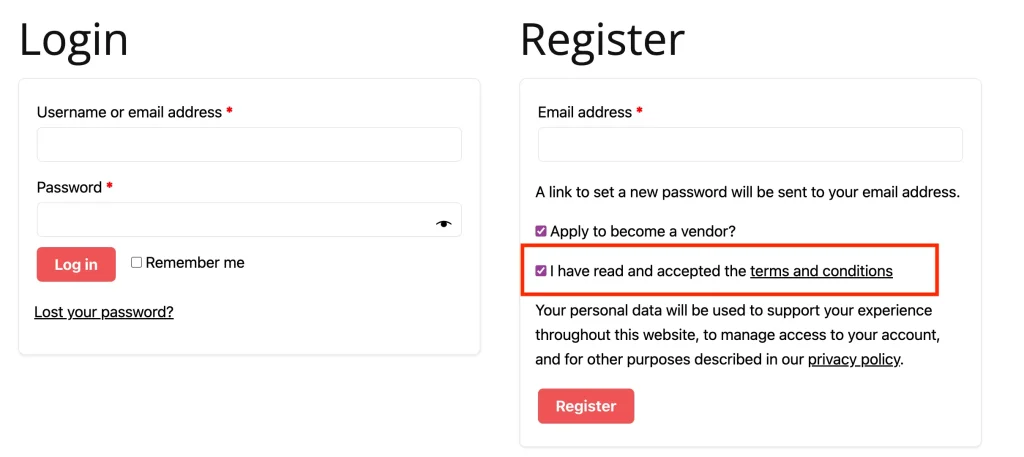
For more explicit consent on the terms and conditions of your marketplace, you can enable this option to show a checkbox that users must mark as checked before submitting their registration.
Please ensure that you select the page for your terms and conditions; otherwise, the checkbox won’t be displayed. You can do it from WC Vendors > Settings > Display.
3. Vendor Approval
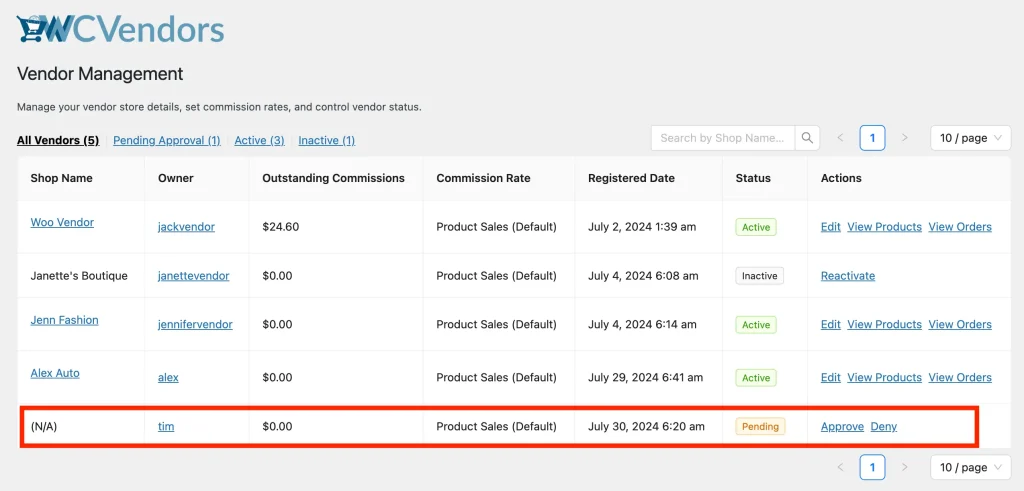
The vendor application is automatically approved by default. However, you can manually approve the application by enabling this option. If you go to WC Vendors > All Vendors, you’ll see the list of all vendors and see who has pending approval.
Click their username to view their profile, and if it’s all good, click “Approve” from the “Actions” column on the All Vendors page. If you don’t want to approve them, then click “Deny”.
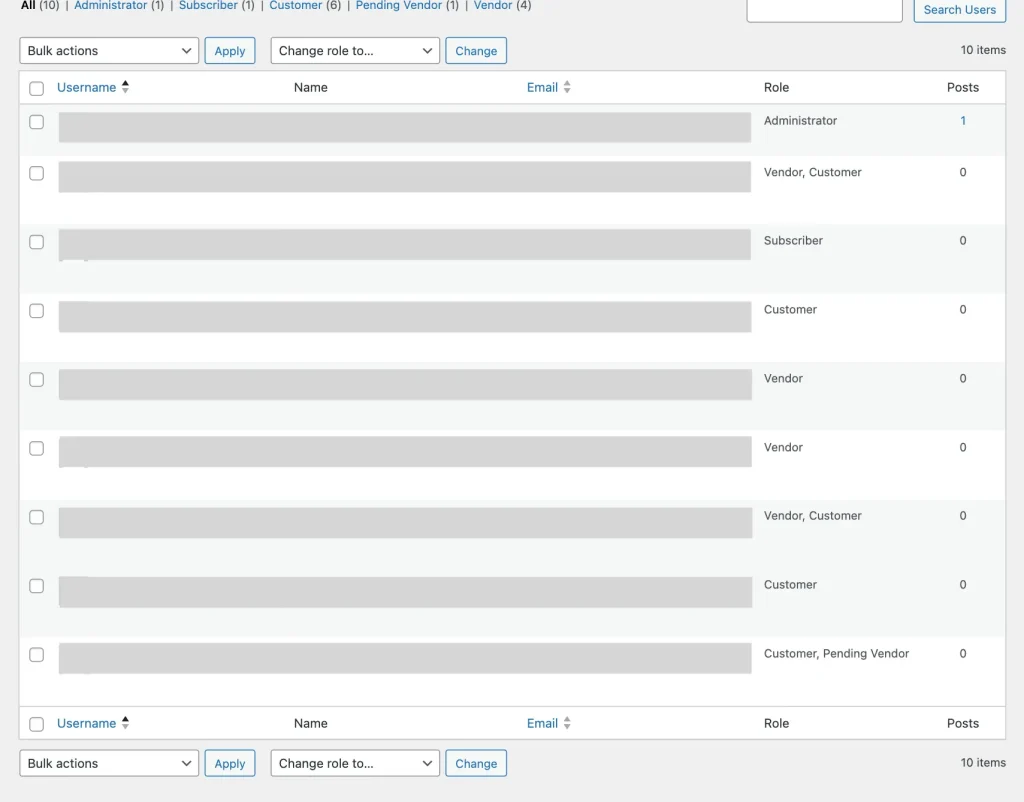
While they wait for your approval, they’re assigned to two user roles, i.e., a “Customer” and a “Pending Vendor”.
If you approve them, their “Customer” role and “Pending Vendor” role will be removed, and they’ll get assigned to the “Vendor” role, allowing them to set up their store immediately.
If they’re denied, their “Pending Vendor” role will be removed, and they’ll remain as a “Customer”. They can apply again to become a vendor from the “Vendor Dashboard” page.
Vendor applicants will also get notified via email whether they’re approved or denied. Please read this article to learn more about email notification for vendor applications.
4. Vendor Taxes
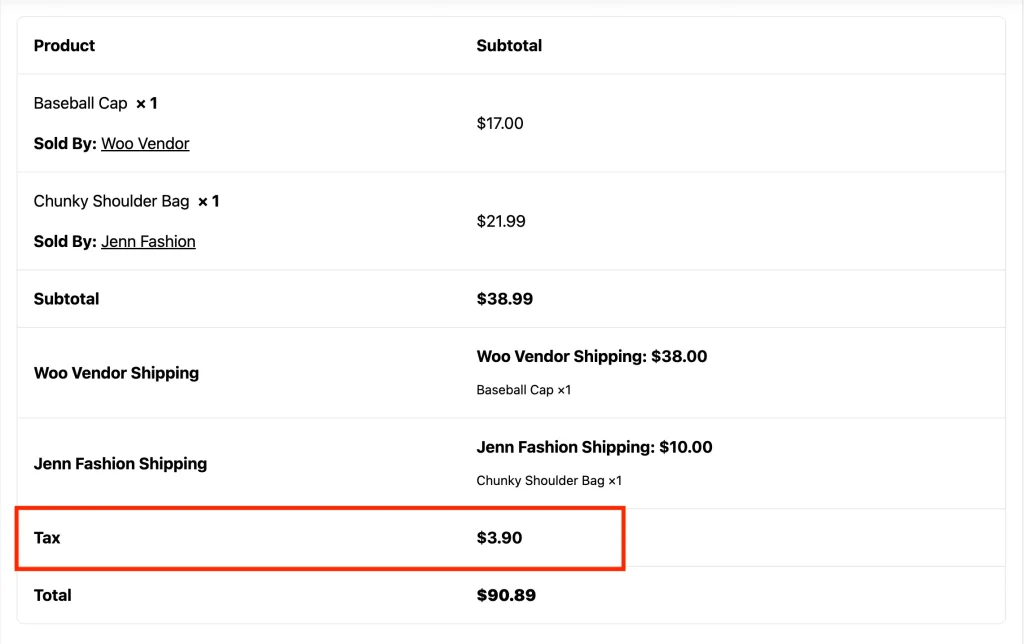
By default, shipping and taxes are not included in the vendor’s commission payout. You need to activate this setting if you wish for taxes collected from vendor sales to be passed on to the vendor. Be sure to configure your tax settings under WooCommerce > Settings > Taxes.
5. Vendor Shipping
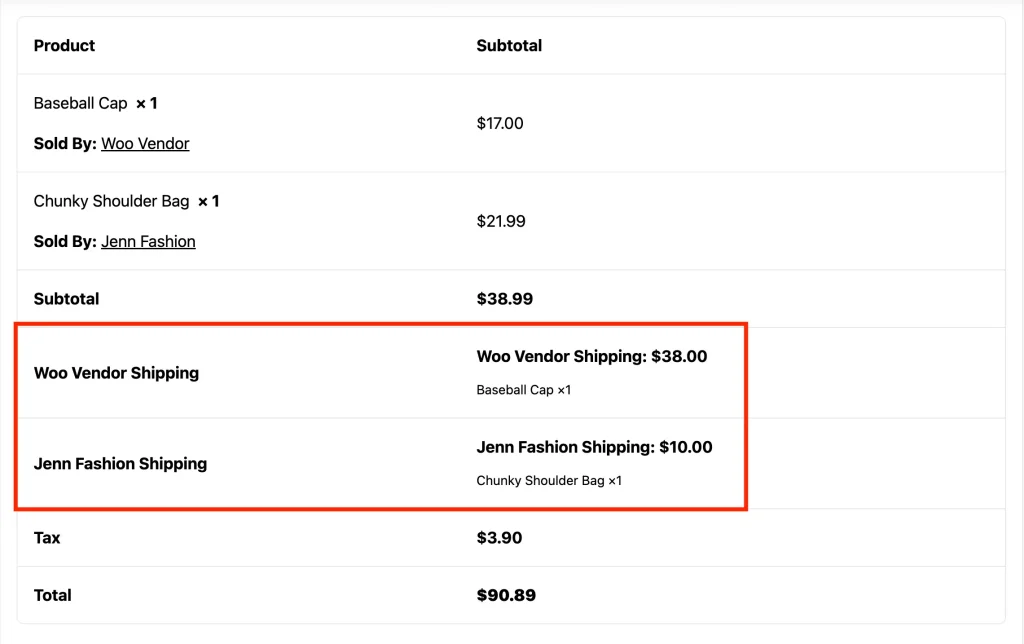
This option allows you to pass shipping fees on products sold by vendors to the vendor. Customers will be able to choose which shipping method they want to use. You can also manage vendor shipping capabilities from WooCommerce > Settings > Shipping > Vendor Shipping. Here, you can allow vendor to set up their own shipping.
This option lets vendors receive the shipping fees for their orders for their orders in addition to their product sales commission. Customers can choose their preferred shipping method at checkout. You can set up the shipping for your marketplace via WooCommerce > Settings > Shipping.
In WC Vendors Pro, can allow vendors to set up their own shipping via WooCommerce > Settings > Shipping > Vendor Shipping. Here, you can find the settings to manage your vendor shipping capabilities.
6. Vendor Role
Vendors may have multiple user roles in certain circumstances. Using this option, we’ll make their primary role as a “Vendor”.
7. Access to WP-Admin
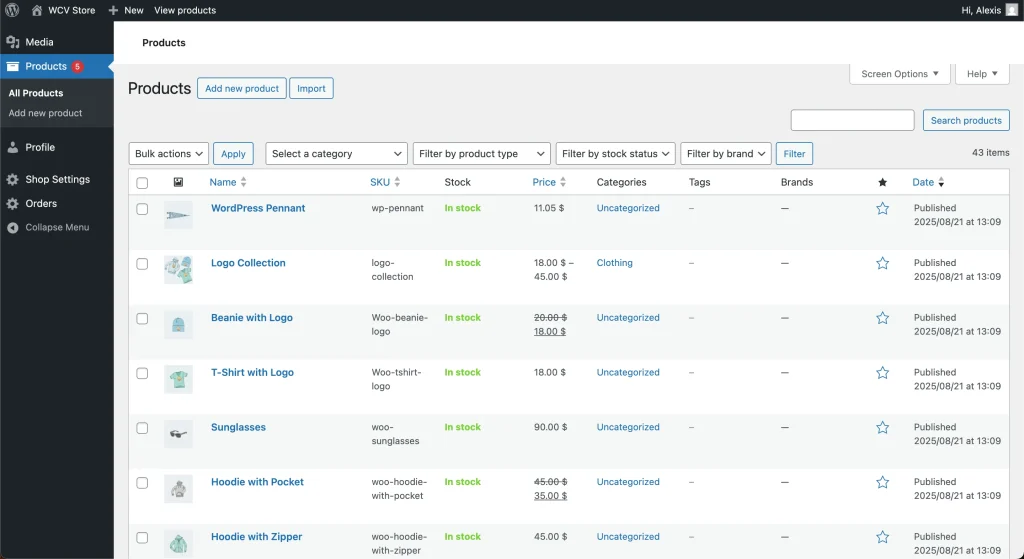
This option lets you control whether vendors can access the WordPress Admin area (/wp-admin/). By default, vendors manage their stores from the Vendor Dashboard, but if needed, you can grant them access to certain WordPress features. Restricting access is recommended to keep your site secure and ensure vendors only see the tools relevant to them.

Here is what the Products archive page would look like when the vendor opens it via WP Dashboard:
8. Marketplace Dashboard Cache
To improve the performance of the Marketplace Dashboard, we recommend enabling caching on this page.

Marketplace Pro Options
In addition to all the Free version options above, WC Vendors Pro adds more advanced settings for vendor management and customer experience:
9. Vendor Login Redirect
Here you can choose which page vendors are redirected to after logging in to your marketplace (e.g., Vendor Dashboard or another custom page).

10. Vendor Registration Form
Enable this option to redirect new vendors to the Vendor Application Form immediately after they sign up via the My Account page. If disabled, vendors will be redirected straight to the Vendor Dashboard instead.

11. Mark Received
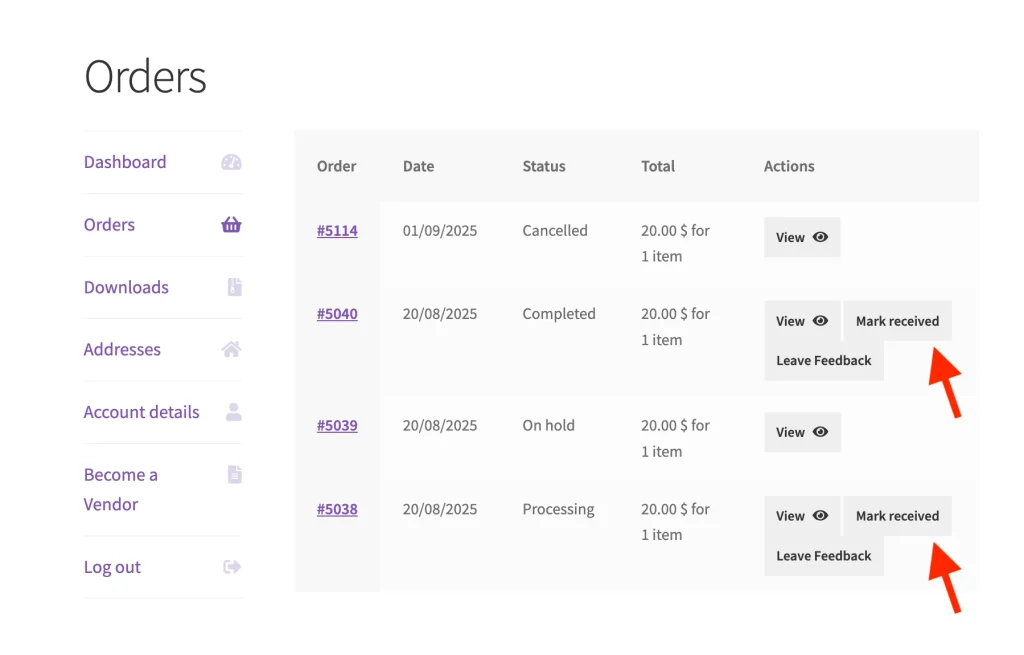
Allow customers to mark their orders as received, providing vendors with confirmation that their products have been successfully delivered.

This button will appear for orders with “Processing” and “Completed” statuses.
