The WC Vendors Signup plugin delivers one of the most requested and awaited features from our community, a fully customizable vendor signup solution. It makes it easy to onboard new vendors to your marketplace with a built-in form builder, dedicated signup and login pages, and seamless integration with WC Vendors.
With this plugin, you can provide a smooth vendor registration process while keeping full control over the data you collect.
This guide will walk you through the key features and how to get started.
Key Features of WC Vendors Signup Plugin
1. Form Builder in WordPress Admin
- Create and customize vendor registration forms directly from your WordPress dashboard.
- Add custom fields such as text inputs, dropdowns, checkboxes, or file uploads to capture the information you need from vendors.
- Rearrange fields with a simple drag-and-drop interface.
- Mark fields as required or optional depending on your onboarding process.
This ensures you gather important details that you need from vendors before approving their applications.
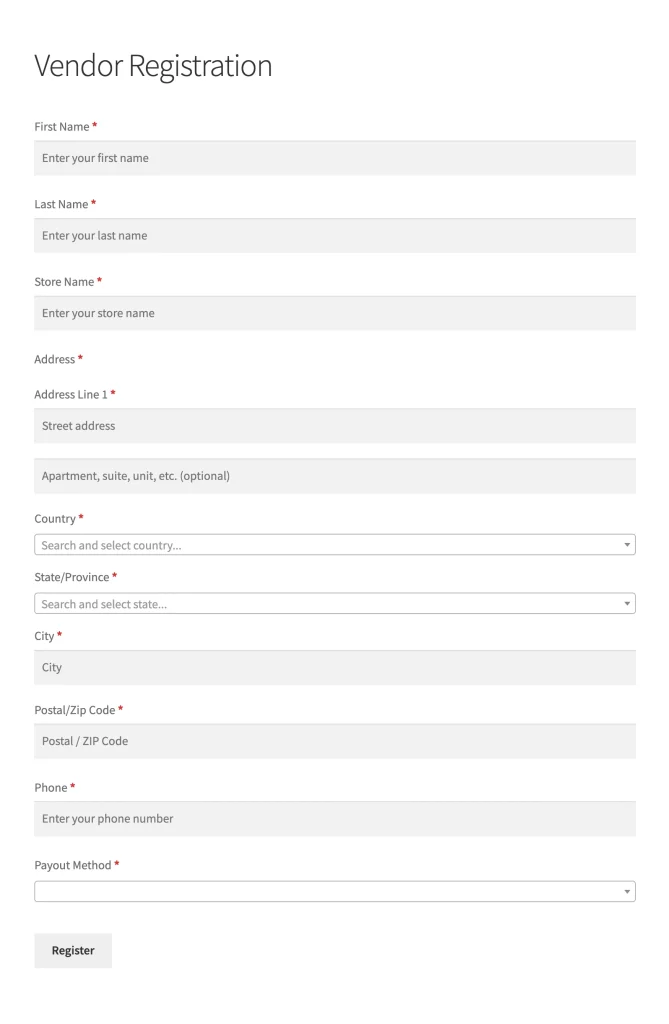
2. Vendor Registration Page
- A dedicated registration page is automatically created during setup.
- Vendors can sign up through this page using the custom form you built.
- Fields are fully customizable, so you can tailor the signup experience to match your marketplace’s needs.
This makes it easy for potential vendors to join while keeping the process consistent with your branding and requirements.
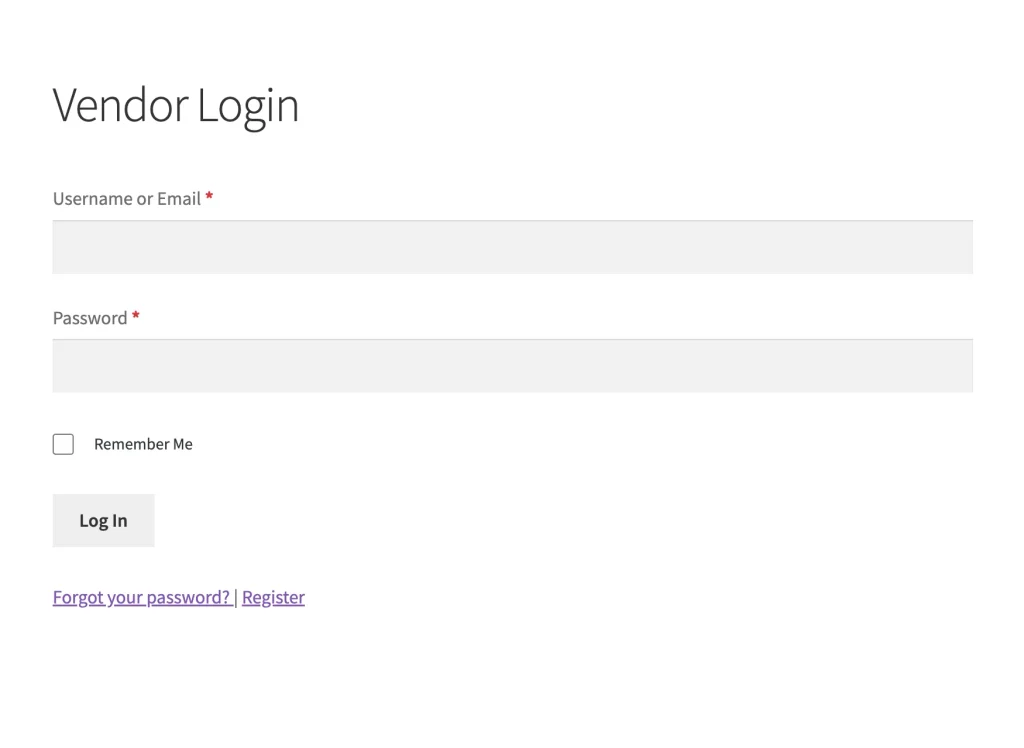
3. Vendor Login Page
- The plugin provides a ready-to-use login page for your vendors.
- Vendors can log in to manage their accounts, update details, and access their dashboard.
- Secure authentication ensures that only approved vendors can access the system.
This creates a clear and professional entry point for your vendor community.
4. Seamless WC Vendors Integration
- The signup and login process integrates directly with WC Vendors.
- New vendor registrations are automatically linked to WC Vendors’ vendor management system.
- Once approved, vendors can start managing their products, orders, and store settings without any extra setup.
This integration ensures a smooth workflow between registration, approval, and vendor management.
How to Use the WC Vendors Signup Plugin
1. Install and Activate the Plugin
- Go to Plugins > Add New in your WordPress admin.
- Upload and install the WC Vendors Signup plugin.
- Activate the plugin once installed.
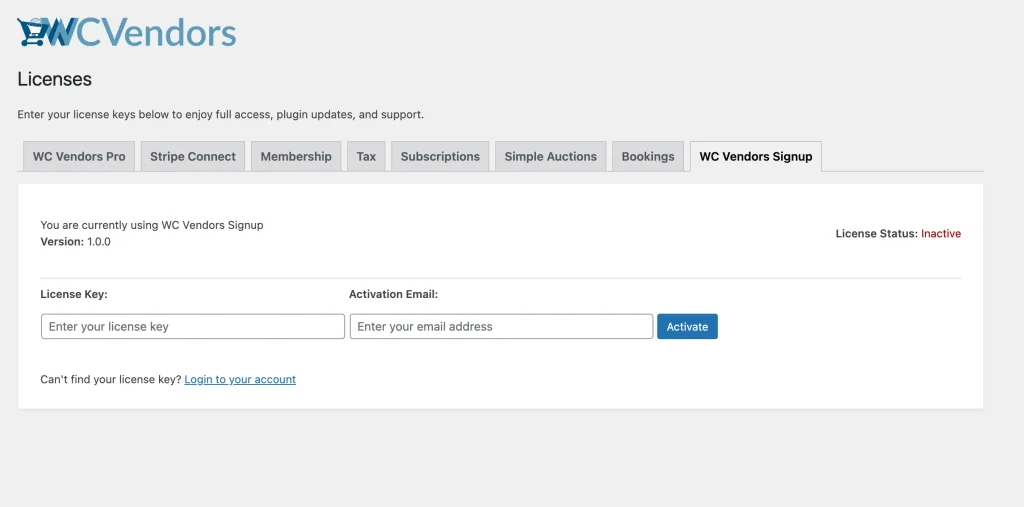
- Go to WC Vendors > License > WC Vendors Signup and fill in the details to activate the license
2. Build Your Vendor Registration Form
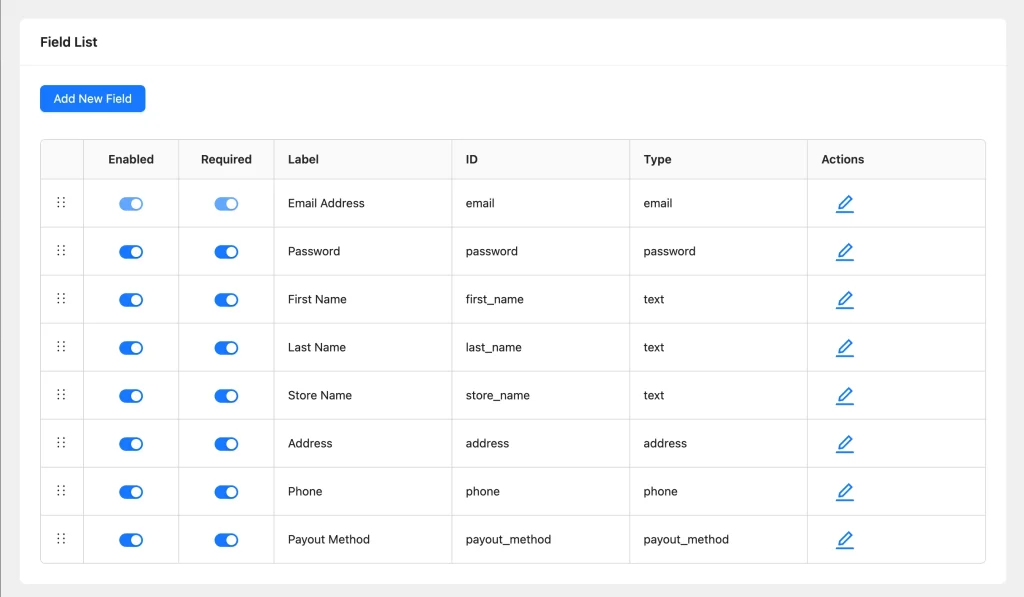
- Navigate to WC Vendors > Settings > Registration Forms.
- Use the form builder to add and arrange fields.
- Save your form when finished.
3. Set Up the Registration Page
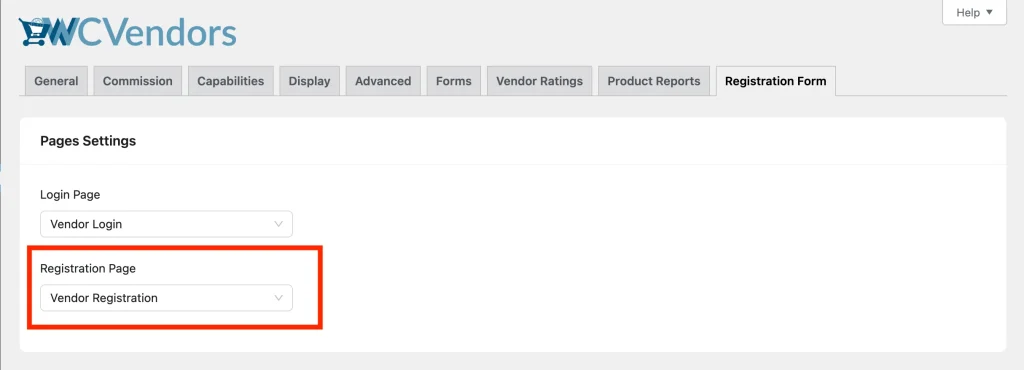
- A default Vendor Registration page is created automatically.
- If needed, you can also assign a custom page as the Vendor Registration page.
4. Configure the Login Page
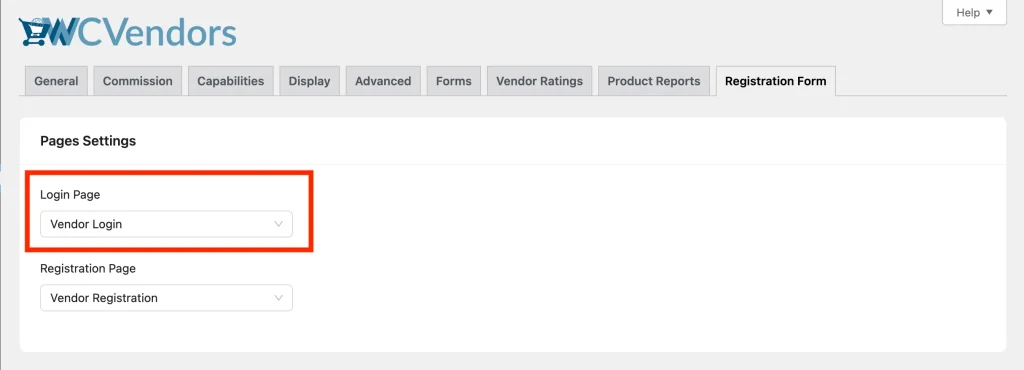
- A Vendor Login page is also created, but you can choose your own custom page.
- Share this page with your vendors so they can access their accounts.
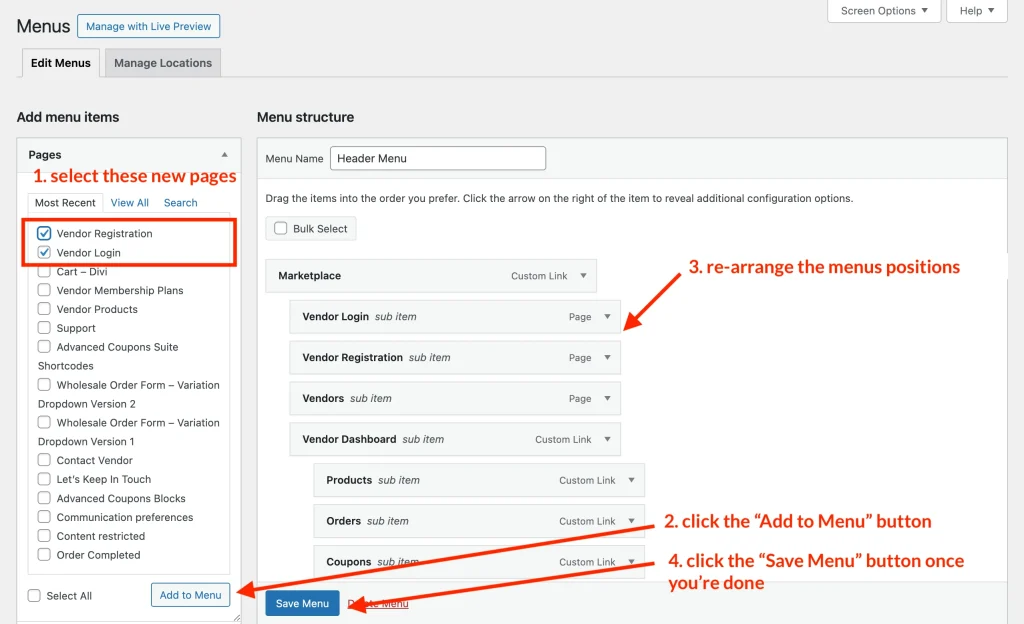
5. Add These Pages to the Menus
- Go to Appearance > Menus in your WordPress admin.
- Add the Vendor Registration and Vendor Login pages to your site’s navigation menus.
- This makes it easy for vendors to find the signup and login options directly from your site.
6. Test the Flow
- Visit your registration page as a guest and submit a test signup.
- Log in using the credentials to confirm the process works smoothly.
Optimizing Your Vendor Signup Experience
You can customize the registration form to fit your marketplace’s unique needs.
After that, you can visit WC Vendors > All Vendors to approve and manage new vendor accounts. Or, you can automatically approve the registrations by disabling the “Vendor Approval – Manually approve all vendor applications” option at WC Vendors > General.
Finally, share the signup and login links on your site to start onboarding vendors today!