There might be a time when your vendors need to import or export their products. WC Vendors allows them to do this directly from the Vendor Dashboard. This feature can save a lot of time when setting up or managing products in bulk.
Enabling Product Import & Export for Vendors
Before vendors can use this feature, the site admin must enable it:
- Go to WordPress Admin > WC Vendors > Settings > Capabilities > General.
- Scroll down to the Product Management section.
- Enable the Product Import/Export option.
- Save changes.
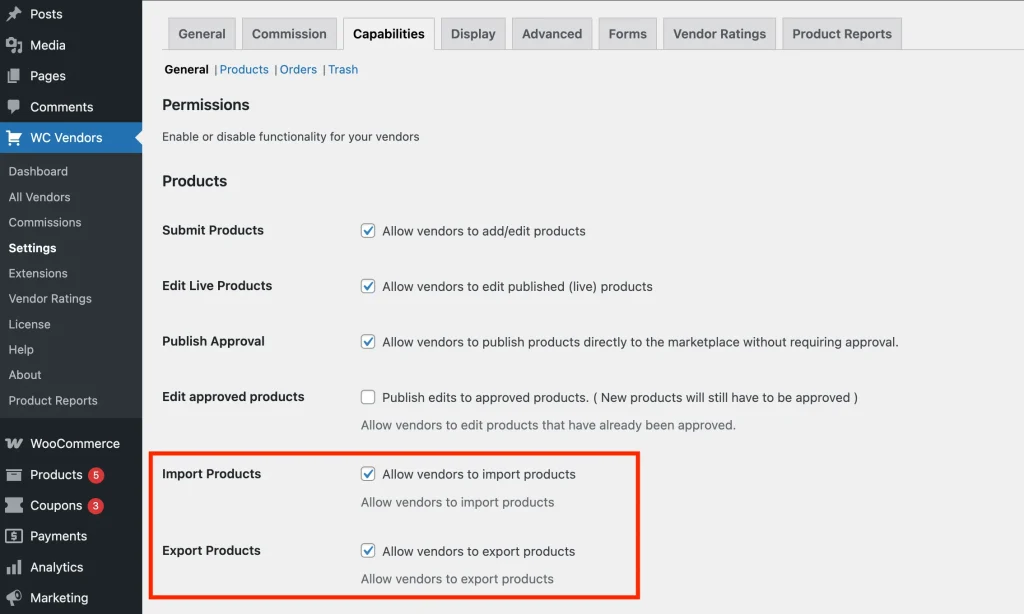
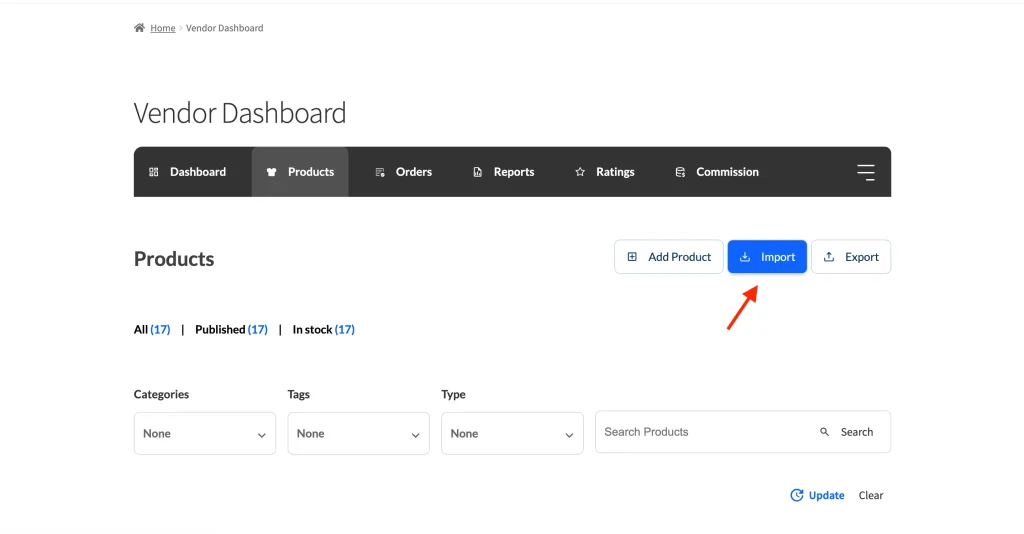
Once enabled, vendors will see Import and Export buttons under Dashboard > Products.
Importing Products
You can import products via the product import system by uploading a CSV file. The CSV must follow the correct format.
Tip: The easiest way to get the correct format is to first export a single product and then use that file as a template for your import.
If you’d like to learn more about the column headers you can use in the product CSV file, read the documentation from WooCommerce here.
Steps to Import Products
To import products you will need to navigate to Products on your dashboard. From here you will find the Import button.
Once you click the import button you will be guided to a multi-step process to import your products into the marketplace.
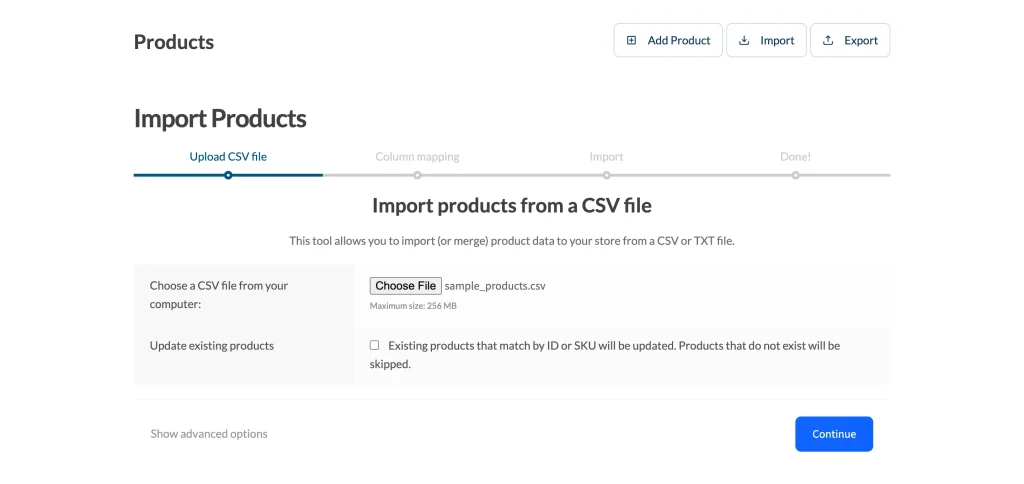
Step 1: Upload CSV File
The first step in the upload process is to upload your import file. This must be in the CSV format. There are advanced options if you require them. The advanced options allow you to define the CSV delimiter which is a comma by default.
You can also select to use previous column mapping. This means if you have imported products previously and set the column mapping from the second step, the import system will remember these for use next time.
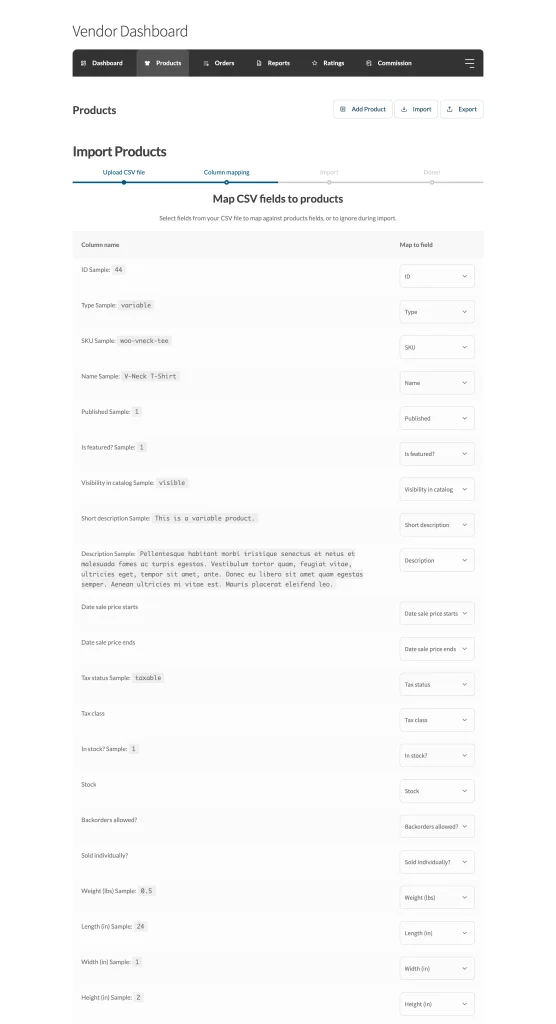
Step 2: Column Mapping
The column mapping will read your file and then do its best to map your CSV columns with the ones required by the marketplace to import. You can review and adjust mappings as needed.

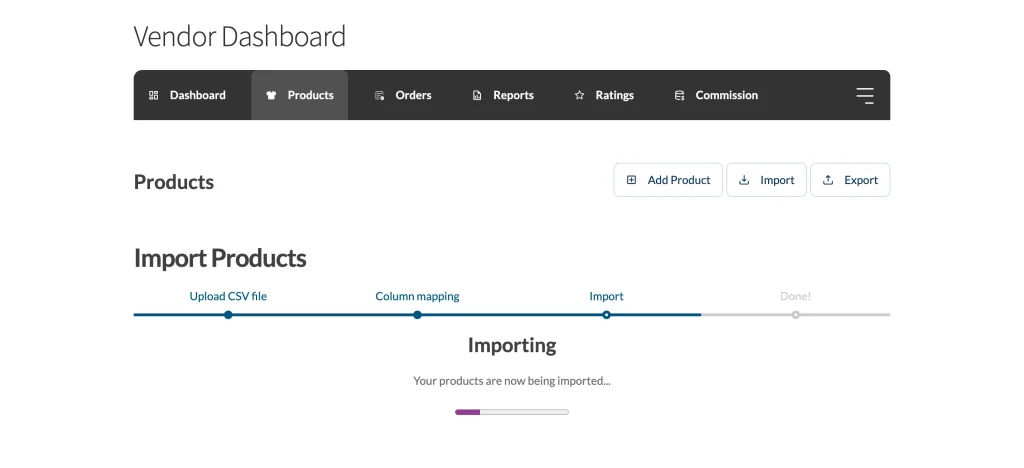
Step 3: Import Progress
The import screen will show you progress while it is importing. If you have a lot of products to import this will show the progress bar.
Large product imports may take some time. If the process freezes, try splitting your CSV into smaller files or increase your server’s maximum execution time limit to allow more time for the import to complete.
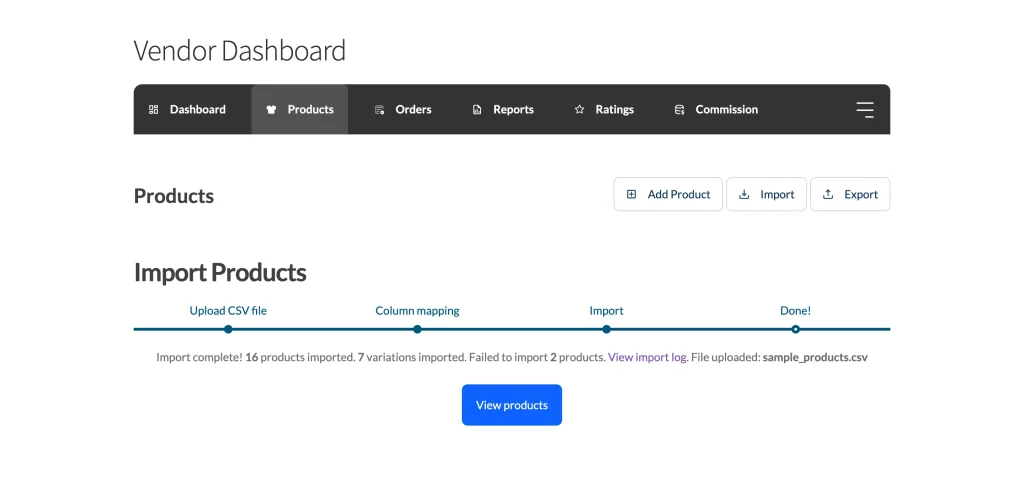
Done!
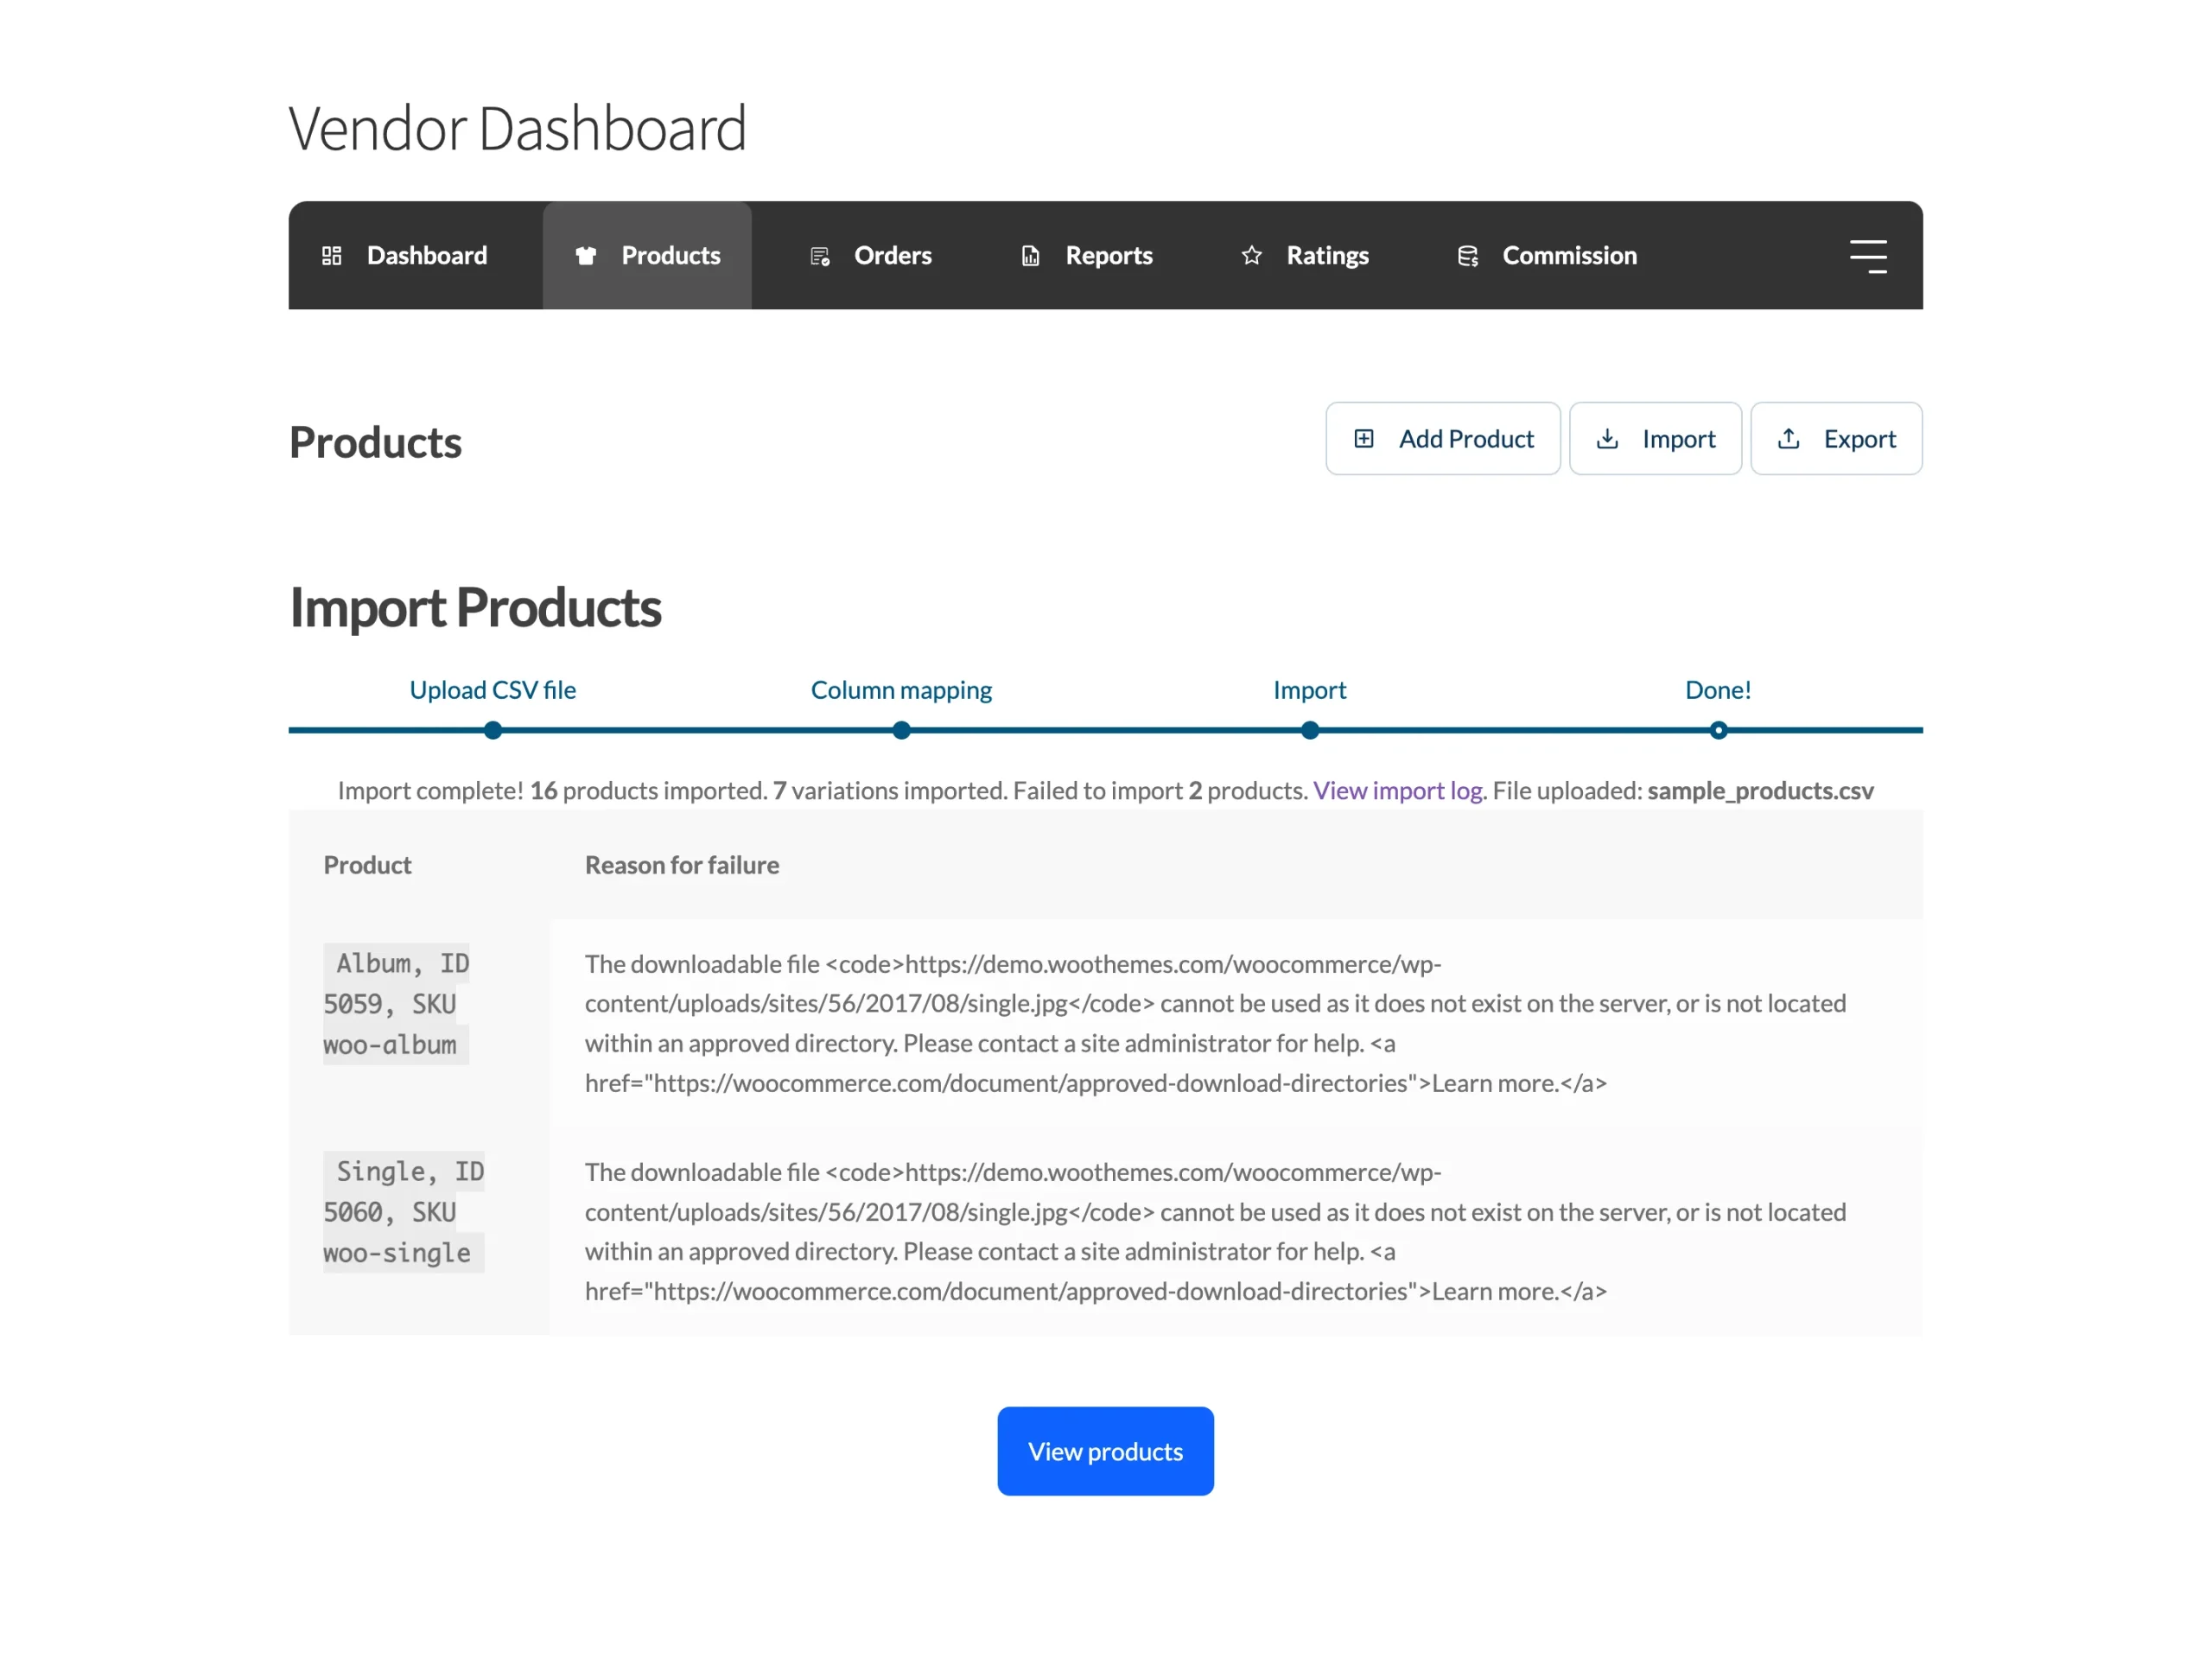
The final step will show you that the import is complete including details of the import. If there was any errors or products that are not imported you can check the log that is included on this screen.
View Import Log
The following is an example of the product log and reasons for why products might be skipped or not imported.
Exporting Products
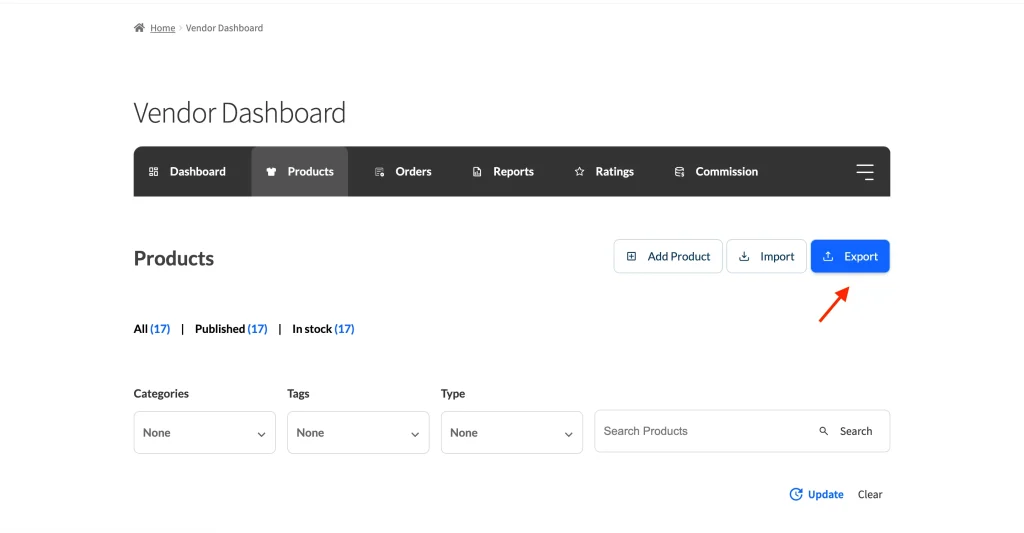
To export products you will need to navigate to Products on your dashboard. From here you will find the Export button.
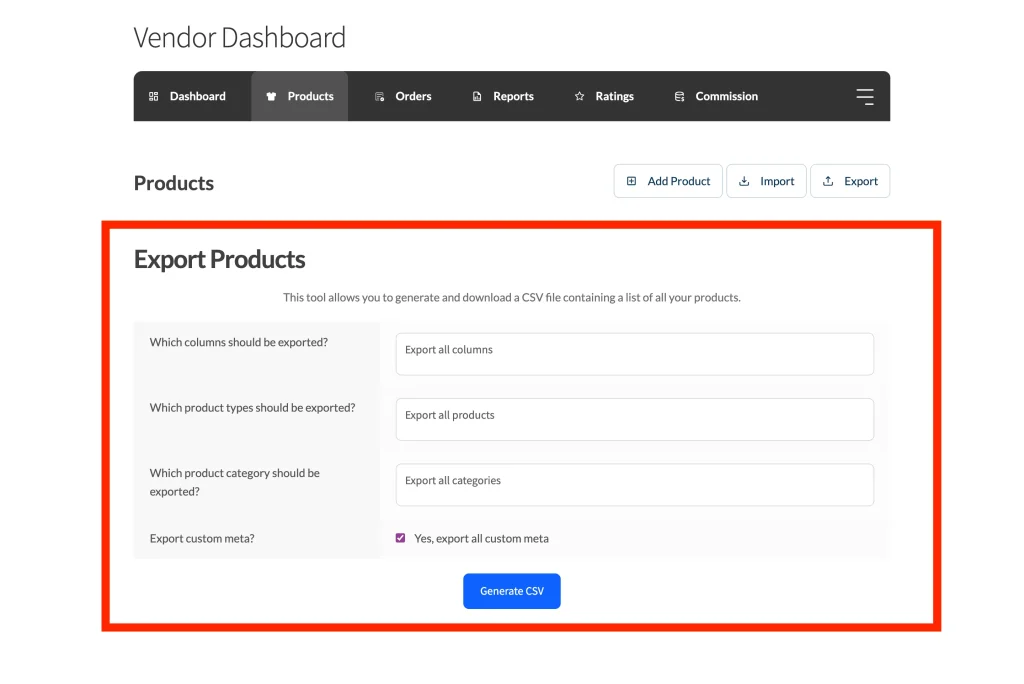
Export Options
There are four export options available to allow you to filter your exported products.
- Columns to export
- Product Types to export
- Categories to export
- Export custom metadata
Columns to Export
This allows you to specify which columns you want to export. If you want to only export simple product information such as the title and description you can select just those columns.
Product Types to Export
Depending on which products your marketplace allows, you can select which kinds of products you want to export. Generally speaking, the following product types can be available.
- Simple
- Grouped
- External/Affiliate
- Variable
- Product Variations
- Subscriptions
- Bookings
- Auctions
Categories to Export
This allows you to specify specific categories of products to export. This is limited to the product categories that you have used. This allows you to only export products from the categories you require.
Export Custom Meta
If your products use custom metadata e.g., product-level shipping overrides, you will want to ensure that this box is ticked if you require shipping settings to be imported.
Generate CSV
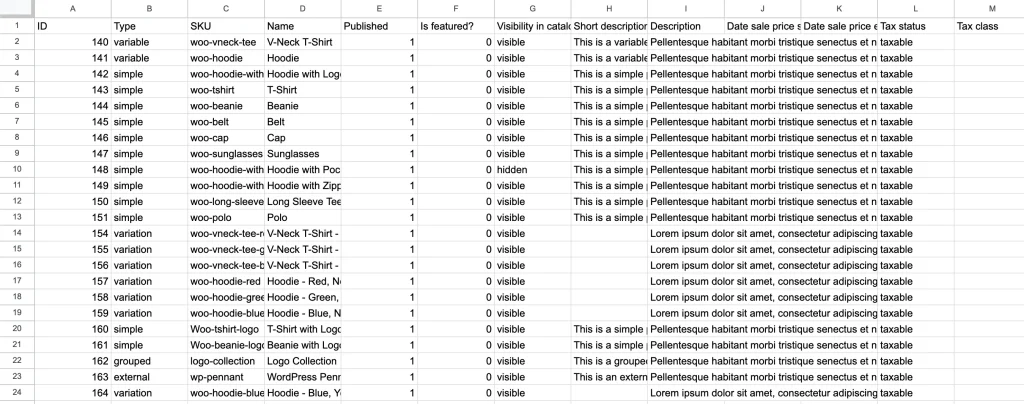
Once you’ve selected your preferences, click Generate CSV. If you don’t change any defaults then all of your products will be exported to a CSV file. You can also use this exported CSV file as a template for importing products.
