In the world of e-commerce, becoming a successful marketplace builder is a goal that many aspire to achieve, as exemplified by giants such as Amazon, Alibaba, and eBay – multi-vendor marketplaces. These online shopping hubs benefit everyone involved. After all, they let customers shop from a massive selection of products, grant vendors instant access to a large customer base, and provide the marketplace with a share of all profits. Small wonder so many aspiring businesspeople are eager to learn how to create an online marketplace.
But only a large company with a generous budget can launch an e-commerce marketplace… right?
Actually, you’ll be surprised at how simple and affordable it is to start your very own marketplace. In fact, it only takes minutes to craft and launch a professional multi-seller website, giving you ample time to focus on attracting vendors and customers to your new endeavor.
In this tutorial, we’re going to show you how to create an online marketplace in eight straightforward steps. Your secret weapon? WC Vendors – a top-rated marketplace solution that you can download at zero cost!
Step 1: Purchase A Hosting Package
To create an online marketplace, you must first purchase a plan from a reliable hosting company to host your website. Basically, this will ensure that your marketplace loads quickly. In addition, it will allow customers to access your website from anywhere in the world. This initial step is crucial for any aspiring marketplace builder as it lays the foundation for a high-performance and accessible online marketplace.
To build your marketplace, you’ll be using WordPress. It’s the most popular content management system available and is 100% free to download and use. Not to mention it’s supported by every website hosting company!
You can purchase shared hosting plans for only $5 per month. However, we recommend spending a little more and selecting a VPS hosting plan. Alternatively, you can choose a managed WordPress hosting package from Kinsta, WP Engine, or any other company that caters specifically to WordPress users. Then, you can increase your hosting requirements whenever necessary.

Step 2: Install WordPress
The next step for any aspiring marketplace builder is to install WordPress.
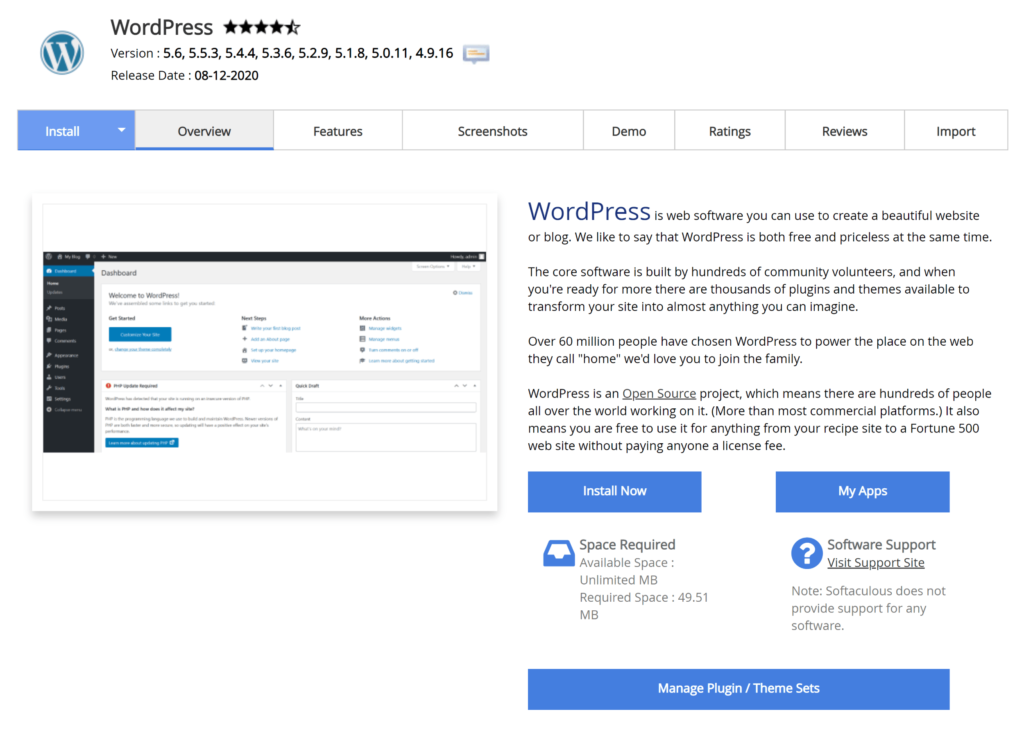
WordPress will be powering your marketplace. While it’s a flexible solution that supports many advanced features, it’s extremely easy to set up and use. Furthermore, a vast majority of website hosting companies offer automatic installation tools, which ensures that you only need a couple of clicks to install WordPress.
However, if you prefer, you can install WordPress manually yourself using its famous five-minute install. All you have to do is download WordPress from WordPress.org, upload the core WordPress files, create a database and database user, and then run the installation script.
Be sure to speak to your hosting company if you’re unsure about any aspect of installing WordPress.
Step 3: Install WooCommerce
Now, it’s time to install WooCommerce, a crucial step for every marketplace builder.
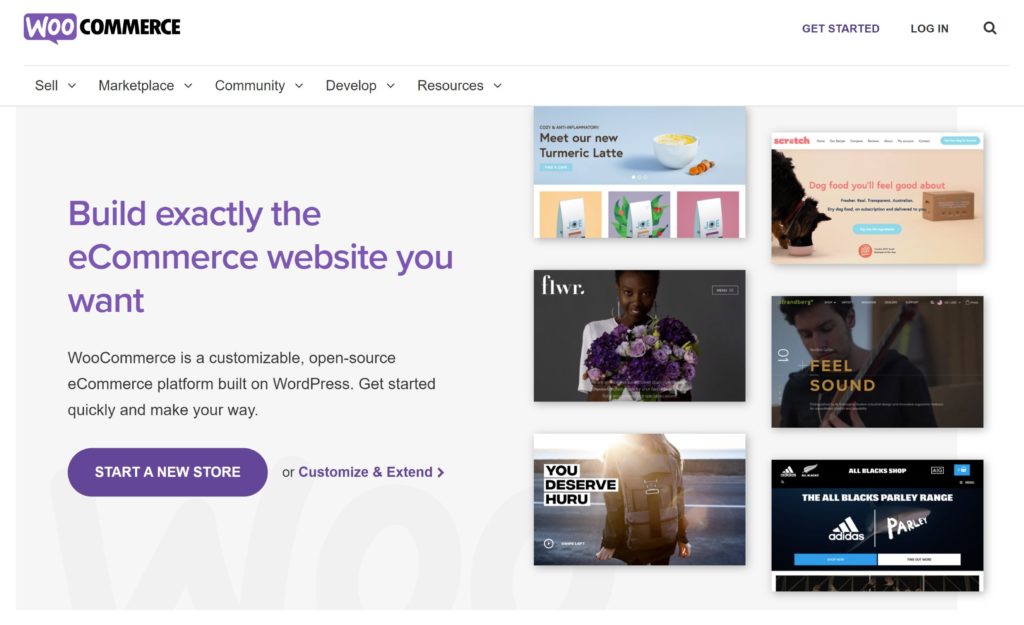
WooCommerce is a hugely popular free WordPress plugin that helps you sell physical products and digital products online. It powers a large percentage of online shops and is used to create small online shops and large e-commerce stores alike.
WooCommerce doesn’t let you create an online marketplace out of the box. Thankfully, this functionality can be added using WC Vendors (we’ll speak more about this plugin in Step 5).
You can install WooCommerce directly from the plugins page in the WordPress admin area. Alternatively, you can download the plugin from WordPress.org and upload the files to your WordPress plugin directory yourself (i.e. /wp-content/plugins/).
Step 4: Choose A WooCommerce Theme
Next, you must select a WooCommerce-friendly WordPress theme.
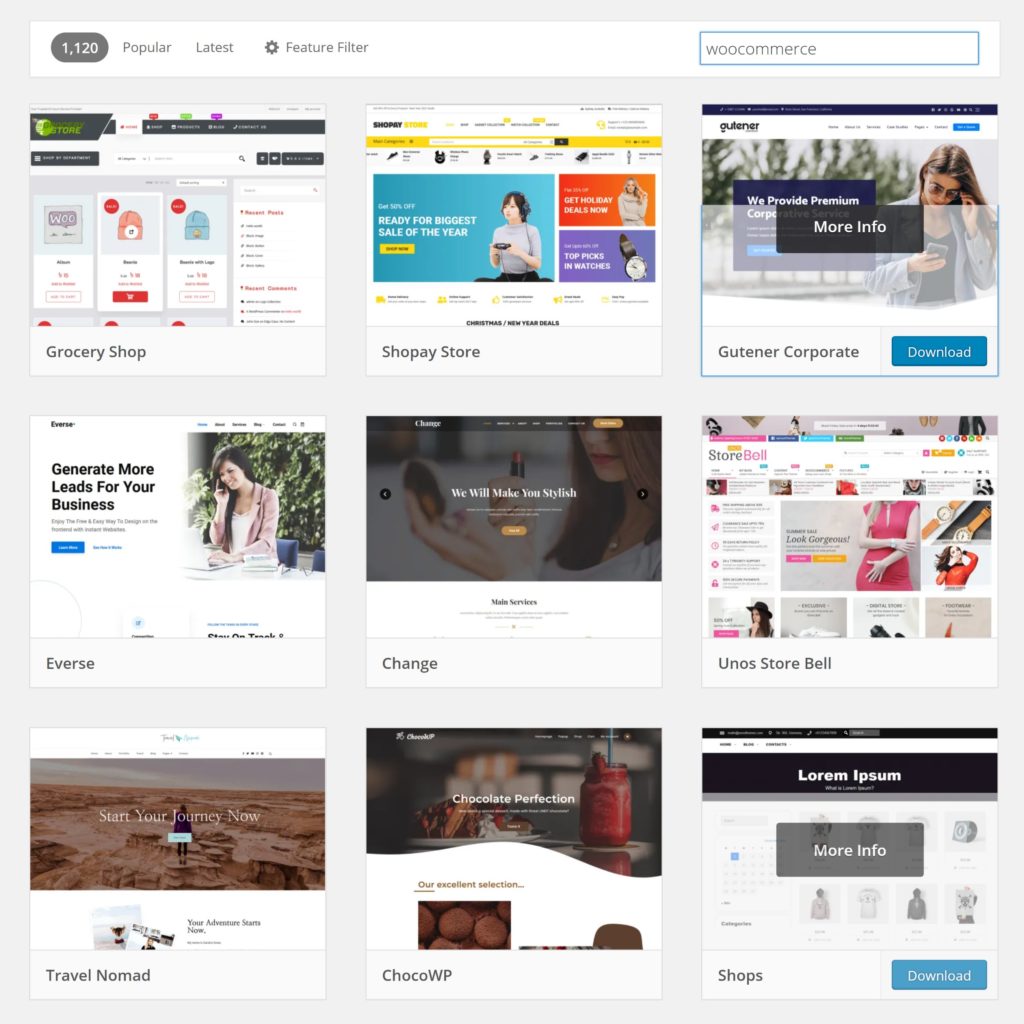
There are thousands of free and premium WooCommerce-compatible WordPress themes on the market, essential tools for any marketplace builder. For anyone who wants to create an online marketplace, the official WooCommerce Storefront theme is a good starting point. After all, it looks great, is easy to use, and can be acquired for free. The WordPress.org theme directory has many more free WooCommerce themes that are worth checking out too.
Do you want the best of the best? Then you may want to consider purchasing a premium WooCommerce theme. Over 1,200 WooCommerce themes are available on ThemeForest alone. Moreover, theme stores such as CommerceGurus solely sell advanced WooCommerce designs such as Shoptimizer.
Be sure to shop around and choose something that meets your needs.
Step 5: Install WC Vendors
The final piece of the puzzle is WC Vendors.
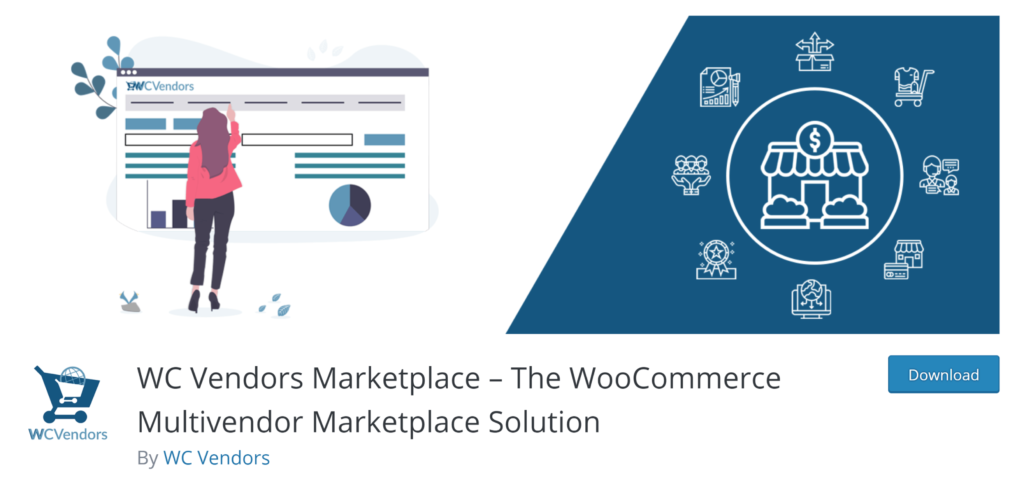
WC Vendors works alongside WordPress and WooCommerce to help you create an online marketplace that’s fully functional, versatile, and attractive, making it an essential tool for any marketplace builder. This plugin doesn’t impose any restrictions on the number of vendors and products you can add to the marketplace. In addition, you can create paid memberships for vendors, define the default commission structure for selling through your platform, and much more.
You can install WC Vendors free of charge from the WordPress plugins page. Alternatively, you can download the plugin directly from WordPress.org and upload the files to your website using an FTP client.
Step 6: Configure Your Marketplace
To create an online marketplace that meets your business needs, you must configure its settings, a critical step for every marketplace builder.
Both WooCommerce and WC Vendors boast a ton of settings to modify. However, getting started is straightforward as both plugins offer setup wizards.
In WooCommerce, the wizard requests basic information about your store such as your store address, what industry your store is in, and what types of products you’re going to sell. In addition, it will encourage you to define additional settings such as tax and shipping. However, bear in mind that these settings are relevant to traditional online stores, not an online marketplace.
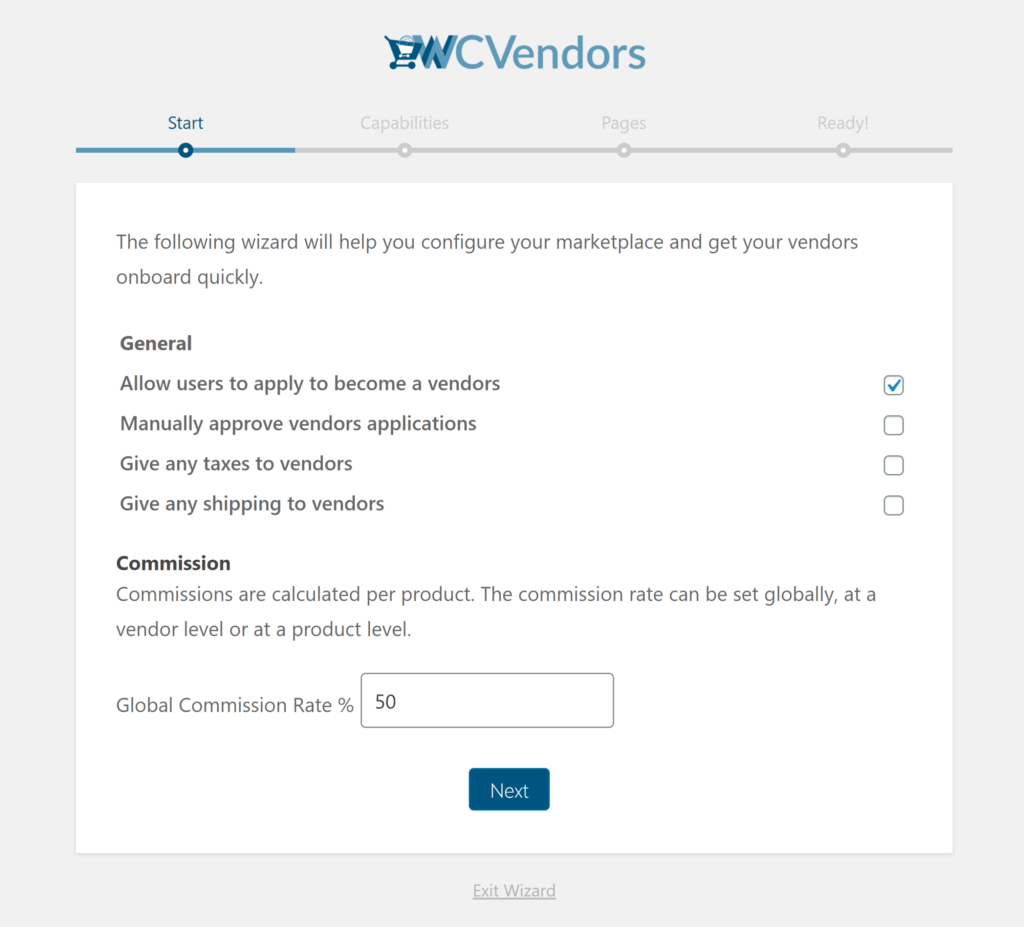
WC Vendor is easier to set up than WooCommerce. The first page of the setup wizard lets you determine how users become vendors, whether taxes and shipping are given to vendors, and what the global commission rate is. Then, you’ll be asked to define vendor permissions and specify which WordPress pages will operate as vendor pages. If you prefer, you can manually integrate WC Vendors into your website design using shortcodes yourself.
Once you’ve walked through both setup wizards, we encourage you to review all your settings. This will guarantee that you’ve configured everything correctly.
Step 7: Configure Advanced Marketplace Settings (Optional)
If you’re serious about launching a successful online marketplace, we recommend upgrading to the premium version of WC Vendors, essential for any committed marketplace builder. After all, the full version of WC Vendors has many more features than the free version.
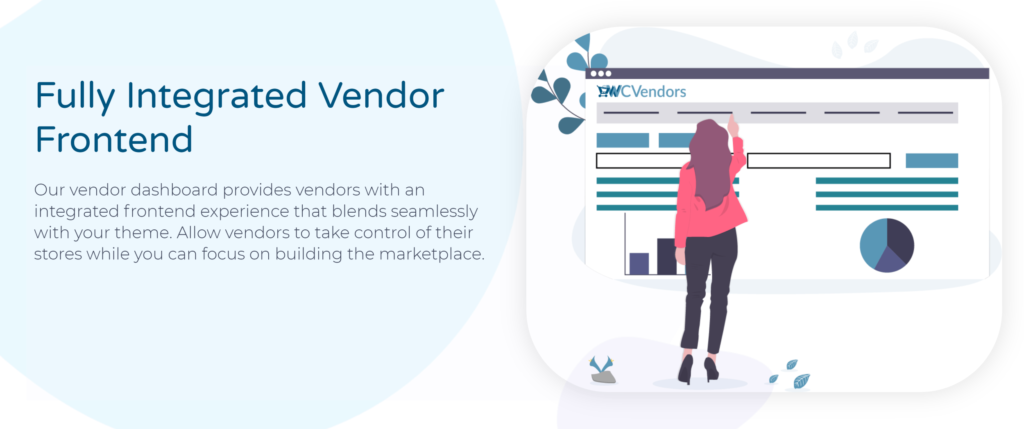
Upgrading lets you give vendors a professional frontend vendor dashboard to help them manage their shop more effectively. Furthermore, it introduces additional shipping options, an advanced commission system, improved order management, and useful marketing features such as a coupon system. Perhaps more importantly, upgrading gives you premium support from the developers of WC Vendors.
WC Vendors Pro retails for a minimum of $199 per year (only $99.50 for the first year). Check out the official WC Vendors Free vs Pro Comparison page to learn more about the differences between both versions.
Step 8: Promote Your Marketplace
The final step of building an online marketplace is arguably the most important.
Once you have configured WordPress, WooCommerce, and WC Vendors, you need to promote your marketplace. To do this, you’ll need to approach vendors and talk about the benefits of selling products through you. For example, you could approach smaller online shops, explain your future plans for your marketplace, and show them how to use your platform to sell their products.
There is no hiding the fact that promoting a marketplace is the most difficult in the beginning. Thankfully, as more vendors partner with you, it becomes easier to attract vendors and customers.
We encourage you to follow the WC Vendors Blog for more advice about promoting an online marketplace.

Build Your First Multi-Vendor Ecommerce Website
Starting your first multi-vendor e-commerce website begins with picking a platform that welcomes multiple sellers. Using WordPress and integrating it with WooCommerce gives you a sturdy base for online sales. By incorporating a multi-vendor plugin such as WC Vendors, you transform your simple online store into a dynamic marketplace where different sellers can showcase their products.
After the technical groundwork is laid, the next step is to focus on creating an inviting and navigable website for your users. Design your site with simplicity in mind, ensuring that customers can easily find what they’re looking for and that vendors have a hassle-free experience uploading their items. Remember, choosing a reliable hosting service is key to keeping your site smoothly running, setting the stage for a thriving online marketplace.
We’ve already prepared a detailed guide on building your first multi-vendor ecommerce website, which you can find in our article “How To Build Your First Multi-Vendor Ecommerce Website (Full Guide)“. Check it out!
Conclusion
Launching an online marketplace is a lot easier and cheaper than you would expect. With the right marketplace builder, you can have a professional, fully functional marketplace in record time. This solution helps streamline the process, ensuring that your platform is user-friendly for both vendors and customers, ultimately setting the foundation for a successful e-commerce venture.
To recap, to create an online marketplace, you need to observe the following eight steps:
- Purchase a hosting package
- Install WordPress
- Install WooCommerce
- Choose a WooCommerce theme
- Install WC Vendors
- Configure your marketplace
- Configure advanced marketplace settings (optional)
- Promote your marketplace
Do you have any questions about how to create an online marketplace? Let us know in the comments section!
