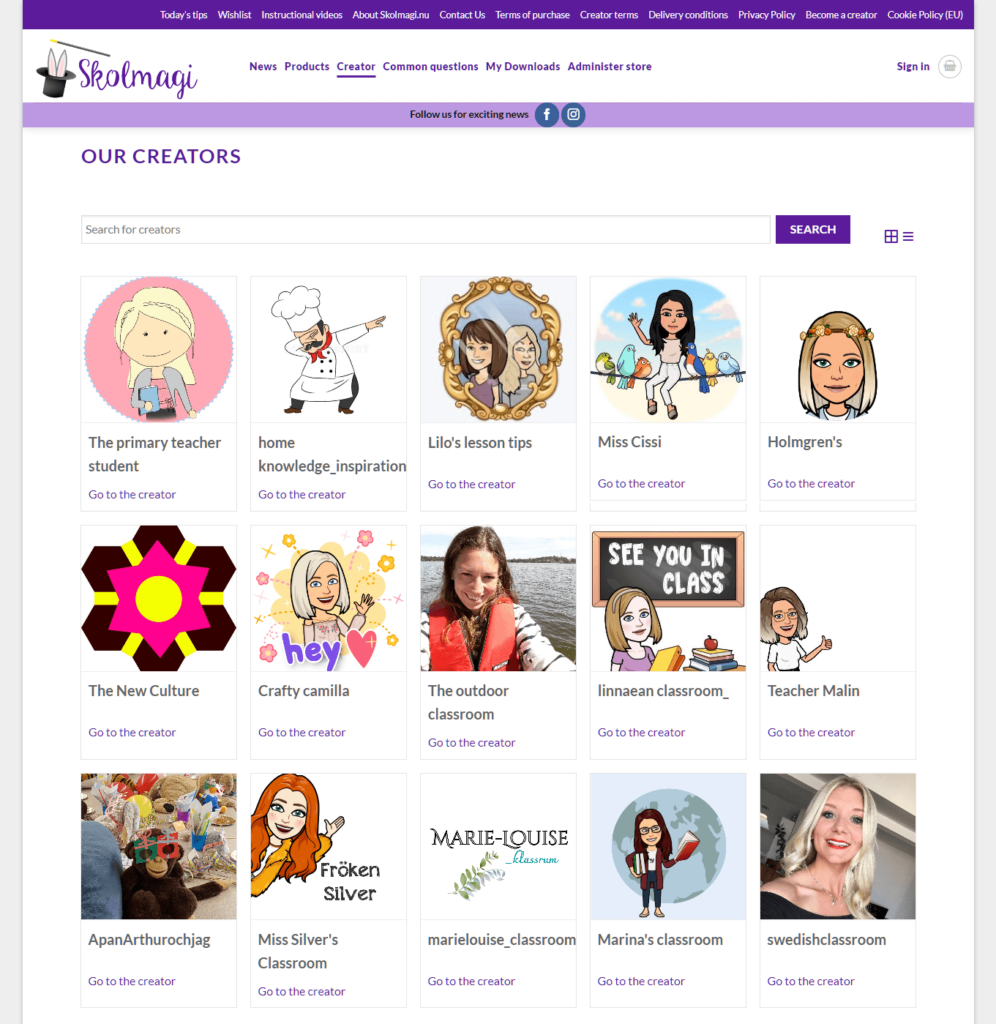
Building brand recognition is essential for the success of multi-vendor marketplaces and their vendors. One effective way to achieve this is through vendor icons a.k.a. vendor profile images.
Basically, vendor profile images are visual representations that identify and distinguish individual vendors within a marketplace. Though they may seem of small importance, they can do wonders for any multi-vendor platform, from attracting customers to making said platform stand out among stiff competition.
In today’s blog post, we’ll explore the importance and benefits of vendor icons. In addition, we’ll teach you how to use WC Vendors, a powerful marketplace solution in WooCommerce, to select the perfect profile images for your vendor stores.
So let’s get cracking!
What Are Vendor Icons/Vendor Profile Images?
Vendor icons, vendor store profile images, or vendor avatars refer to visual representations that identify and distinguish individual vendors within an online marketplace. They can range from professional logos to personalized avatars to striking imagery.
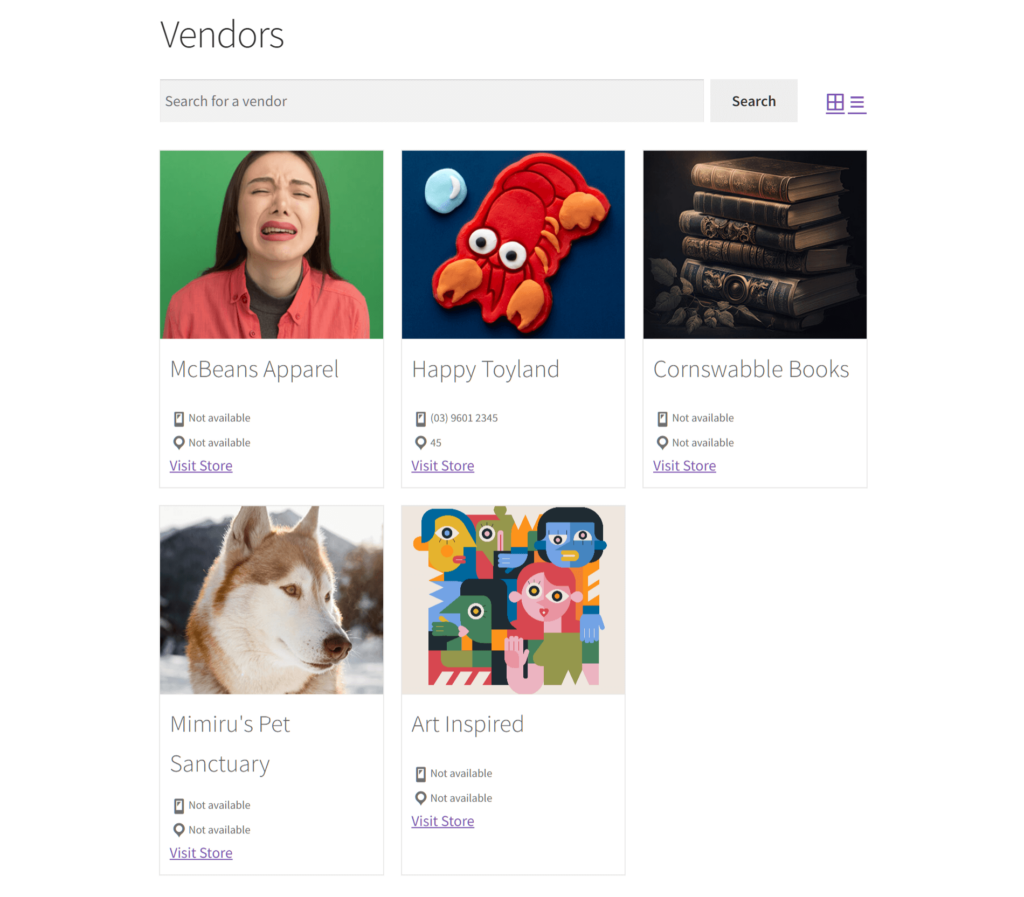
As the face of each vendor store, every image grants said store a compelling visual identity. For this reason, vendor profile images are often prominently displayed throughout the marketplace platform.
Furthermore, these vendor icons help with brand recognition among customers and add a personalized touch to the shopping experience. After all, these images allow shoppers to quickly recognize stores and associate products with specific vendors.
Typically, vendor icons are unique profile images chosen by the vendors themselves. However, they can also be randomly generated images provided by the marketplace platform.
By selecting what type of profile images vendor stores can use, marketplace administrators can ensure consistency and uniformity in how said stores are presented. Moreover, vendor icons allow for customization to reflect each vendor’s branding.
Why Use Vendor Icons?
Vendor icons offer several benefits within an online marketplace:
1. Brand recognition
When you let vendors use their own logos or customized avatars, you help establish and reinforce brand identity. In other words, vendor icons can help sellers stand out, become more trustworthy, and attract more customers. And the more people shop at your stores, the greater your marketplace’s profits and growth opportunities.
Alternatively, you can use consistent branding across the marketplace. While this can reduce vendor store differentiation, it can enhance marketplace recognition and trust among customers.
2. Personalization
Vendor icons add a personal touch to each store. Therefore, they enable vendors to showcase their unique style and personality.
Basically, this personalization can help vendors stand out in a crowded marketplace and create a stronger connection with customers. In addition, it can inform consumers about the vendor, including their values, the products they sell, and other relevant details.
3. Visual navigation
In a marketplace with multiple vendors and products, vendor icons serve as visual cues. Thus, they can help customers quickly identify and navigate to their preferred stores.
This visual navigation can streamline the shopping experience and encourage customers to explore more products. As a result, you enjoy more sales, boosting profits for both sellers and the marketplace!
4. Differentiation
Vendor icons allow vendors to differentiate themselves from competitors and highlight their unique selling points. Whether it’s a distinctive logo or a creative avatar, vendor icons can help vendors attract attention and set themselves apart in your multi-vendor platform.
5. Professionalism
Well-designed vendor icons show professionalism and credibility, indicating to customers that the vendors are serious about their business. This can boost buyers’ confidence in vendor stores, thus increasing the likelihood of sales.
Overall, vendor icons can enhance an online marketplace’s visual appeal, branding, and navigation. Ultimately, they contribute to a more engaging and successful shopping experience for vendors and customers.
How To Select The Profile Images For Vendor Stores In Your Marketplace (In 3 Steps)
So, we’ve learned that vendor icons can benefit both vendors and your marketplace in more ways than one. But how do you pick the images vendors can use to represent their stores?
Is your marketplace powered by WC Vendors? Then the process of assigning vendor icons to sellers is extremely simple!
Assuming you already know how to build a multi-vendor platform using this versatile marketplace solution, all you have to do is implement the following steps:
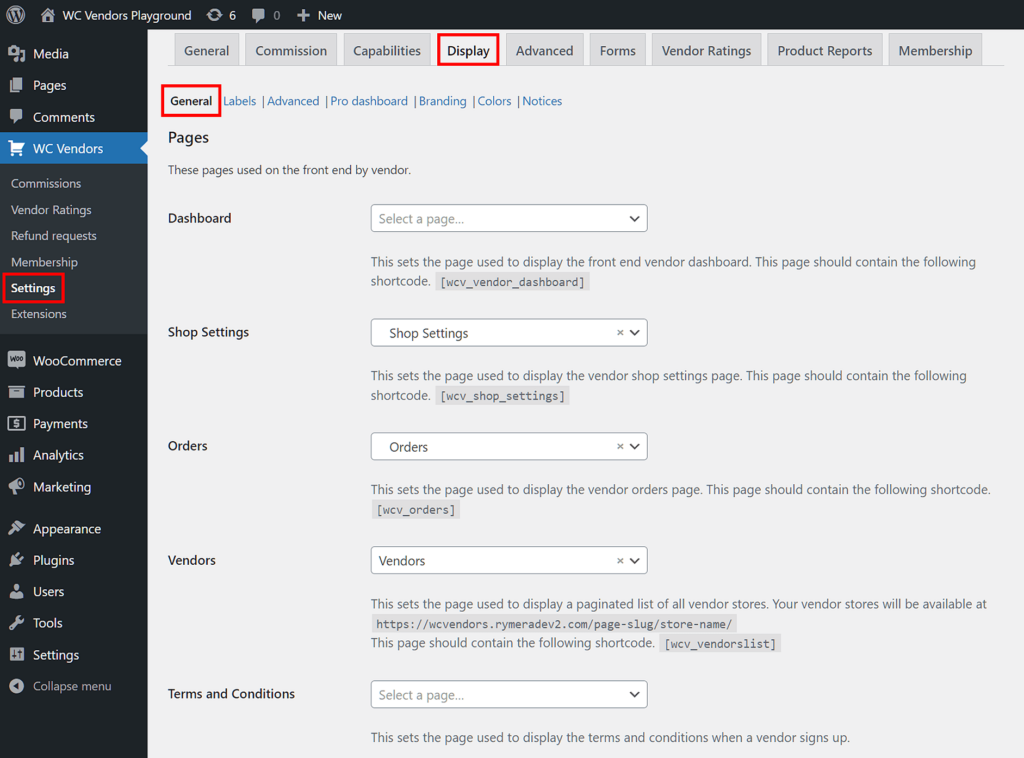
Step 1: Navigate to Display: General
First, access your WordPress dashboard and click WC Vendors > Settings. Then, select the Display tab followed by the General subtab.
Next, scroll down the page to the Vendor List Settings area. Here, you’ll find two options: List Display and Default Avatar. We’ll focus on the latter.
Step 2: Choose A Default Avatar
Now, click the Default Avatar dropdown menu and select one of many vendor icons. Basically, your choice becomes your vendors’ profile picture.
To help you choose, let’s check out what each icon looks like.
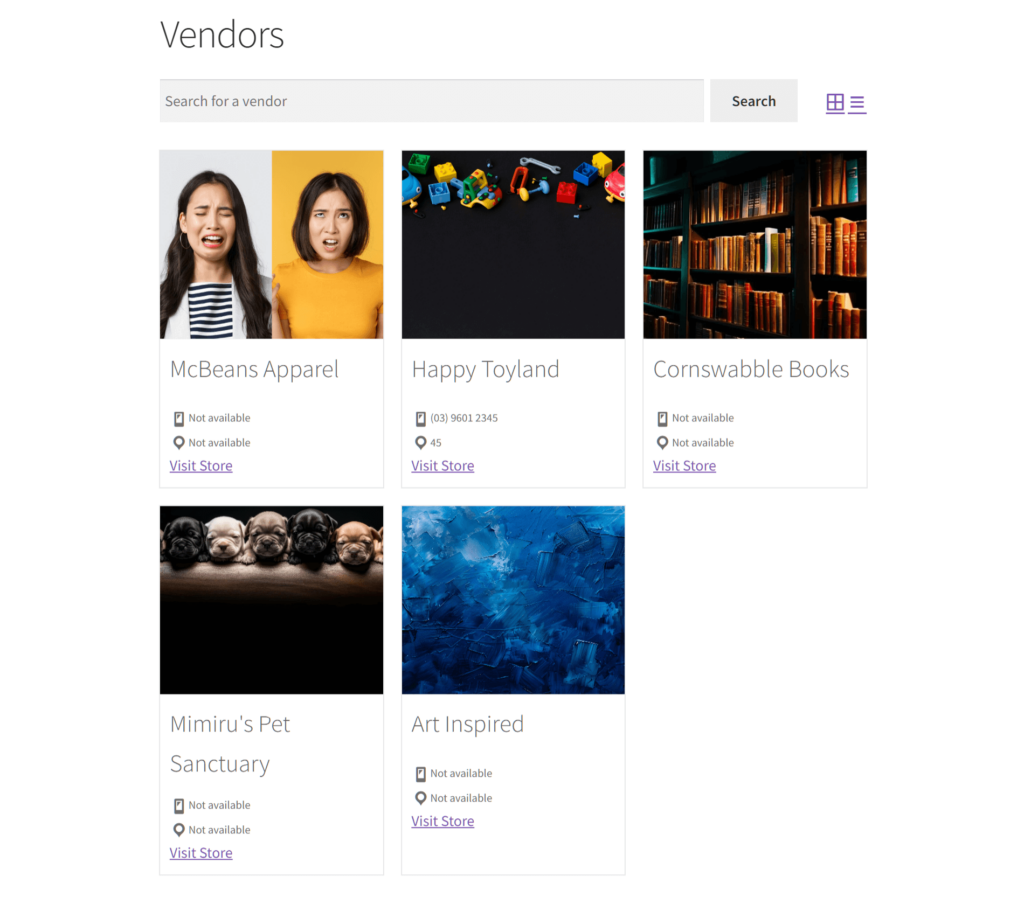
Store icon
If you pick “Store icon,” every vendor gets to use a unique profile image for their store. Take note that the store icon is either picked by the vendor during registration or assigned to them by the marketplace operator/administrator. Furthermore, either party can change this icon at any time.
Do you want each of your vendors to stand out with their own distinctive branding? Then we recommend this option.
Store banner
The “Store banner” option also lets every vendor store display a unique profile image for branding purposes. This image is normally used as each store’s header banner.
Like the store icon, the store banner is an image that either the vendor or marketplace operator/administrator chooses.
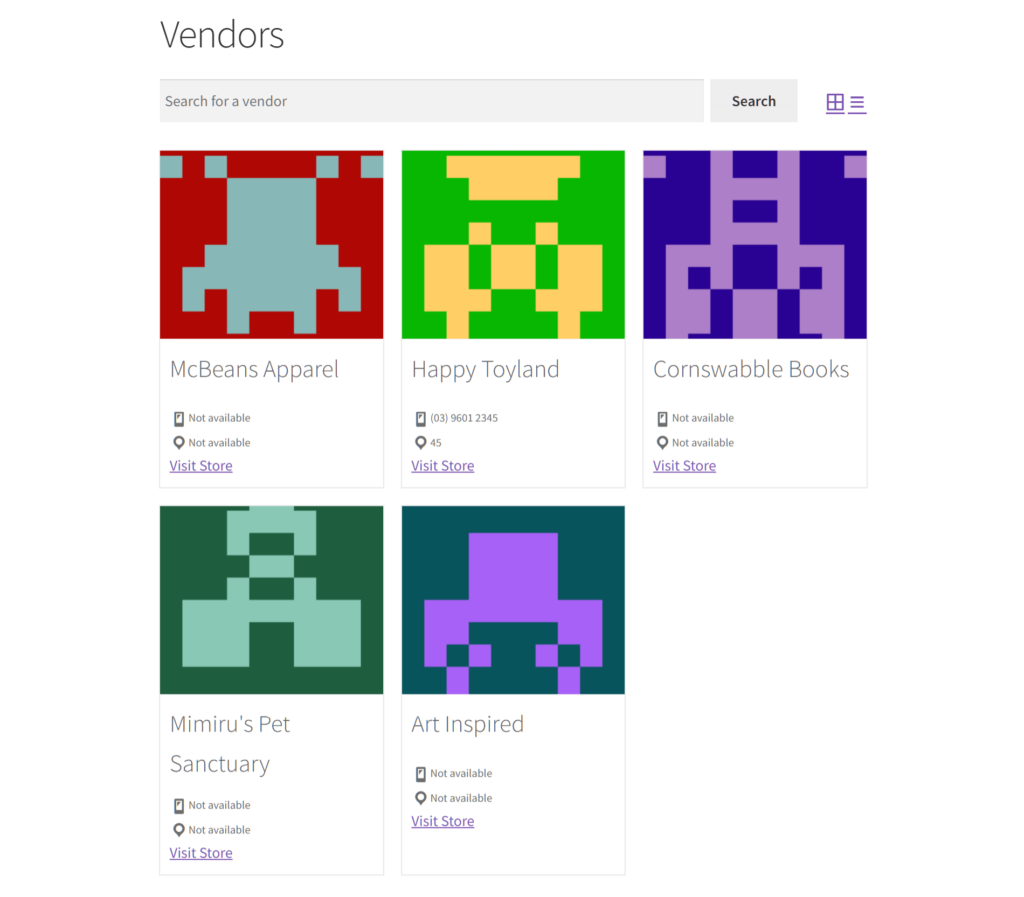
Retro (Generated)
Selecting “Retro (Generated)” provides each vendor with a unique, randomly generated pixelated profile image to represent their store.
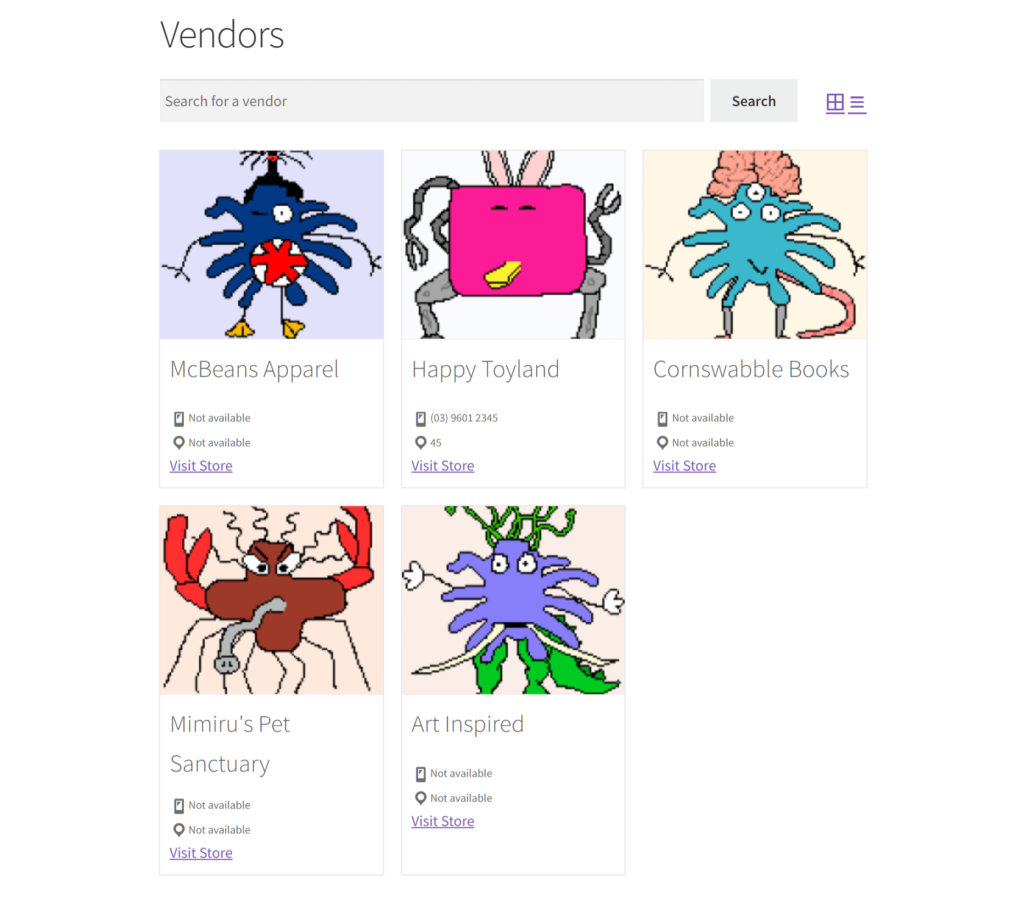
MonsterID (Generated)
With “MonsterID (Generated),” every vendor store gets a distinctive, randomly generated cartoon image of a monster as their profile image.
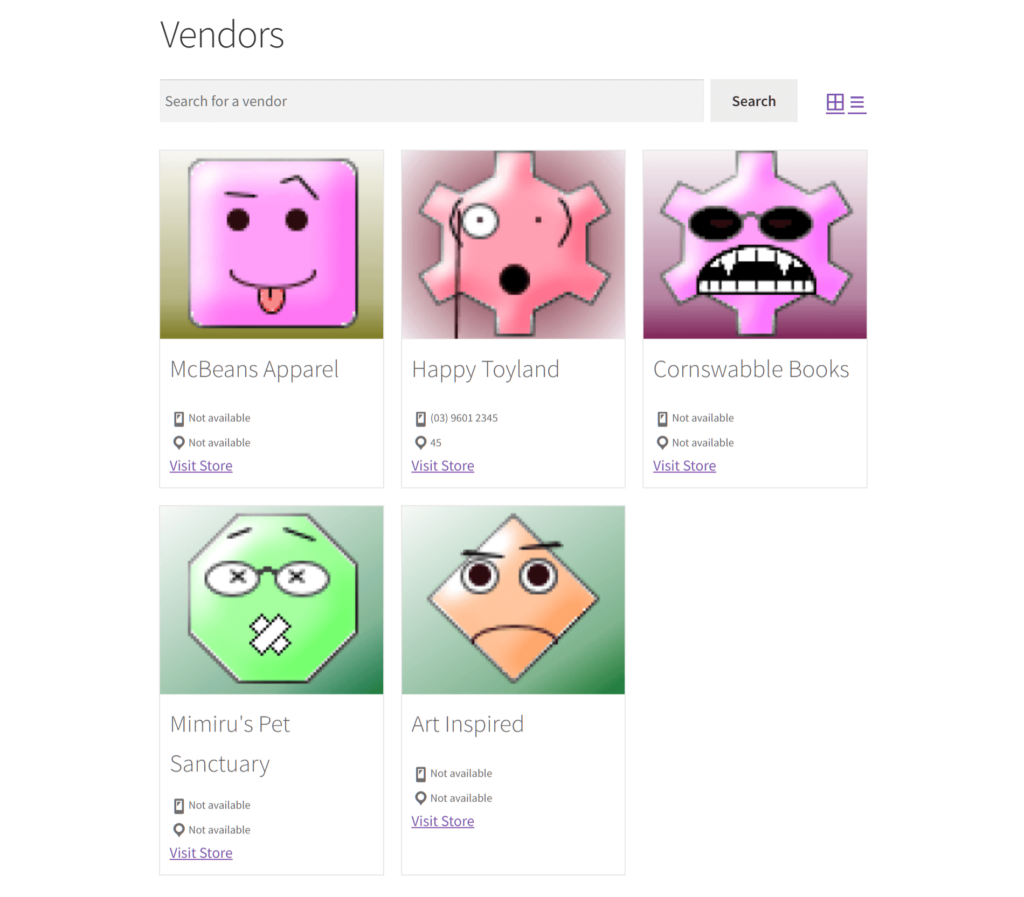
Wavatar (Generated)
“MonsterID (Generated)” grants each vendor store a different, randomly generated cartoon avatar to use as their profile image.
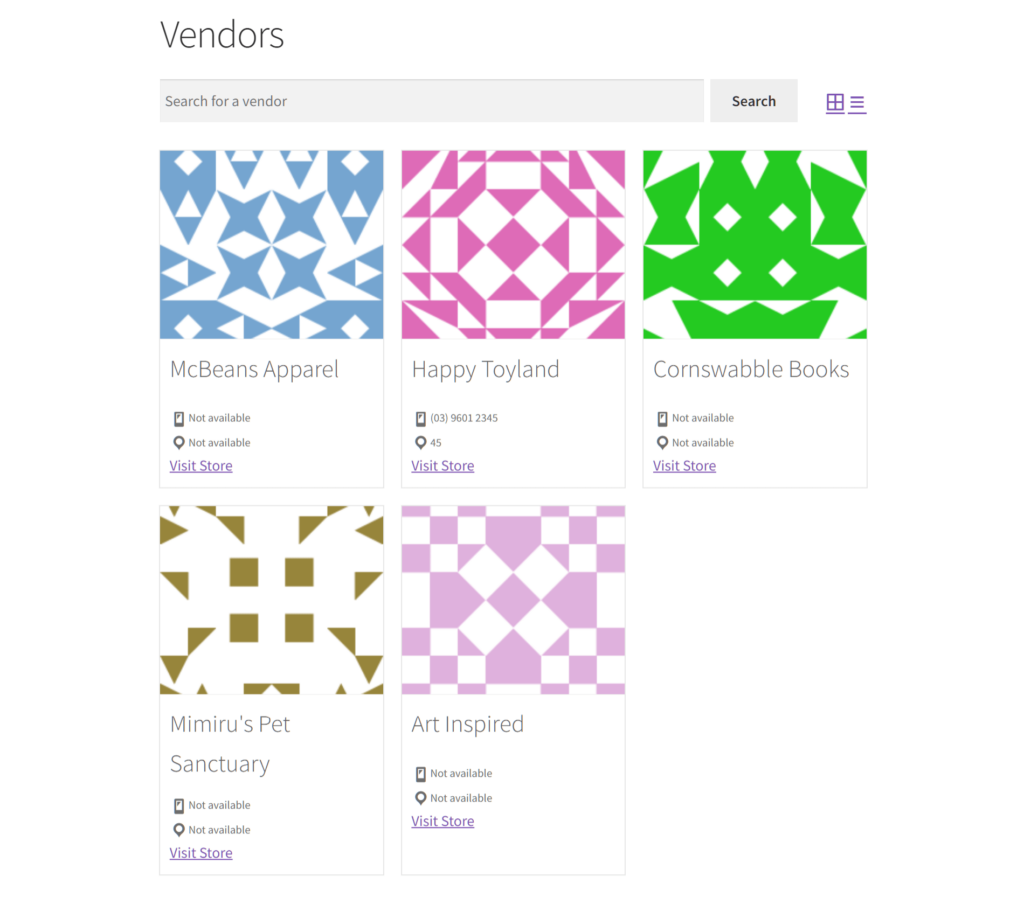
Identicon (Generated)
“Identicon (Generated)” offers every vendor store a unique, randomly generated visual representation of a hash value to feature as their profile image.
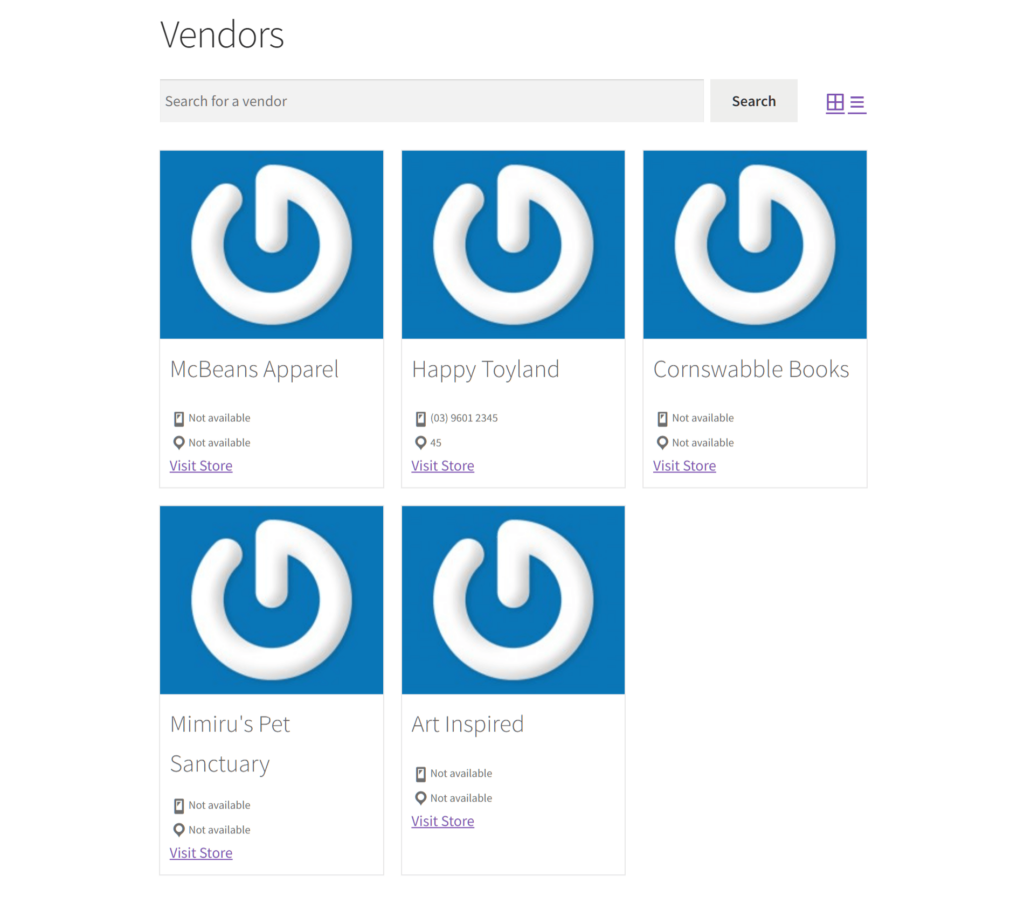
Gravatar Logo
When “Gravatar Logo” is picked, all vendor stores in your marketplace display the Gravatar logo as their profile image.
Blank
Selecting “Blank” means none of the vendor stores in your marketplace get to use profile images. Instead, all vendor icons become a blank space.
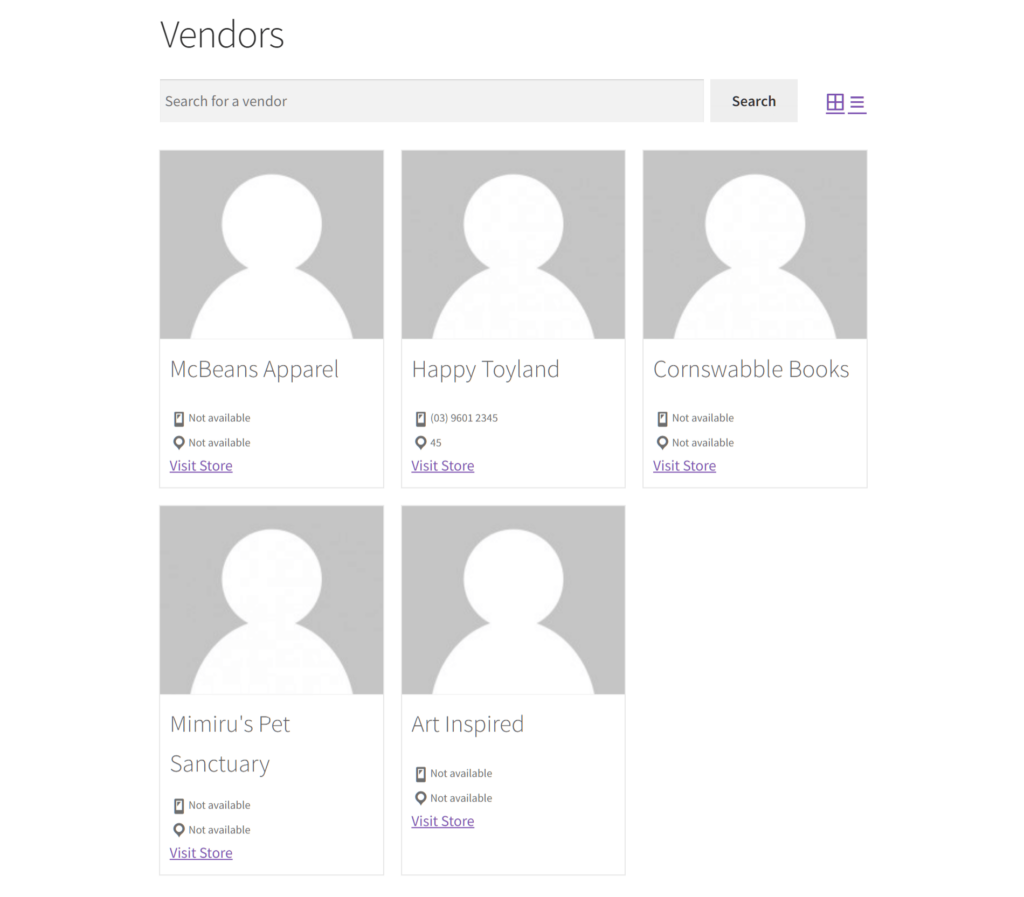
Mystery Person
Picking “Mystery Person” assigns the same “Mystery Person” image to all vendor stores.
Step 3: Save your work!
Once you’ve made your selection, simply click the Save Changes button below the Default Avatar option. Basically, this implements all the changes you’ve made on the page. As a result, every vendor store in your marketplace now displays your chosen profile image.
And that’s it!
Conclusion
Vendor icons are an essential component of any successful online marketplace. After all, they’re powerful tools for brand recognition, personalization, visual navigation, differentiation, and professionalism.
Therefore, by carefully selecting and implementing vendor profile images, marketplace operators can enhance their platforms’ visual appeal, branding, and navigation. Ultimately, this can lead to a more engaging and successful shopping experience for vendors and customers.
In summary, you can use WC Vendors to select vendor icons for the vendor stores in your marketplace. All you have to do is observe the following steps:
Remember, harnessing the power of vendor profile images is a step in the right direction towards marketplace success.
Do you have any questions about vendor icons? Let us know in the comments!
