Are you looking to expand your multi-vendor marketplace by encouraging more sellers to join your team? Then give them a powerful call to action inviting them to become a vendor on your platform!
Welcoming new vendors can benefit your business in many ways. For one thing, it can inject fresh energy into your platform. For another, it can broaden your product range, attracting more customers with diverse preferences. As a result of these and other advantages, your marketplace can enjoy significant profits and opportunities for growth.
In today’s guide, we’ll explore how having vendors join your platform is great for business. In addition, we’ll walk you through the simple steps to entice website visitors to become marketplace sellers using an option available to WC Vendors users – the “Become a Vendor” link.
So let’s get cracking!
Why Should You Invite Website Visitors To Become Vendors In Your Marketplace?
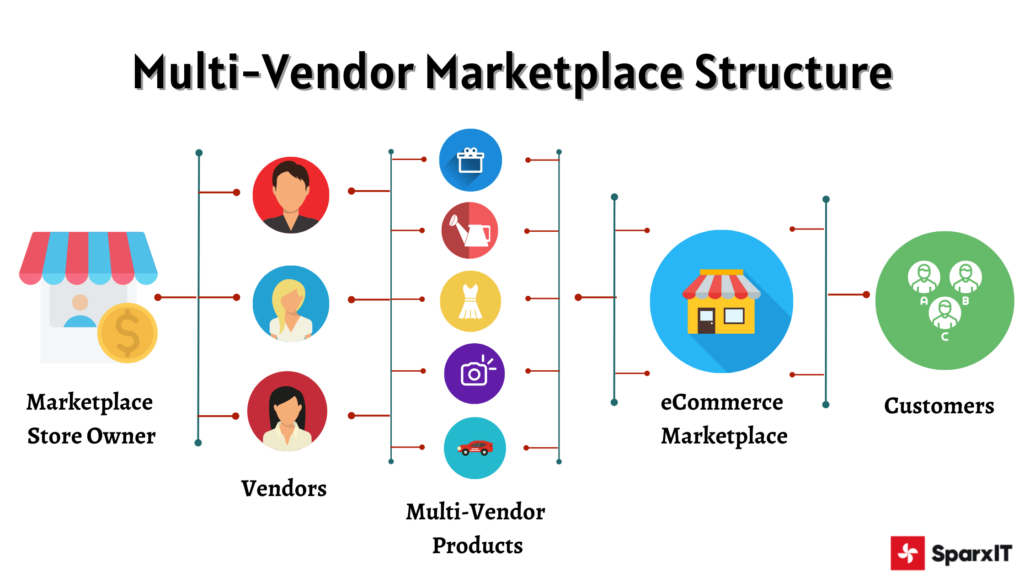
A multi-vendor marketplace is a digital platform that lets multiple independent sellers showcase and vend their products or services directly to customers. Thus, this type of business model can’t function without vendors. This is the first major reason you should invite website visitors to become vendors in your marketplace.
However, having vendors comes with a plethora of other advantages. Firstly, it diversifies your product range, attracting a wider audience and increasing sales potential. This variety enhances the customer experience, fostering satisfaction and loyalty while driving repeat business. Moreover, a growing vendor base contributes to the marketplace’s health and expansion, boosting its appeal to sellers and buyers.
Furthermore, embracing new vendors builds a sense of community and collaboration, fueling innovation and creativity within your platform. This diversity also provides a competitive advantage, empowering vendors with opportunities to generate extra income and grow.
Ultimately, cultivating a vibrant ecosystem of sellers allows you to establish a marketplace capable of long-term success.
Strategies For Inviting Website Visitors To Join Your Marketplace As Vendors
Once your marketplace goes live, you can expect website traffic. There’s a good chance many of your visitors will be individuals or businesses looking for a reliable platform where they can sell their products.
To persuade these visitors to join your team of vendors, employ the following strategies:
1. Clear call to action (CTA)
The first step is to make it crystal clear that you’re open to accepting new vendors. Thus, use prominent buttons, links, or banners with inviting phrases like “Join Us as a Seller” or “Start Selling Here.” Place these calls to action strategically on your homepage or product pages to catch the attention of potential sellers.
2. Highlight benefits
Showcase the benefits of becoming a vendor on your platform. Outline perks such as reaching a broader audience, accessing marketing support, and leveraging your established brand reputation. Keep it straightforward and highlight how selling on your marketplace can help vendors grow their businesses.
3. Easy registration process
Simplify the vendor registration process. Lengthy forms and complex procedures can discourage potential sellers. Therefore, opt for a user-friendly registration form that collects essential information without overwhelming them. Furthermore, consider offering social media login options for added convenience.
4. Transparent policies
Transparency is essential if you aim to build trust with potential vendors. Thus, clearly outline your marketplace policies regarding fees, commissions, product guidelines, and dispute resolution. Addressing common concerns upfront can alleviate apprehensions and encourage more sign-ups.
5. Engage through content
Create content that educates website visitors about the benefits they can gain from selling on your platform. Blog posts, guides, and success stories can provide valuable insights and inspire confidence in potential sellers. Don’t forget to use language that resonates with their business aspirations.
6. Personalized communication
Reach out to visitors who have shown interest in selling on your platform. Implement personalized email campaigns or direct messaging to guide them through the onboarding process. Remember to tailor your communication based on their interests and preferences.
7. Offer support
Provide ongoing support to new vendors as they navigate your marketplace. Offer resources such as tutorials, FAQs, and dedicated customer service channels to assist them at every step. Keep in mind that a responsive support system can foster a positive seller experience and urge long-term engagement.
8. Incentivize participation
Consider offering incentives to entice website visitors to become vendors. This could include promotional offers, discounted fees for new sellers, or rewards for referring other sellers to your platform. Incentives can instill a sense of urgency in hesitant visitors, inspiring them to make a move.
By implementing these strategies, you can invite website visitors to become marketplace sellers and cultivate a thriving ecosystem of vendors. Remember to keep the process simple, transparent, and engaging to maximize participation and drive growth.
WC Vendors’ “Become a Vendor” Link: A Powerful Call To Action
So, we’ve established that it’s an excellent idea to encourage your website visitors to apply to your platform as vendors. Now, we’ll delve into how you can create an effective CTA that can kick-start the vendor application process.
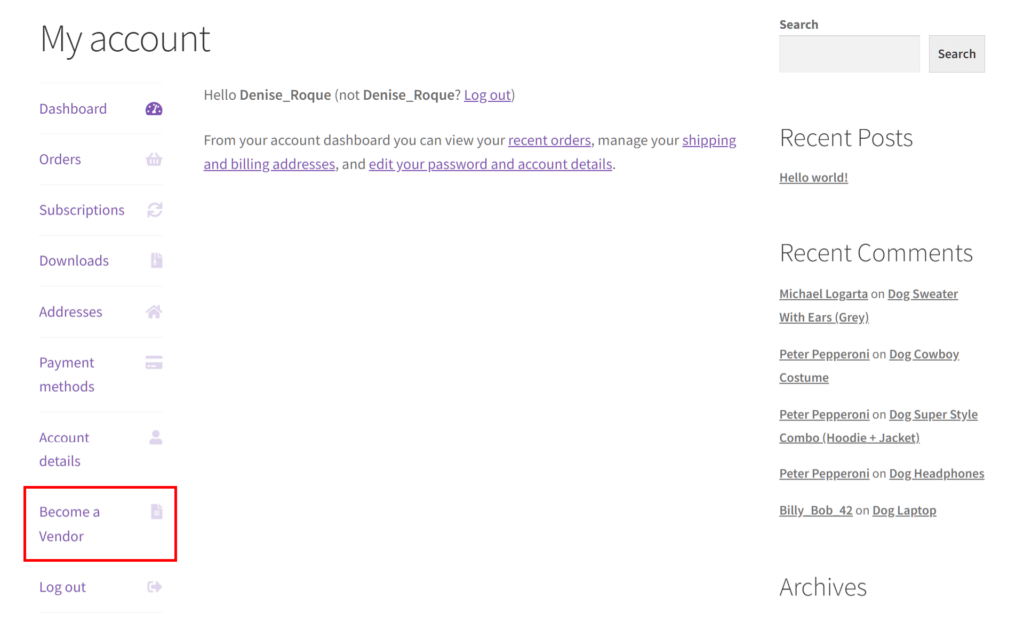
The fact is, inviting website visitors to become your vendors is super simple. All you have to do is create a “Become a Vendor” link on their My Account pages.
With the versatile WooCommerce marketplace solution WC Vendors, you can do just that. Furthermore, by displaying this CTA on the My Account page, your users are extremely likely to spot it the moment they visit your e-commerce website:
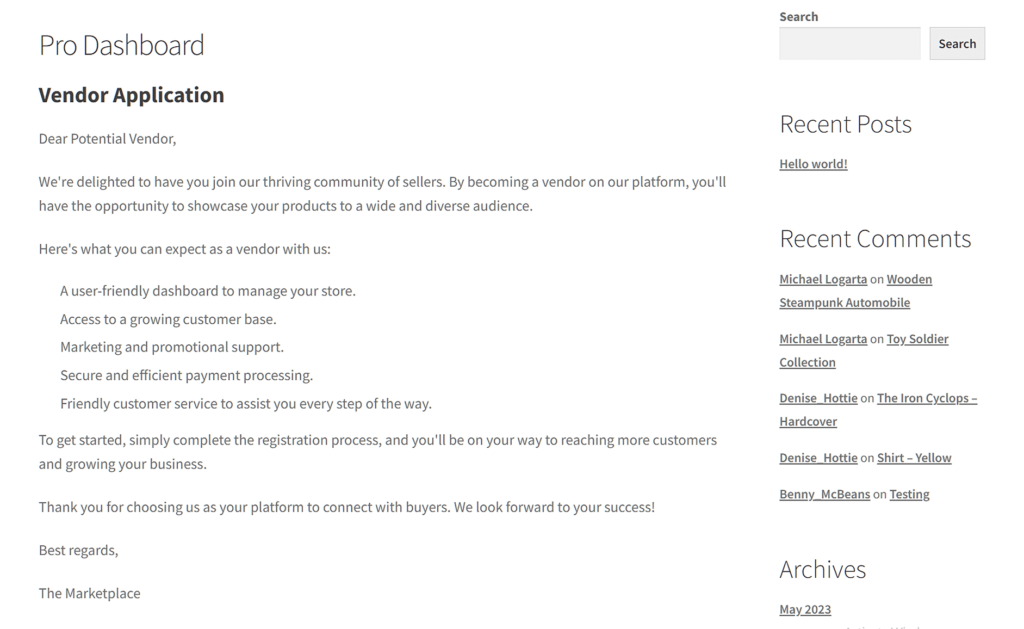
Depending on how you configured the vendor application process, clicking this link redirects aspiring vendors to the Vendor Application page. Here, you can give them a vendor signup message highlighting the benefits of joining your platform, allowing you to implement another powerful strategy for inviting users to collaborate with you:
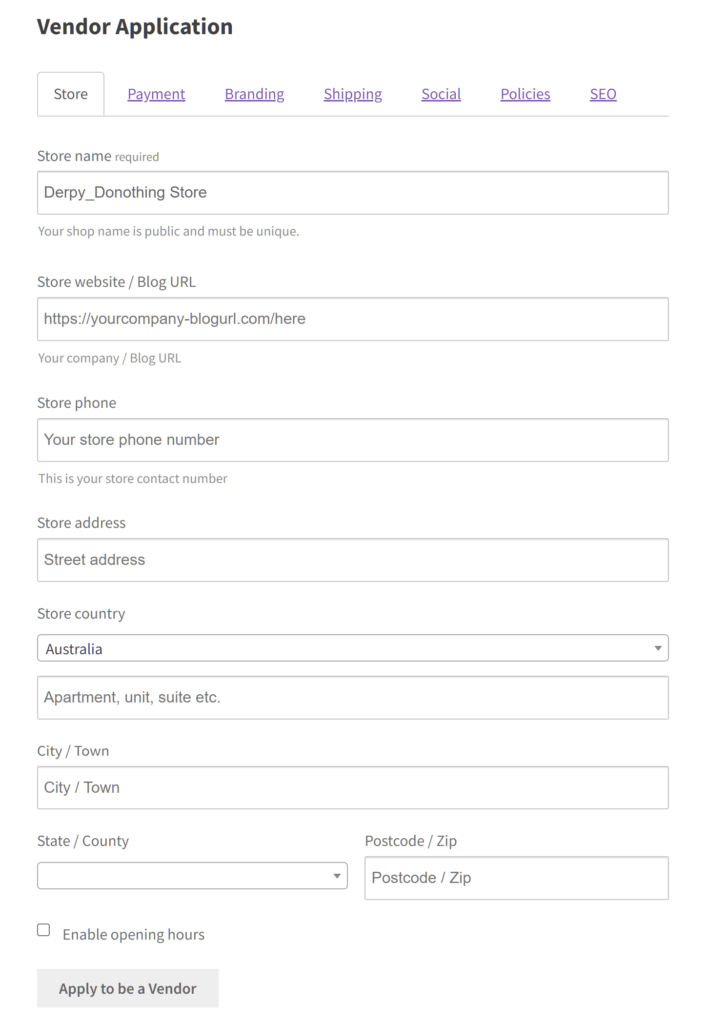
In addition to the signup message, a vendor application form should be waiting for applicants on the Vendor Application page.
How To Create A “Become A Vendor” CTA Link On The WooCommerce My Account Page (In 3 Steps)
If your marketplace is powered by WC Vendors, creating a “Become a Vendor” link is incredibly simple.
For this guide, we’re going to assume you already know how to build a multi-vendor platform using WC Vendors.
In addition, we’re going to assume you already know how to configure the vendor application process. If you don’t, we highly recommend reading our article, “Streamlining The Vendor Application Process: Your Ultimate Guide.”
For a detailed guide on crafting a vendor signup message, check out our article, “How To Customize The Vendor Signup Experience (An Easy, 3-Step Guide).”
With that out of the way, let’s get started!
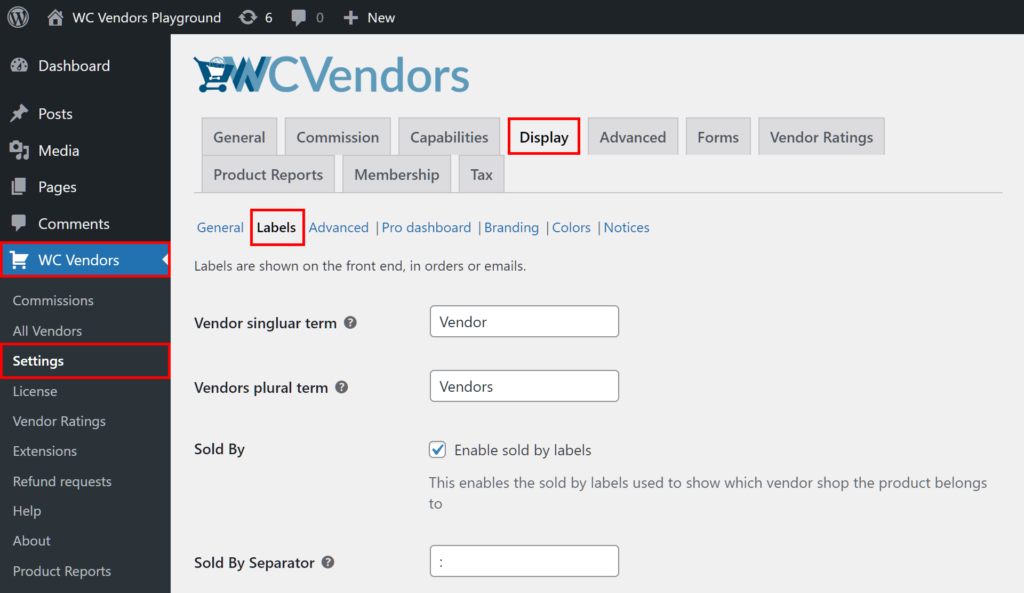
Step 1: Navigate to Display: Labels
First, go to your WordPress dashboard and click WC Vendors > Settings. Then, click the Display tab followed by the Labels subtab.
Now, you’re ready to create the “Become a Vendor” link.
Step 2: Enable the Become a Vendor option
Scroll down to and enable the Become a Vendor option by ticking its checkbox.
Next, the final step…
Step 3: Save your work!
Scroll down to the bottom of the page and click the Save Changes button. This implements all the settings you’ve made on the page.
And that’s it! Each of your website visitors will now see the “Become a Vendor” link on their My Account page!
Conclusion
Inviting a website visitor to become a vendor in your multi-vendor marketplace is a strategic move that can significantly benefit your business. By leveraging powerful calls-to-action and implementing effective strategies, you can attract a diverse range of sellers, expand your product offerings, and create a vibrant and sustainable ecosystem.
To recap, you can use WC Vendors to display a “Become a Vendor” CTA link on every website visitor’s My Account page. You simply have to observe the following steps:
Do you have any questions about the “Become a Vendor” link? Reach out to us and let us know; we’d be happy to hear from you!
