
Your vendor pages, store headers, labels and vendor dashboard all take their look from the Display settings. This overview shows what each Display tab holds, so you can find the right setting fast and jump to its detailed article. Some tabs come with WC Vendors Pro.
To open these settings, go to WC Vendors > Settings > Display.
Display settings tabs
The Display settings have these tabs:
- General
- Labels
- Advanced
- Vendor dashboard (Pro)
- Branding (Pro)
- Colors (Pro)
- Notices (Pro)
- Emails (Pro)
Tab and setting names use your vendor term. If you rename “Vendor” to “Seller” on the Labels tab, the Vendor dashboard tab shows as Seller dashboard.
General tab
The General tab holds the core front-end settings. It has these sections:
| Section | What it controls |
|---|---|
| Pages | The pages vendors use on the front end, such as the vendor dashboard, the vendors list and the terms and conditions page. WC Vendors Pro adds the vendor ratings page. Without WC Vendors Pro, this section also has Orders per page and Products per page, which set how many orders and products show per page on the vendor dashboard. With WC Vendors Pro, these two settings move to the Vendor dashboard tab. |
| Store Settings | The vendor store URL, shop headers, shop descriptions, the display name and the store sidebar. |
| Vendors List Settings | A grid or list layout and the default avatar for the vendors list page. |
| Permission Denied Message | The message and button text that guests see when they try to open the vendor dashboard. |
The vendors list page must contain the vendors list shortcode: [wcv_vendorslist] in WC Vendors, or [wcv_pro_vendorslist] when WC Vendors Pro is active. For the shortcode options, see All available shortcodes for WC Vendors.
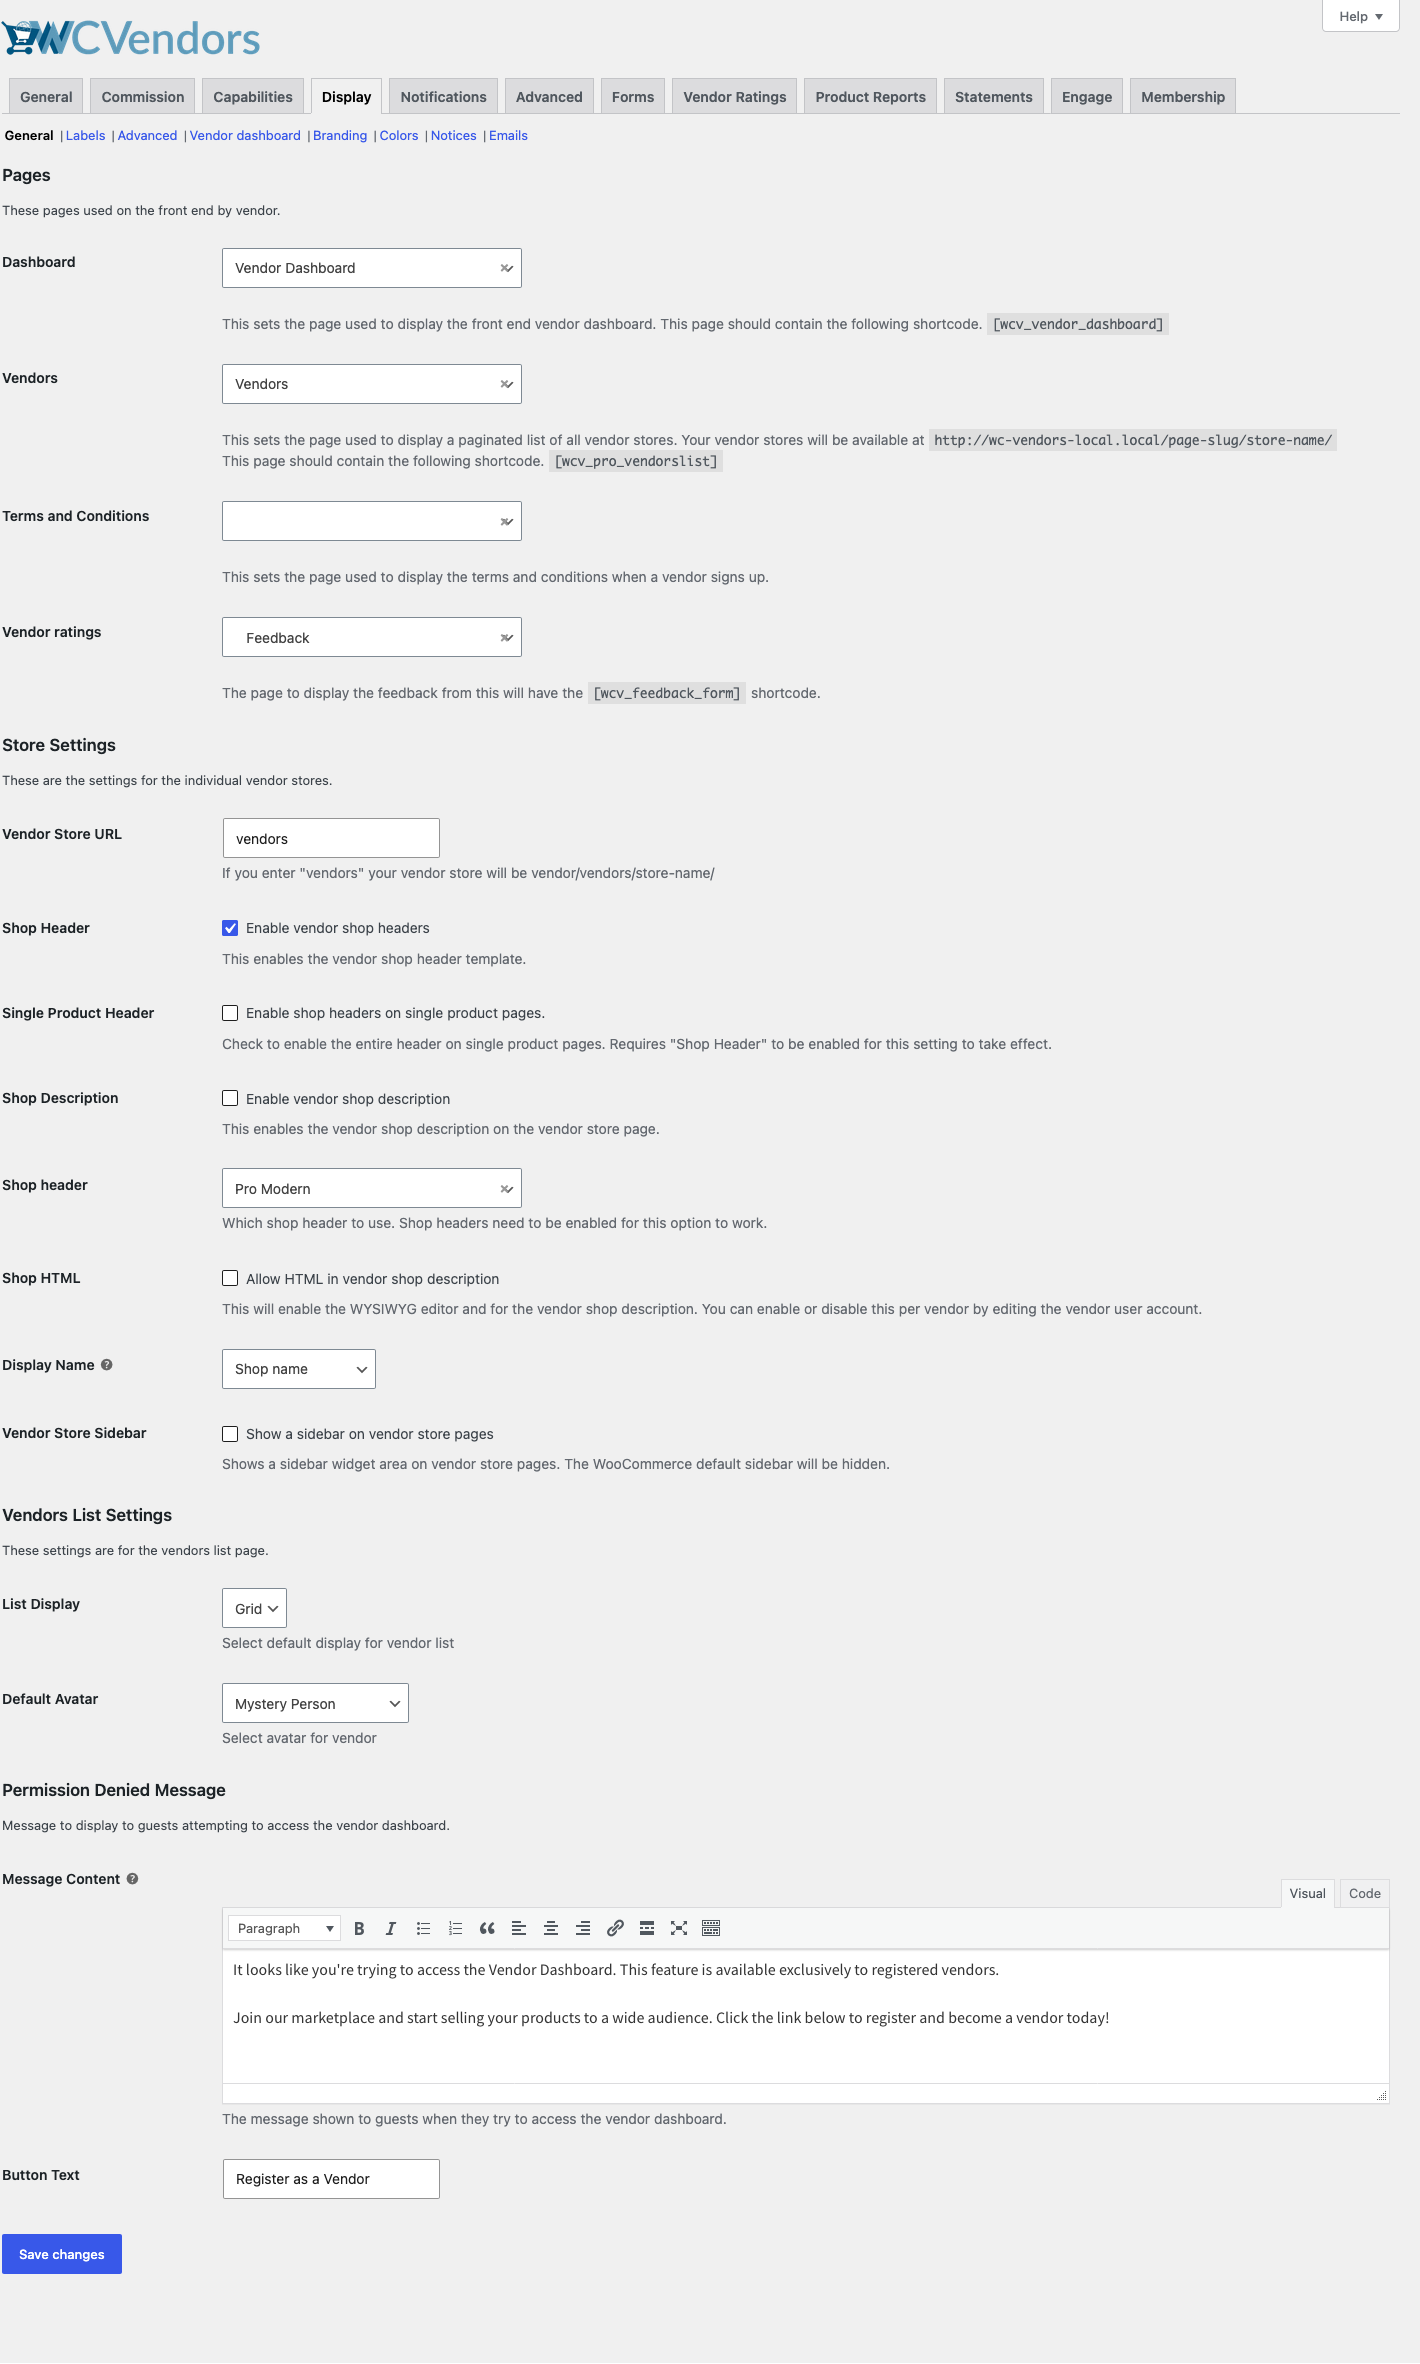
For more details, see General settings.
Labels tab
The Labels tab sets the text shown on the front end, in orders and in emails. Use it to rename “Vendor” and “Vendors”, turn the Sold By label on or off, and change its separator and text. You can also show or hide the Become A Vendor link on the My Account page and the Vendor Store Info tab on product pages, and change their text with Become A Vendor Label and Vendor Store Info Label. You can rename the vendor dashboard page headings in Dashboard Page Headings.
With WC Vendors Pro, this tab also has Hide Sold By on Vendor Page, the verified and trusted vendor badge labels, the vendor ratings label, and options to show store and product total sales.
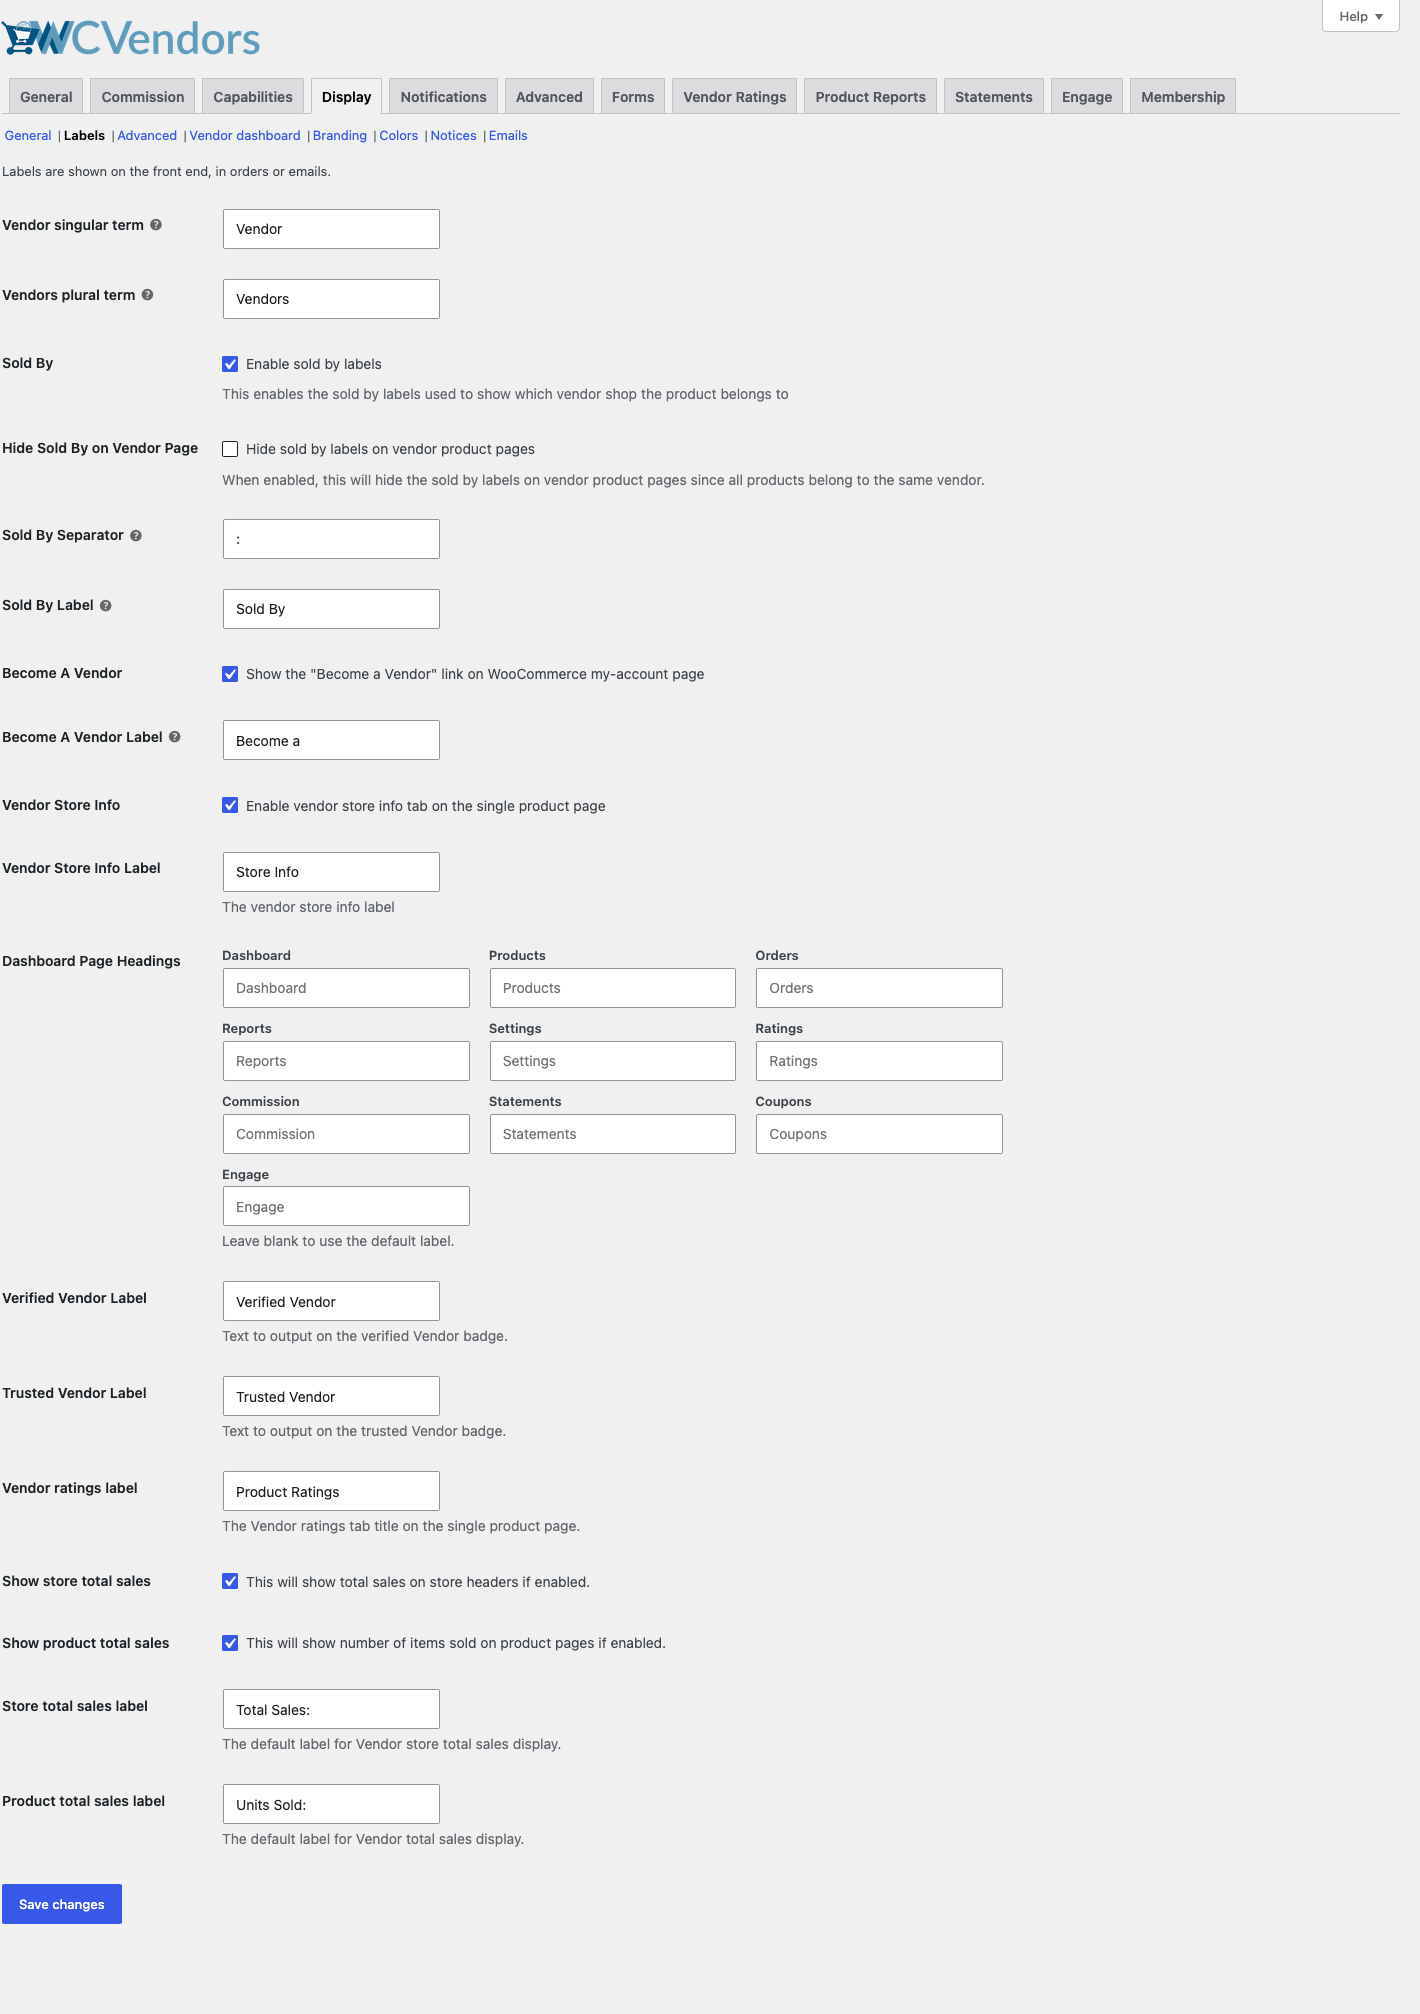
For more details, see Labels settings.
Advanced tab
The Advanced tab has extra display options. Use Product Page Stylesheet to add custom CSS to the WooCommerce product edit page that vendors see in the WordPress admin. Turn on Use WooCommerce Registration to send WordPress registrations to the WooCommerce My Account page. For the vendor dashboard menu, you can turn on Sticky Menu Bar, Scroll to Top Button and Show All Menu Items.
With WC Vendors Pro, this tab also has Single Product Tools, Theme Support, SEO Compatibility, Vertical Navigation, and priority settings for the store header and store notice.
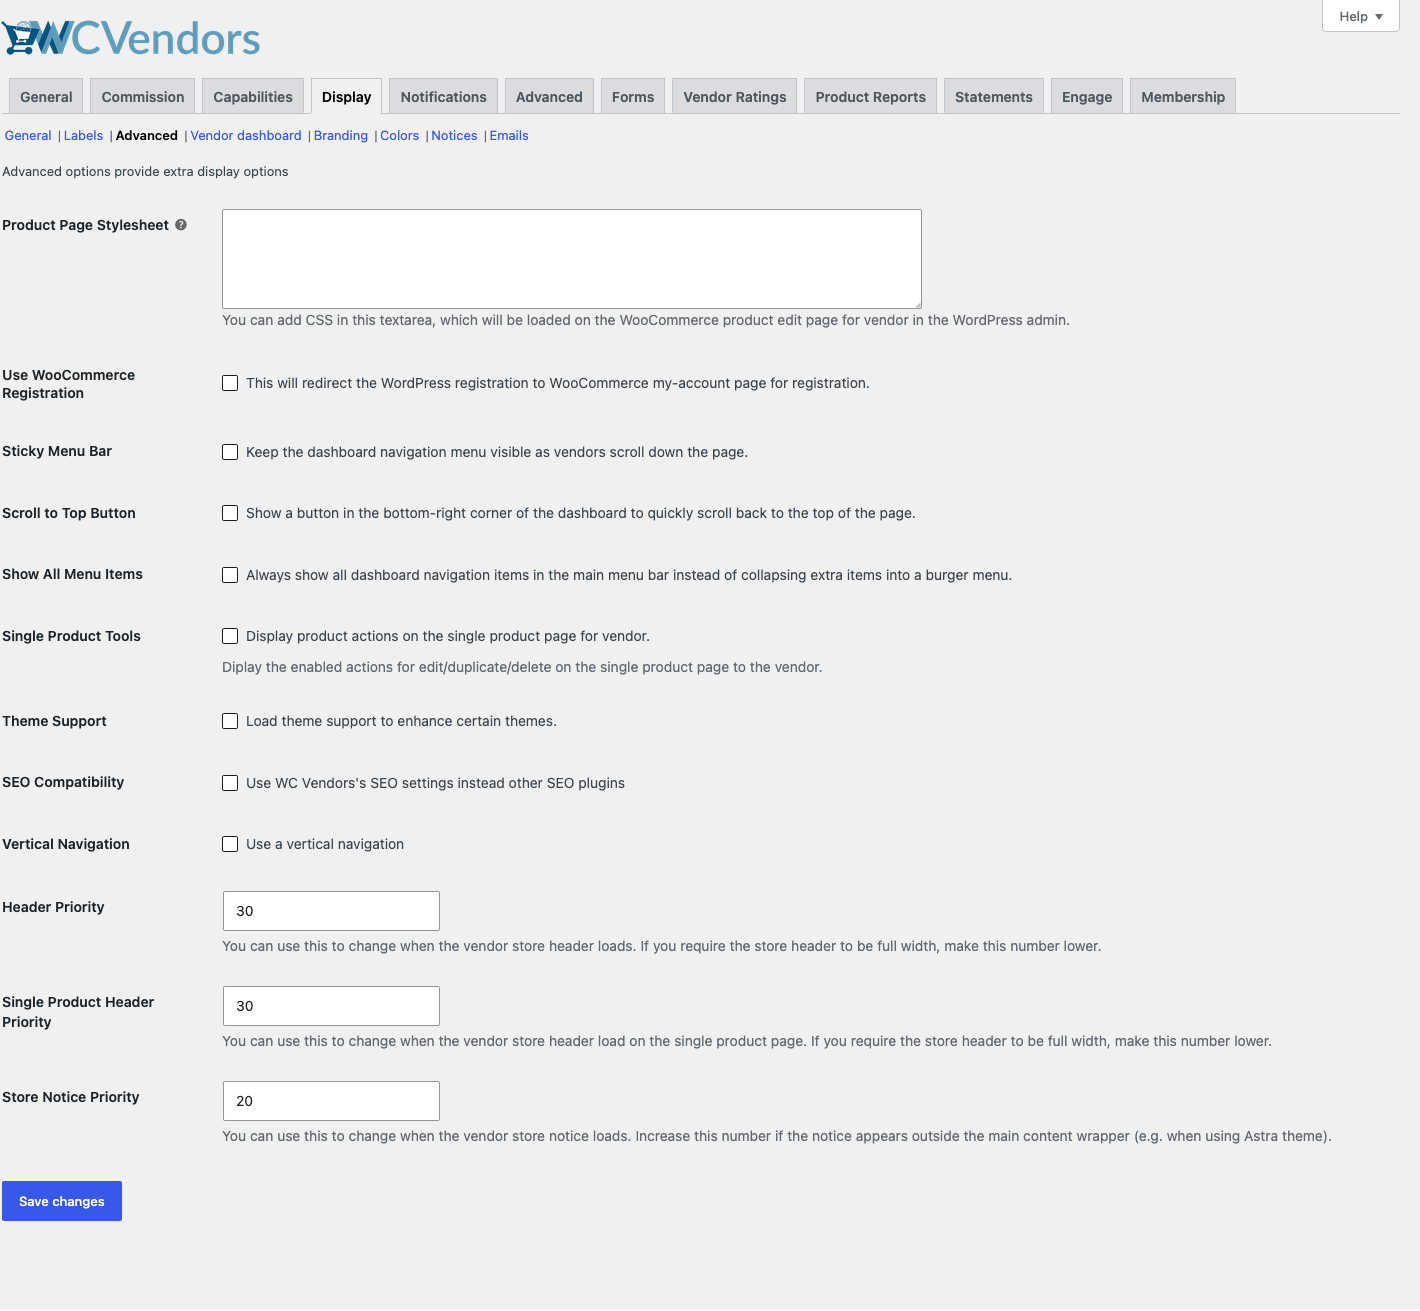
For more details, see Advanced settings.
Vendor dashboard tab (Pro)
The Vendor dashboard tab controls what vendors see when they manage their shop. Set the default dashboard and orders date ranges, the date format, and how many orders, products, coupons and commissions show per page. You can also open the view store and view product links in a new window, show a logout link, and show disk and file usage counts.
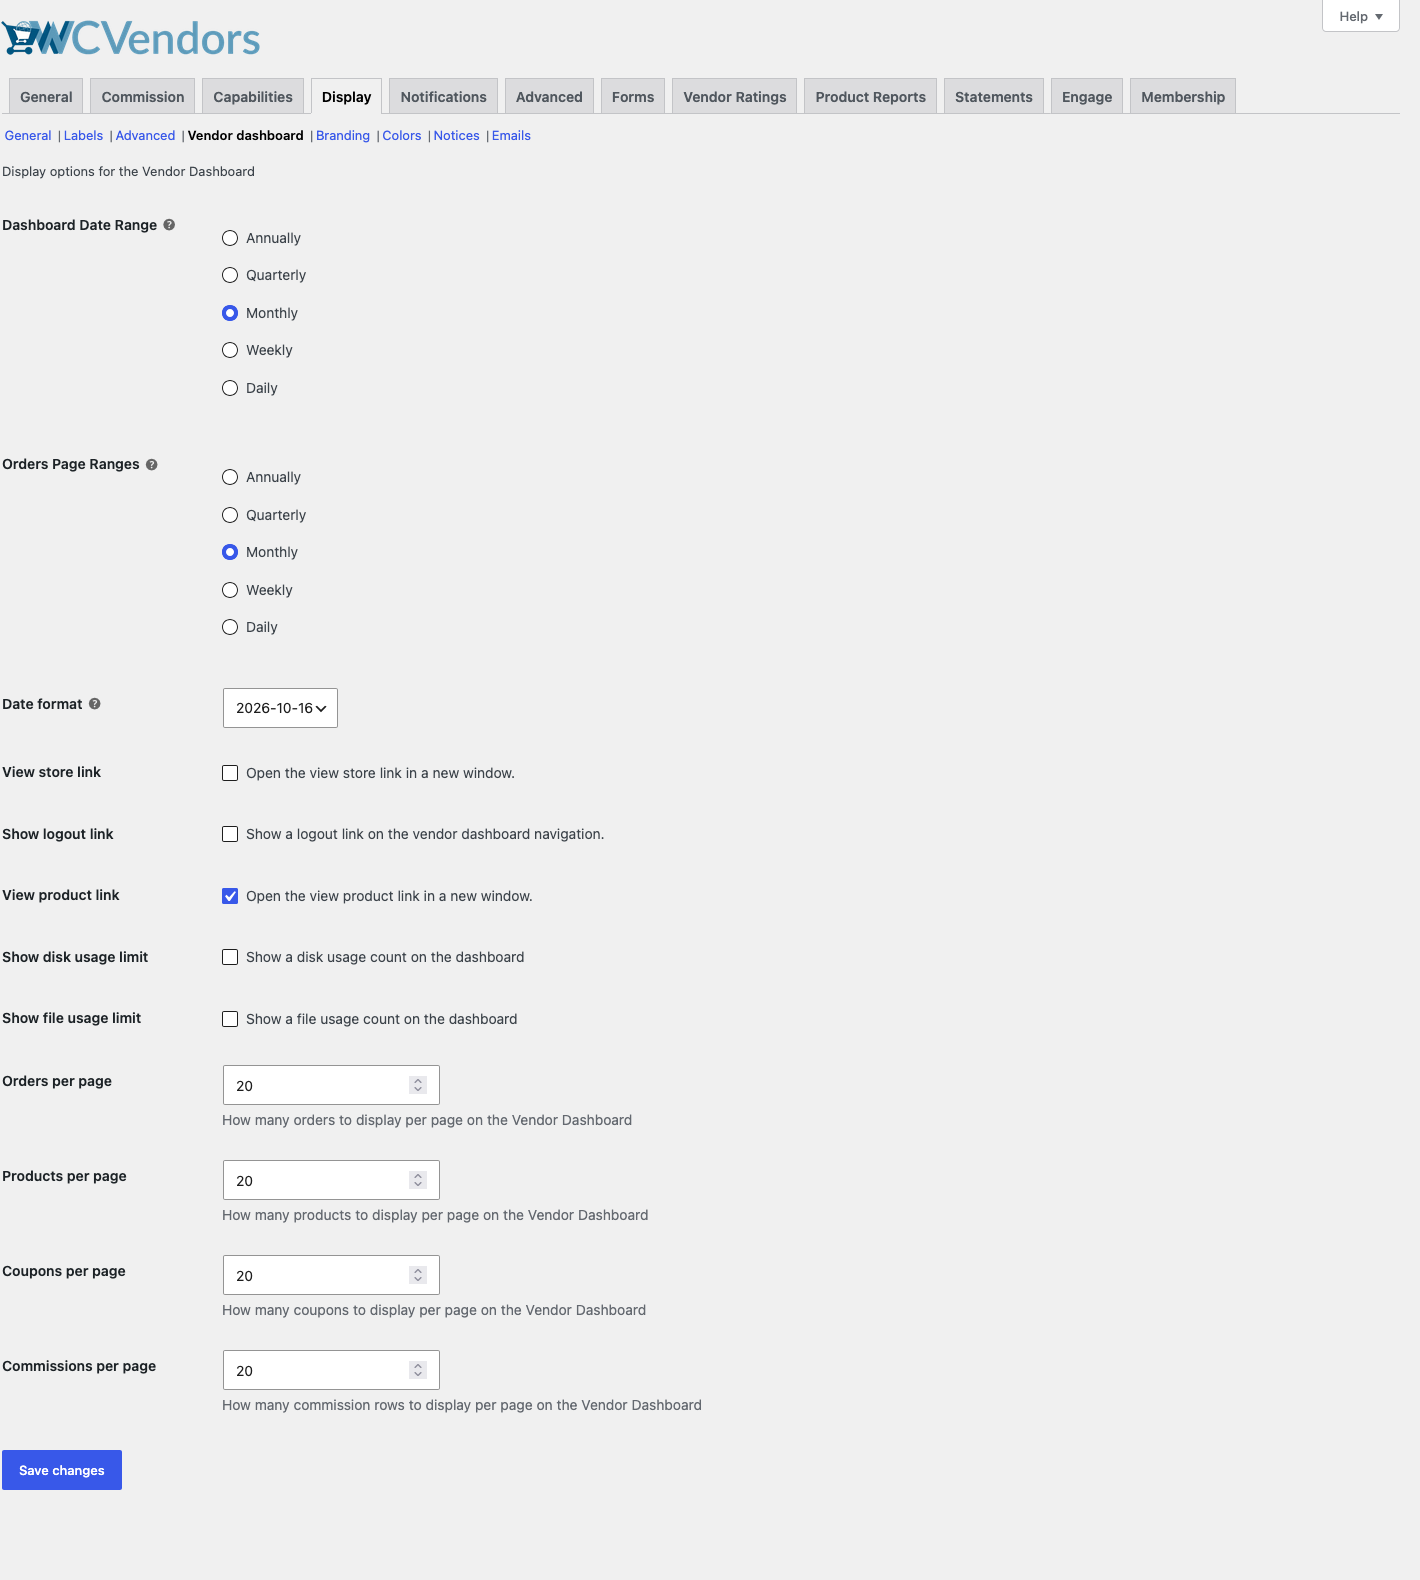
For more details, see Vendor dashboard settings.
Branding tab (Pro)
The Branding tab sets the default branding for vendor shops. Choose a Default Store Banner for stores that have no banner, and use Store Header Visibility to hide store header items such as the banner, phone, address or ratings.
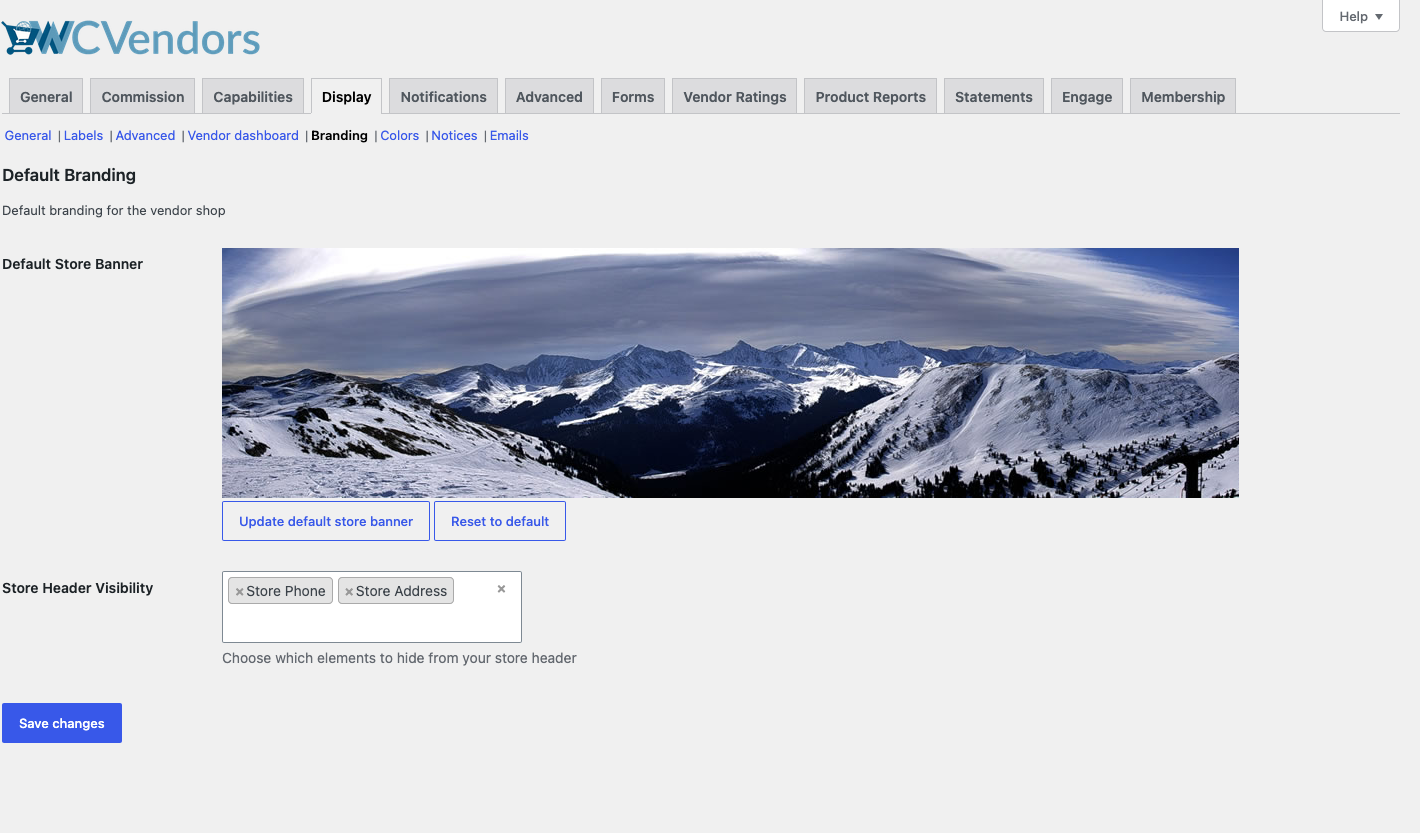
For more details, see Branding settings.
Colors tab (Pro)
The Colors tab sets the chart colors in the vendor dashboard reports. It has two sections:
| Section | What it controls |
|---|---|
| Order Totals Chart Colors | The fill, stroke and hover colors and opacity of the order totals chart, or random colors. |
| Product Totals Chart Colors | How the product totals pie chart picks its colors: shades of one color, or fully random colors. |
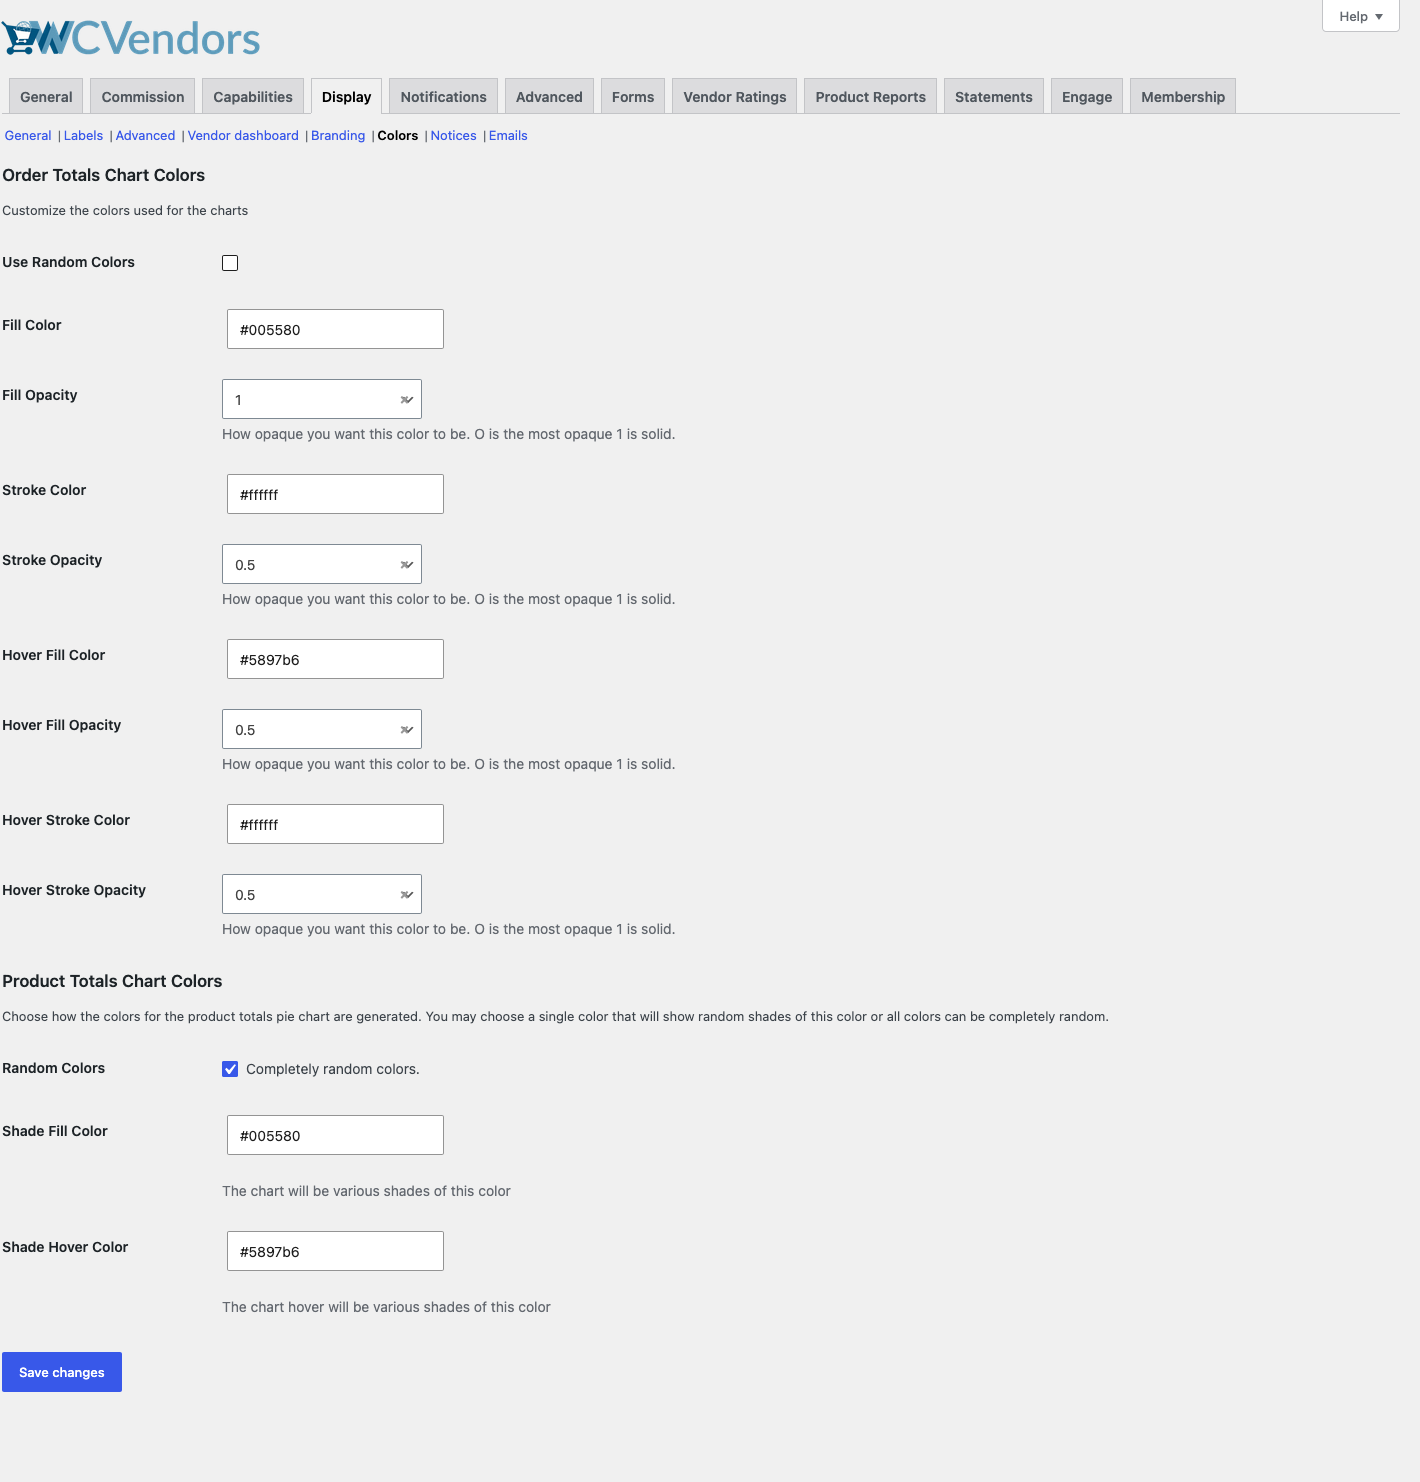
For more details, see Colors settings.
Notices tab (Pro)
The Notices tab shows messages to vendors. It has two sections:
| Section | What it controls |
|---|---|
| Notices | The Vendor Dashboard Notice, a message on all dashboard pages, below the dashboard menu. |
| Signup Notices | The message on the vendor signup page, the message for pending vendors after they apply, and the message for approved vendors. |
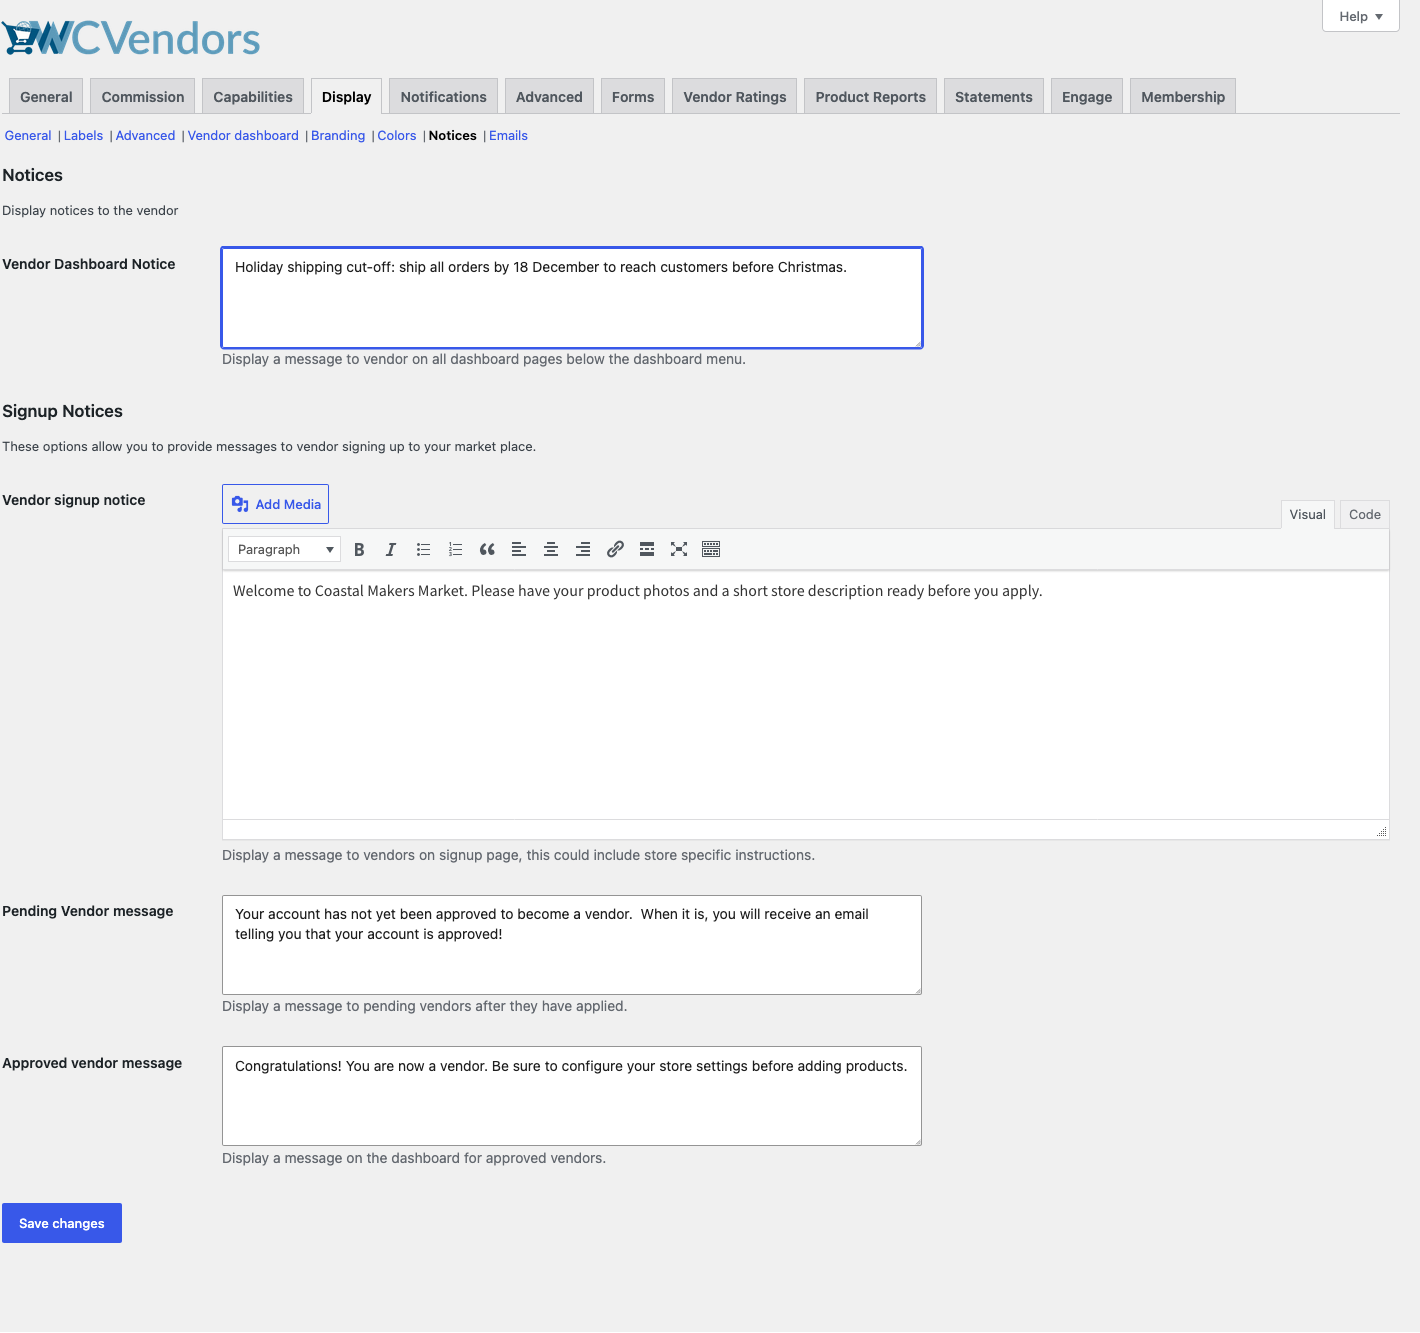
For more details, see Notices settings.
Emails tab (Pro)
The Emails tab has the Vendor Details in Order Emails option. When you turn it on, customer order confirmation emails include the vendor store name, phone number and email address.
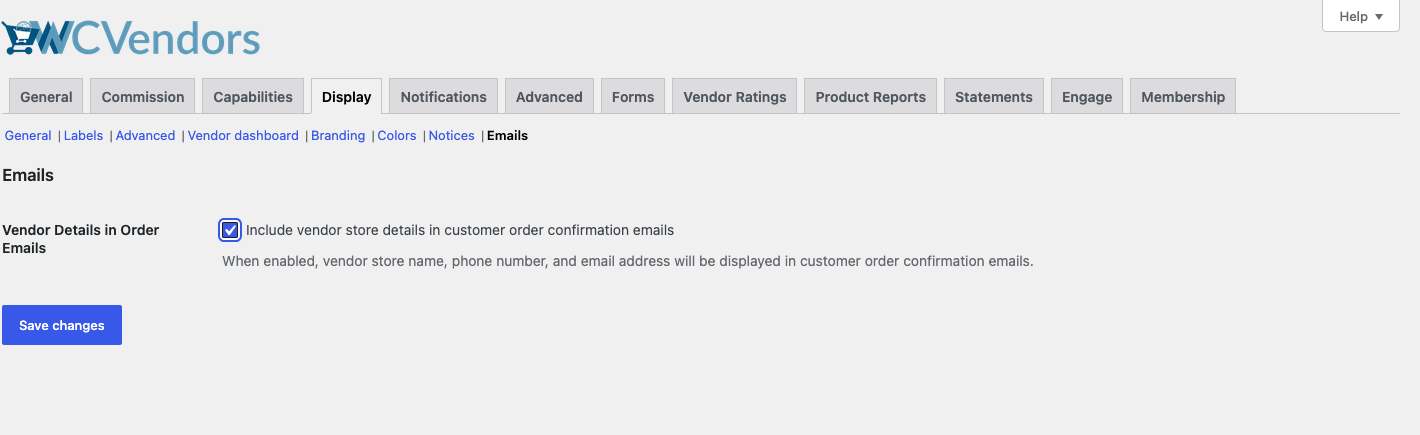
Saving your changes
Click Save changes before you leave a tab. Each tab saves on its own, so unsaved changes on one tab are lost when you open another.
Frequently asked questions
Why do I not see the Branding, Colors, Notices or Emails tabs?
These tabs, and the Vendor dashboard tab, come with WC Vendors Pro. Install and activate WC Vendors Pro to see them.
Why does a tab or setting say “Seller” instead of “Vendor”?
The tab and setting names use the vendor term from the Labels tab. Change the singular and plural terms there.
Need help?
If you have a question or run into any issues, we’re here to help.
- Premium users: Open a support ticket
- Free users: Visit our community forum