
The vendor dashboard is where your vendors manage products, orders and payouts, and this section controls how it behaves for them. It sets the date ranges they see, how many rows each list shows, and which links appear in the dashboard navigation. This article covers every option, so you can decide what your vendors see before they log in.
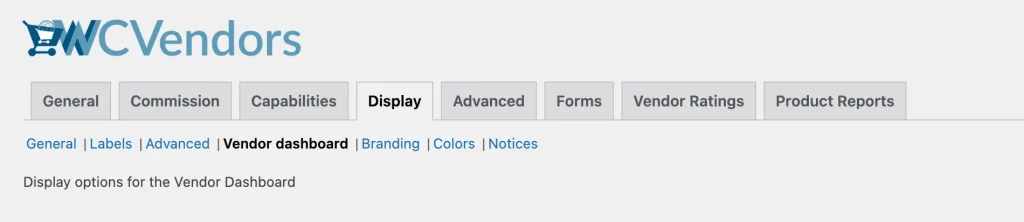
Before you start: these options need WC Vendors Pro. Go to WC Vendors > Settings, open the Display tab and select Vendor dashboard.
Note: This tab is only available in the WC Vendors Pro version.
Vendor dashboard settings
- Dashboard Date Range
- Orders Page Ranges
- Date Format
- View Store Link
- Show Logout Link
- View Product Link
- Show Disk Usage Limit
- Show File Usage Limit
- Products per Page
- Coupons per Page
- Orders per Page
- Commissions per Page
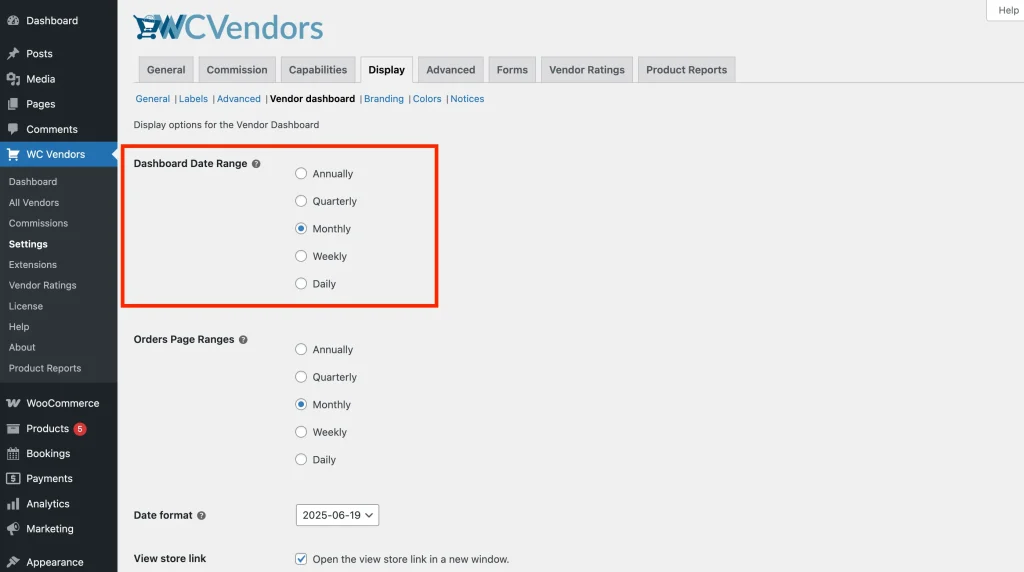
Dashboard Date Range
This sets the default date range for vendor dashboard reports. Vendors can manually adjust the range within their Vendor Dashboard > Reports view.

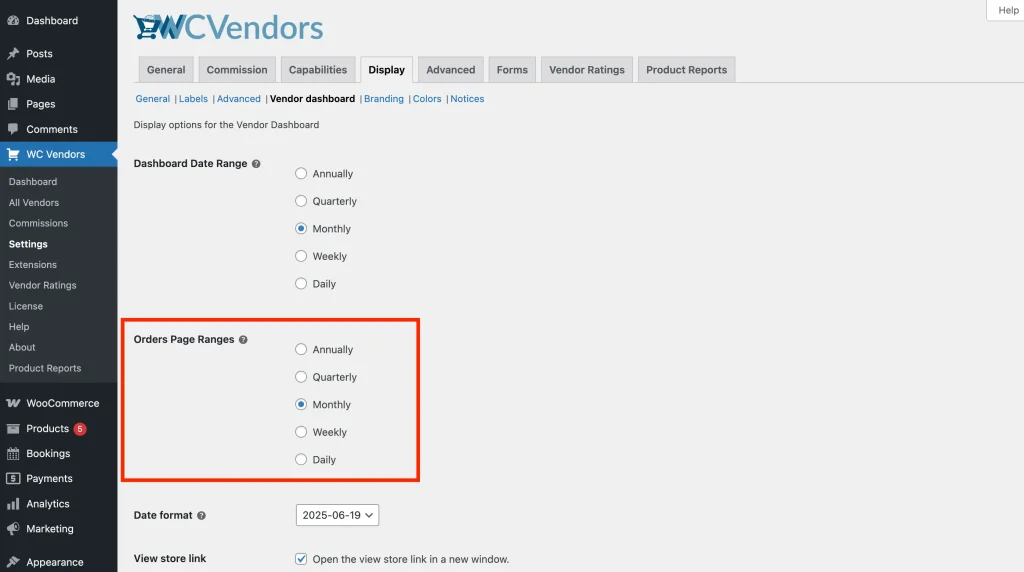
Orders Page Ranges
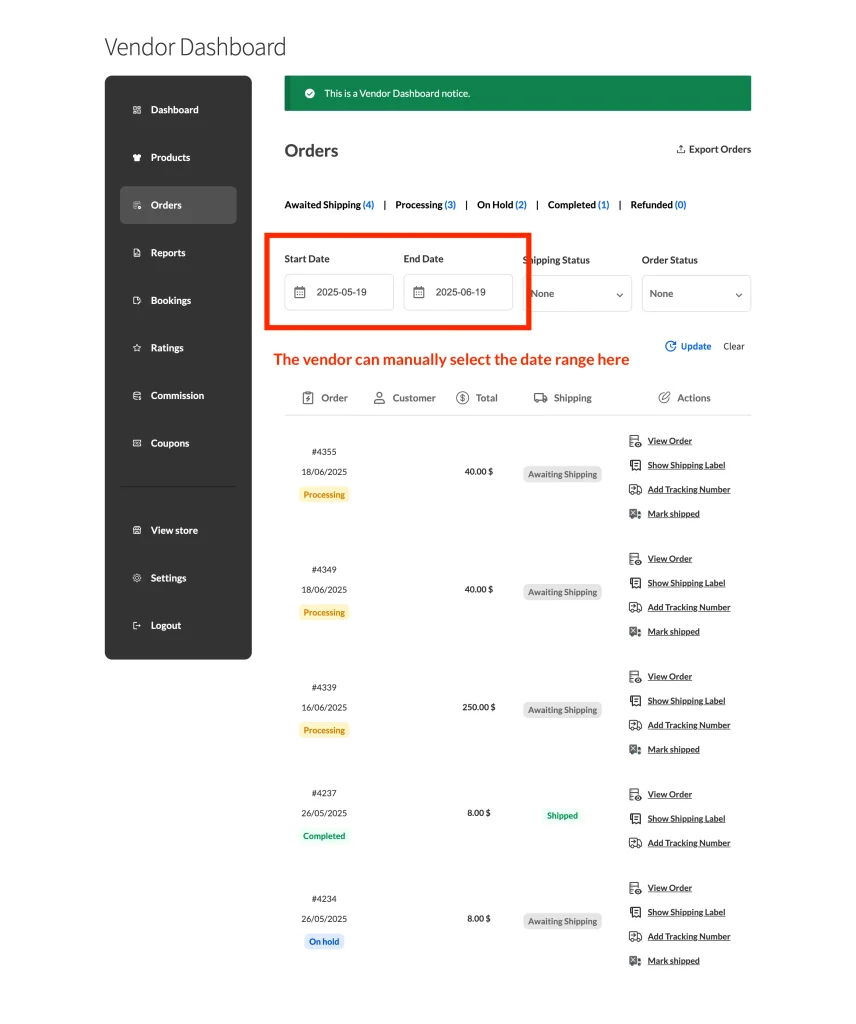
You can also define the default date range on the Orders page of the Vendor Dashboard. Vendors can still modify this range within the dashboard interface.
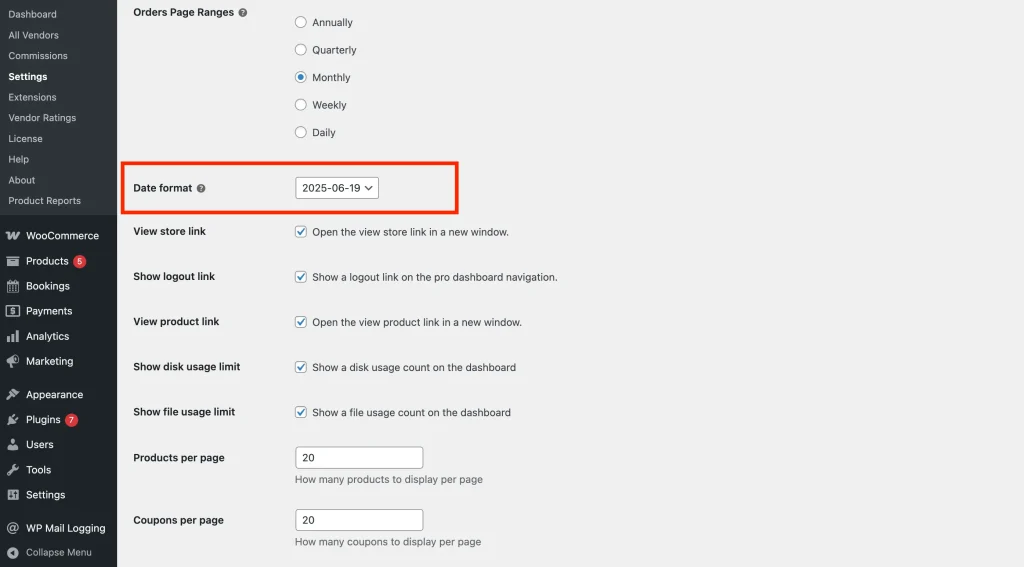
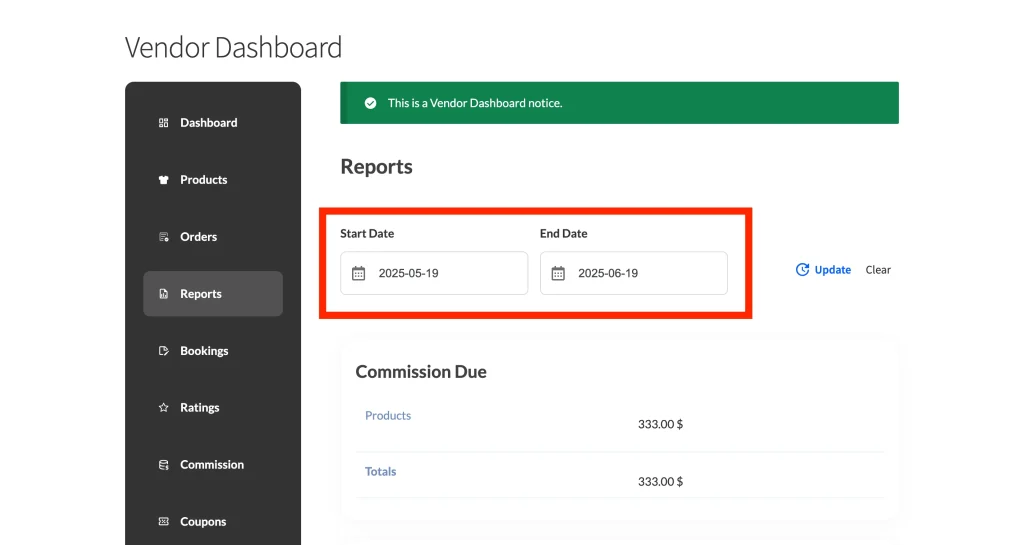
Date format
Allows the admin to set the display format for dates within the Vendor Dashboard (e.g., MM/DD/YYYY or DD/MM/YYYY).
View store link
This setting controls whether the View Store link opens in a new tab or the same tab when clicked from the Vendor Dashboard navigation.
Note: You can control the visibility of the link itself from WC Vendors > Settings > Capabilities > General.
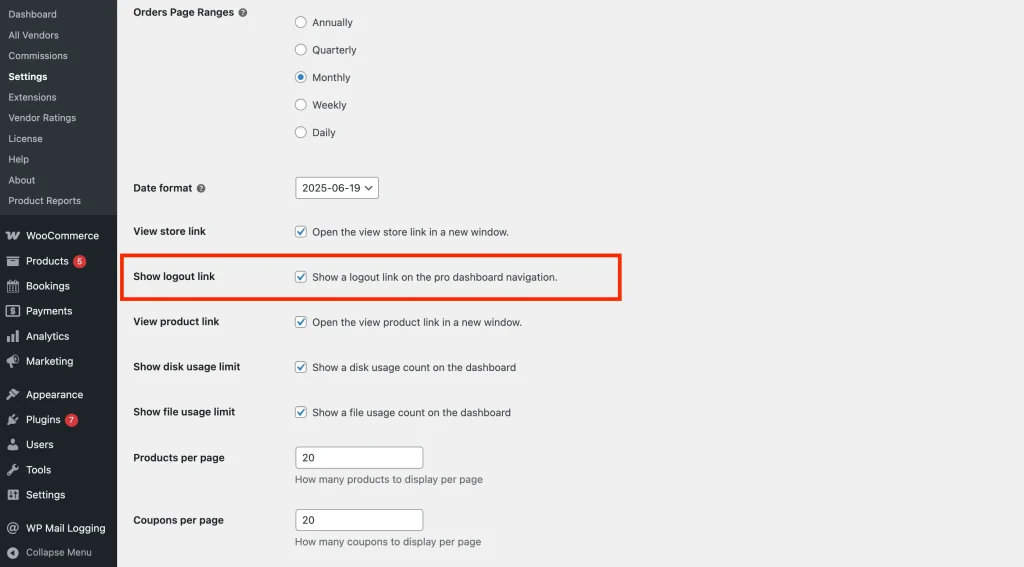
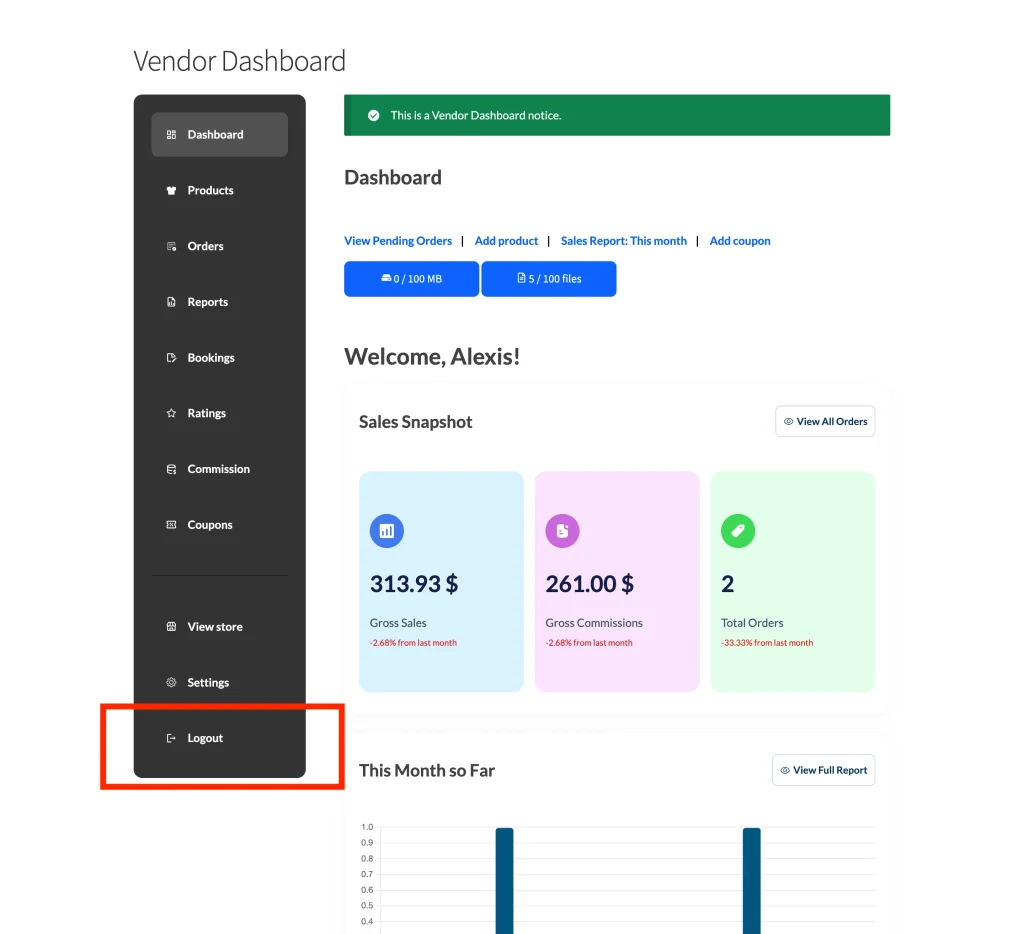
Show logout link
This adds a Logout option in the Vendor Dashboard navigation menu when enabled, making it easier for vendors to securely sign out.
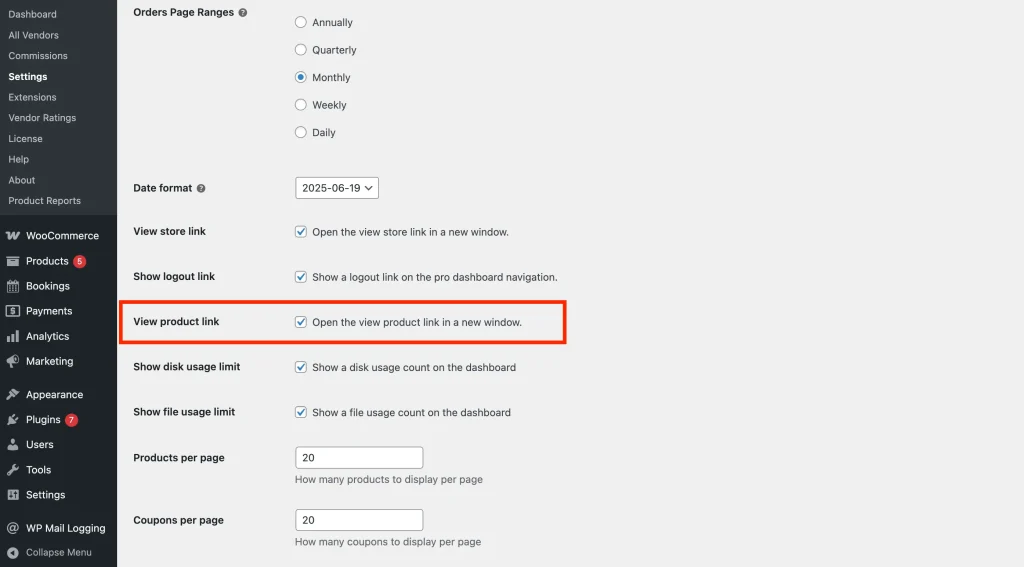
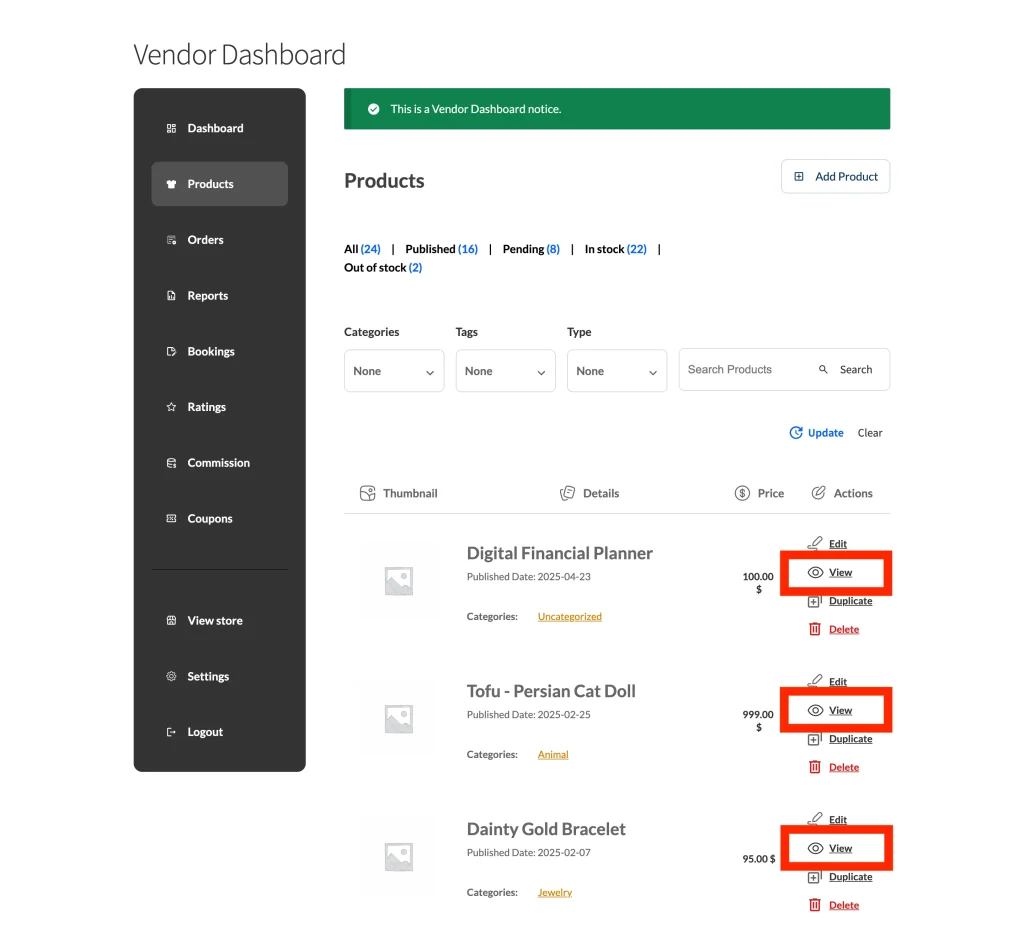
View product link
If enabled, vendors will see a View Product link in their dashboard that opens the product page in a new tab for preview purposes instead of the same tab.
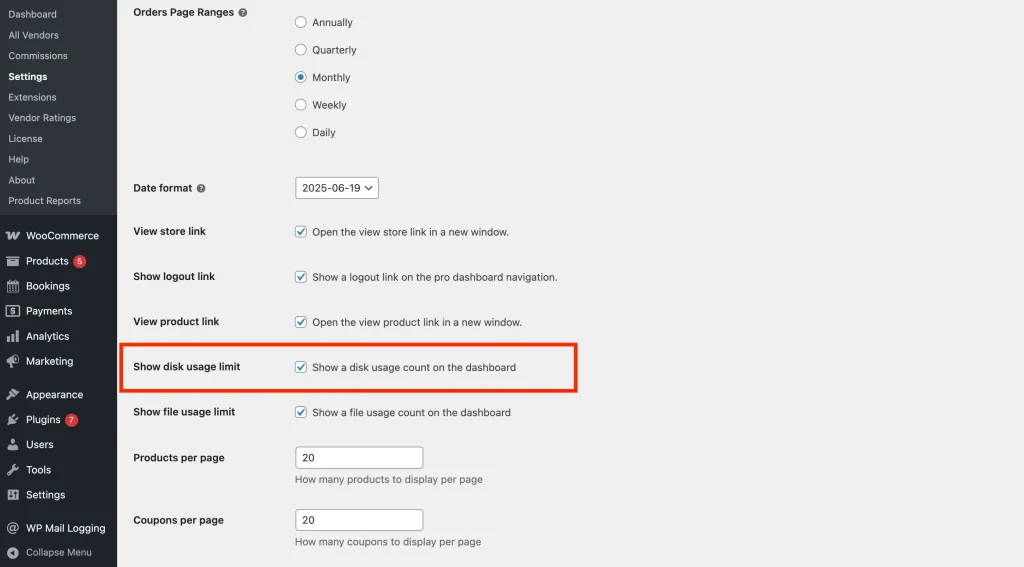
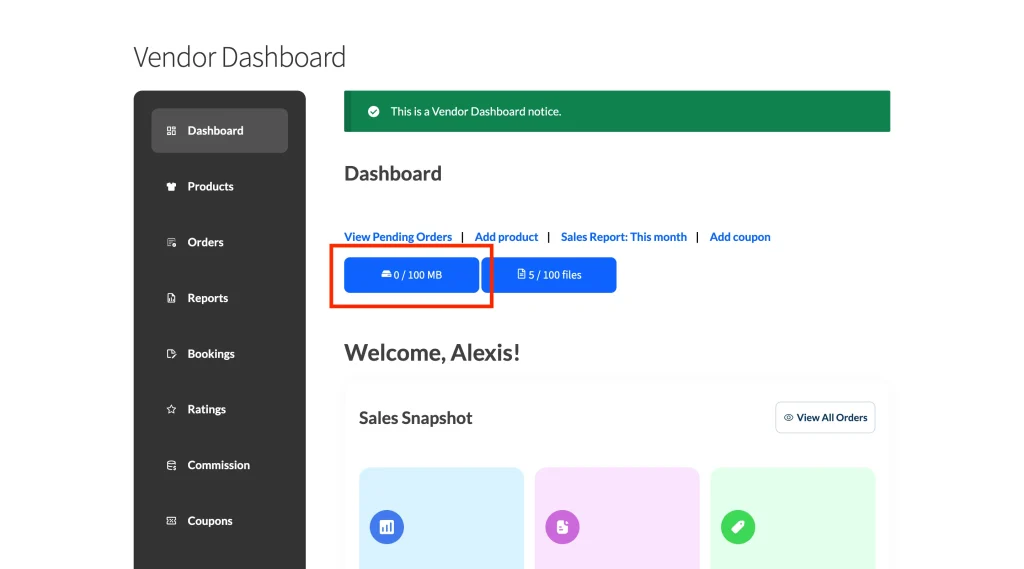
Show disk usage limit
This option allows you to display a section in the Vendor Dashboard showing the current disk usage. Useful for managing file uploads and overall storage limits.
Note: You can limit the vendor disk usage from WC Vendors > Settings > Forms > General.
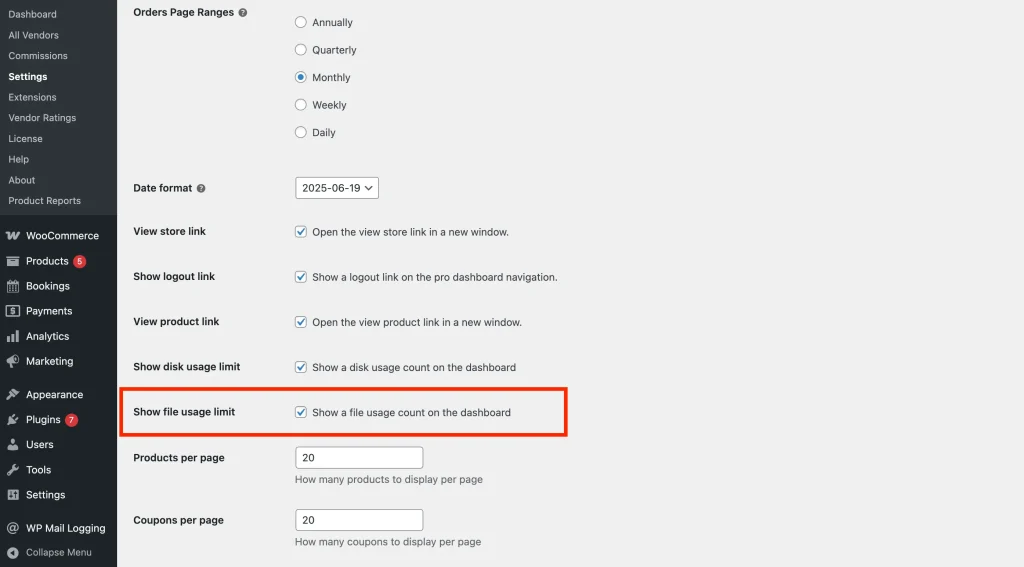
Show file usage limit
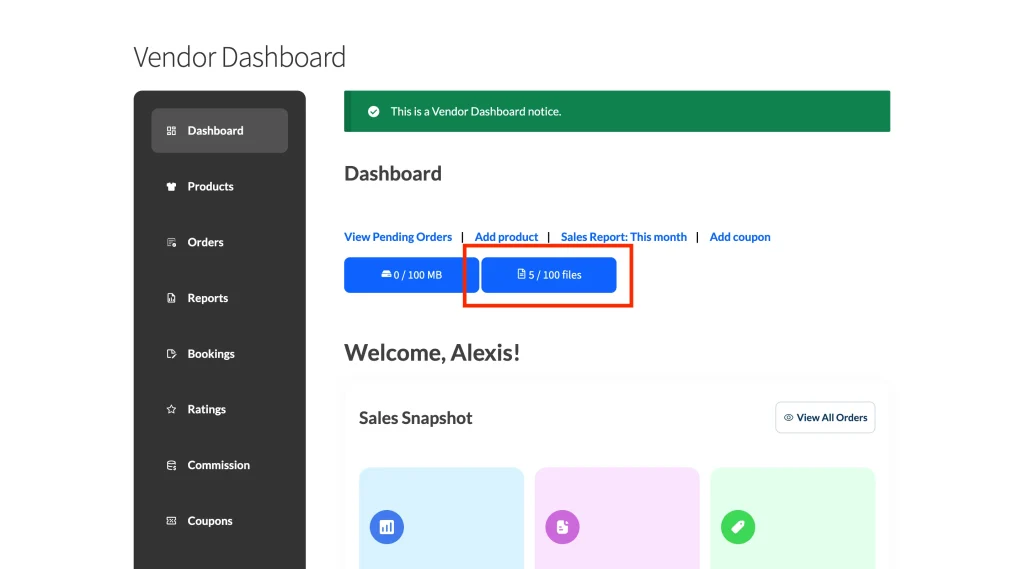
This option enables a display of file count usage in the vendor dashboard, helping vendors track their media or file upload limits.
Note: You can limit the vendor file count from WC Vendors > Settings > Forms > General.
Products per page
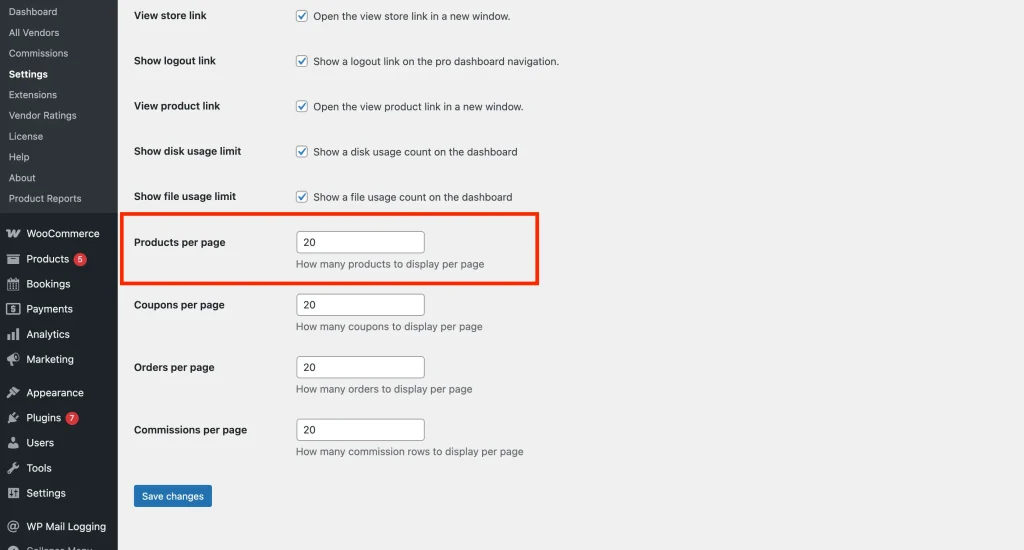
You can set how many products are shown per page in the vendor’s Products section of the Vendor Dashboard.

Coupons per page
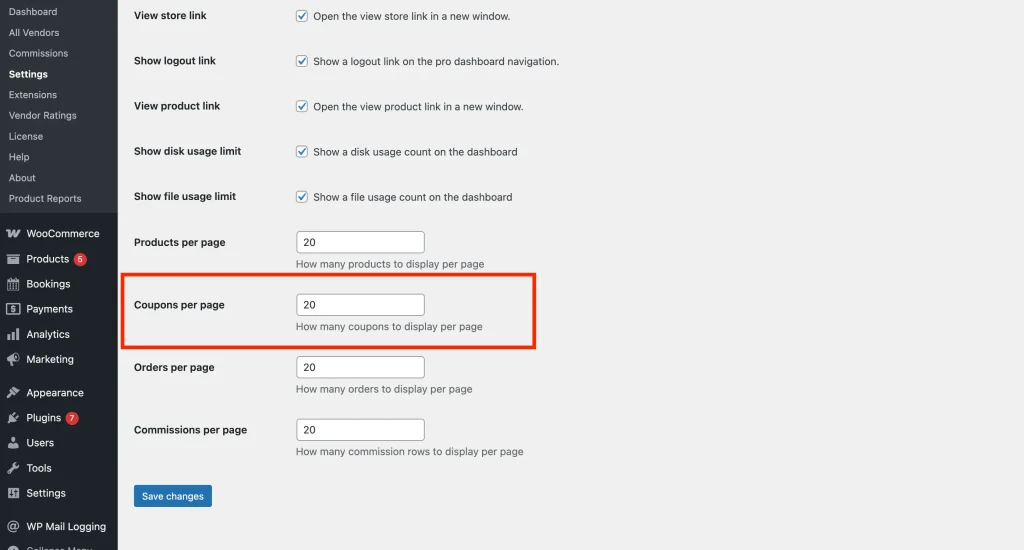
This determines how many coupons are displayed per page under the Coupons section in the Vendor Dashboard.
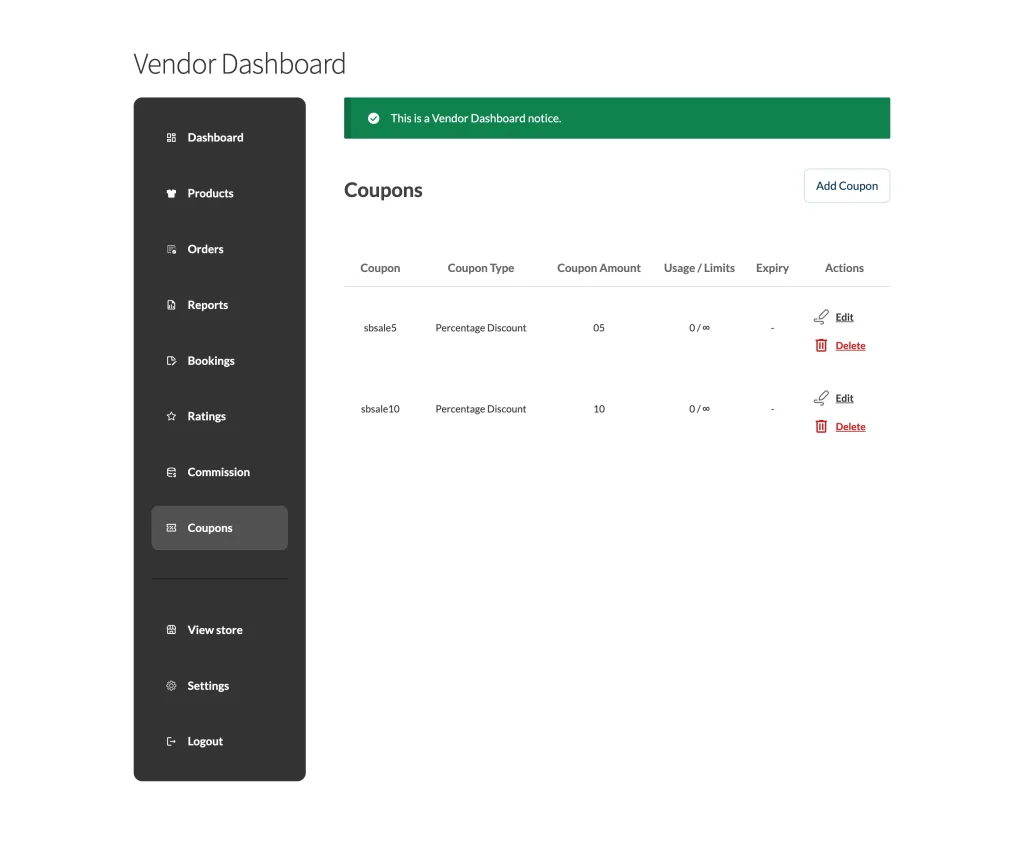
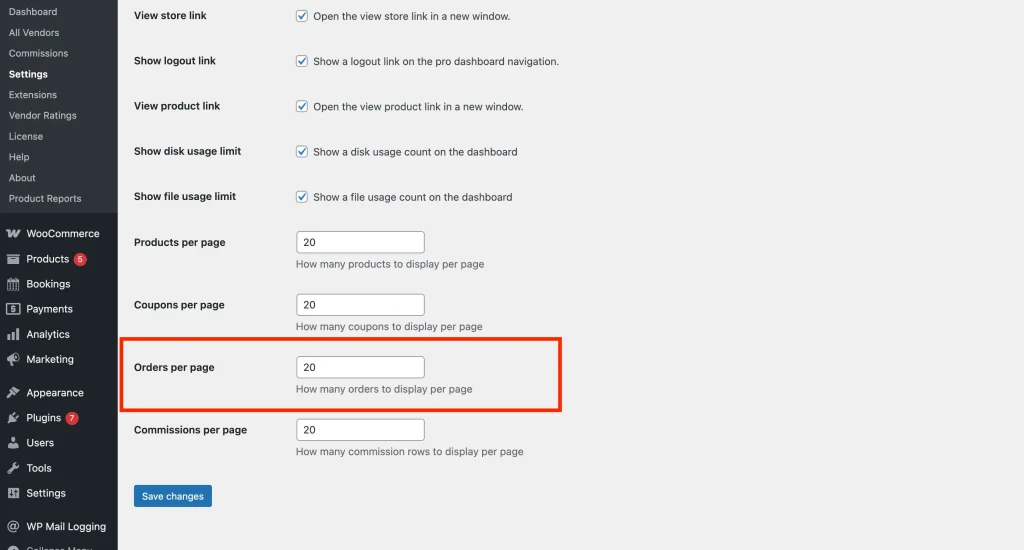
Orders per page
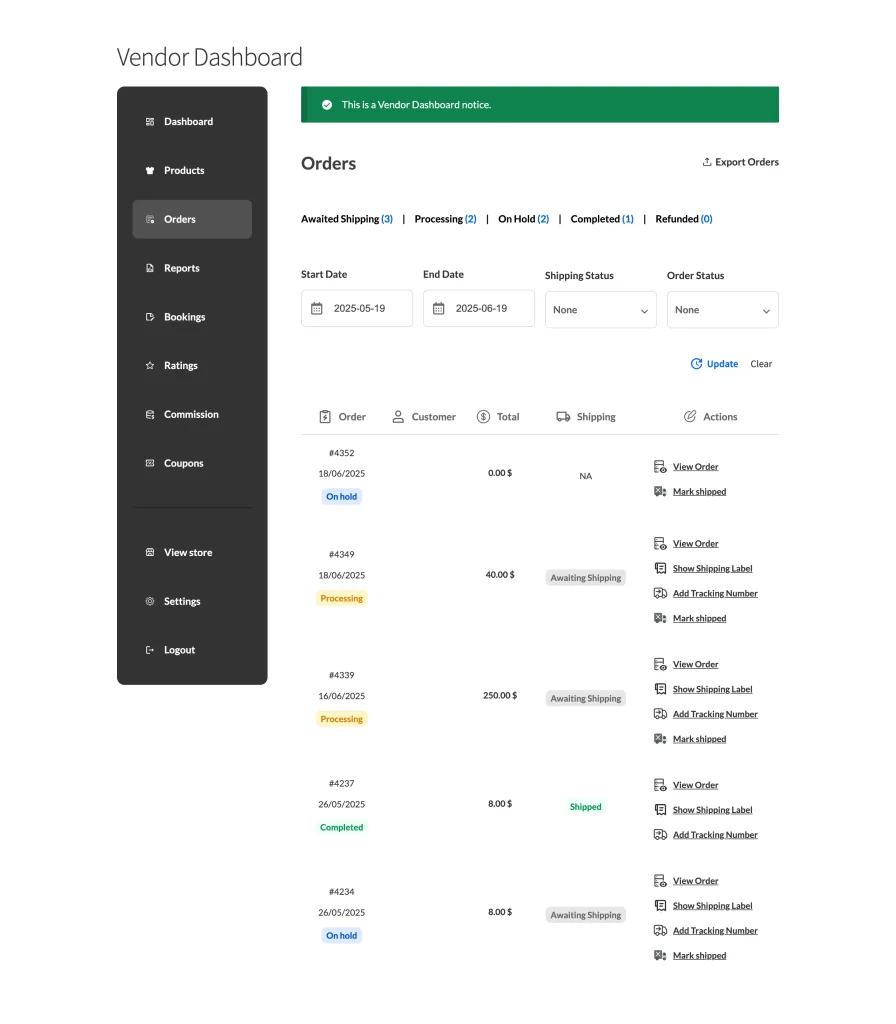
This option allows you to specify the number of orders displayed per page in the Orders section.
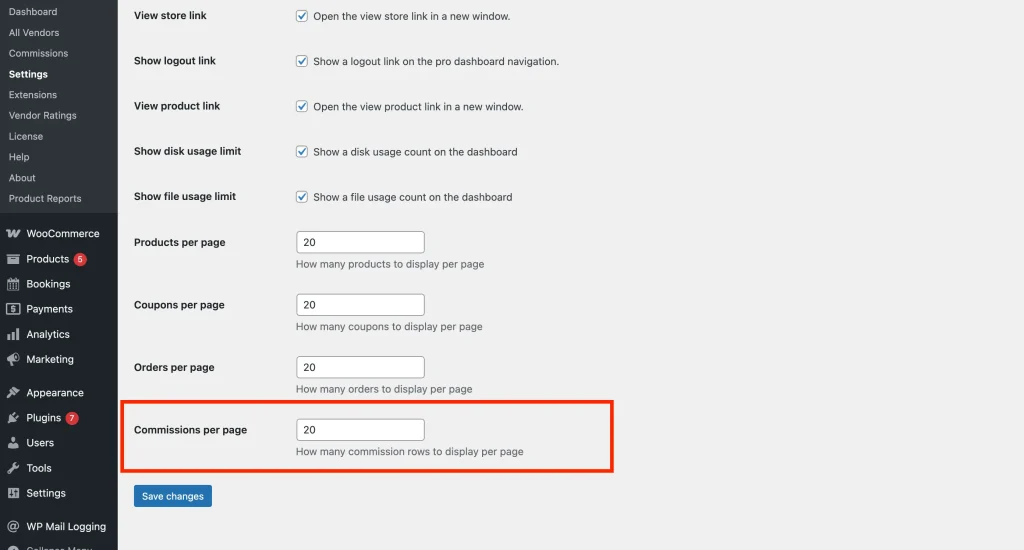
Commissions per page
You can also control the number of commission records displayed per page in the Commissions tab of the Vendor Dashboard.
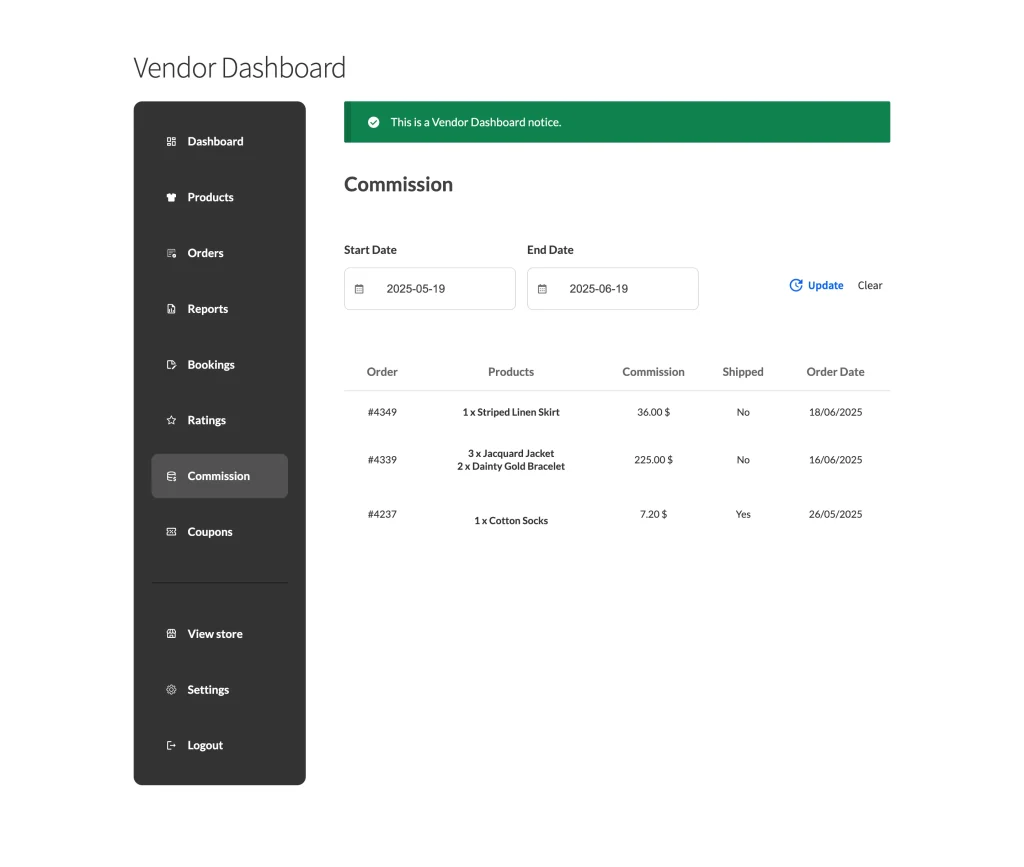
Which tabs appear on the vendor dashboard
This section controls how the dashboard behaves, not which tabs a vendor sees. The tabs themselves come from WC Vendors > Settings > Capabilities. Each option there removes the matching tab from the dashboard when you check it:
- Product management, disable product management in the vendor dashboard
- Order management, disable order management in the vendor dashboard
- Commission management, disable Commission management in the vendor dashboard
- Coupon management, disable coupon management in the vendor dashboard
- Settings management, disable store settings management in the vendor dashboard
- Ratings, disable the ratings system completely
- View store, disable the view store button on the vendor dashboard
So if a vendor cannot see the Commissions tab, check Commission management on the Capabilities tab first. The Logout link is the exception: it is controlled by Show logout link in this section, not by Capabilities.
Statements has no capability option. To remove only the Statements item from the dashboard navigation you need a small snippet on the wcv_dashboard_pages_nav filter, which receives the navigation array and lets you unset an entry. Verified in WC Vendors Pro 2.0.9.
Saving your changes
Select Save Changes at the top of the settings page. The new values apply to every vendor dashboard immediately, so it is worth opening one vendor’s dashboard afterwards to check the result.
Need help?
If you have a question or run into any issues, we’re here to help.
- Premium users: Open a support ticket
- Free users: Visit our community forum